Thanks lads. First here are some of the tools I use for re-scribing.
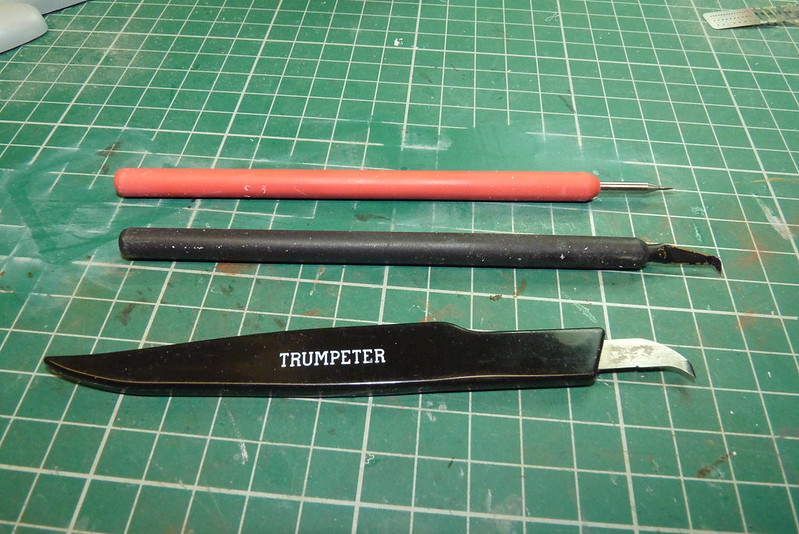
The top two scriber's are my favourite and I use them most of the time. I think I ordered them from a company in the Czech Republic and cost around £14 each so they weren't cheap but they are the best I have used. I have got a Tamiya one knocking around somewhere as well.
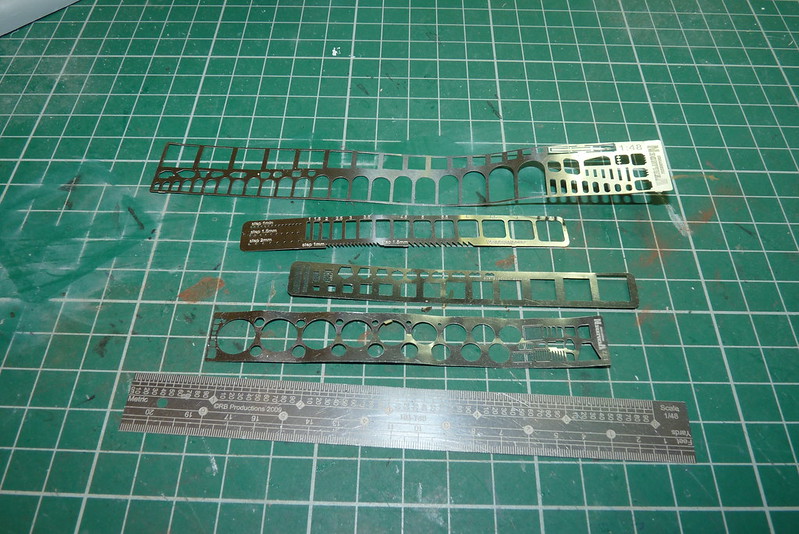
Templates and a flexible metal rule.
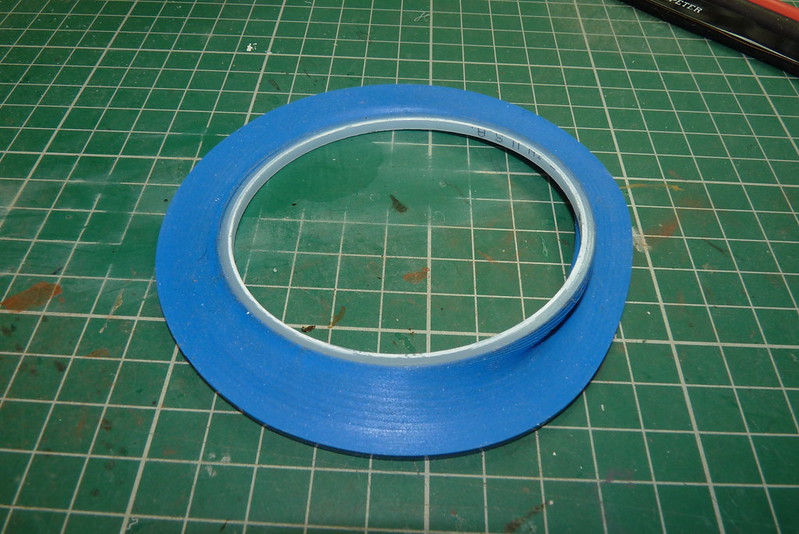
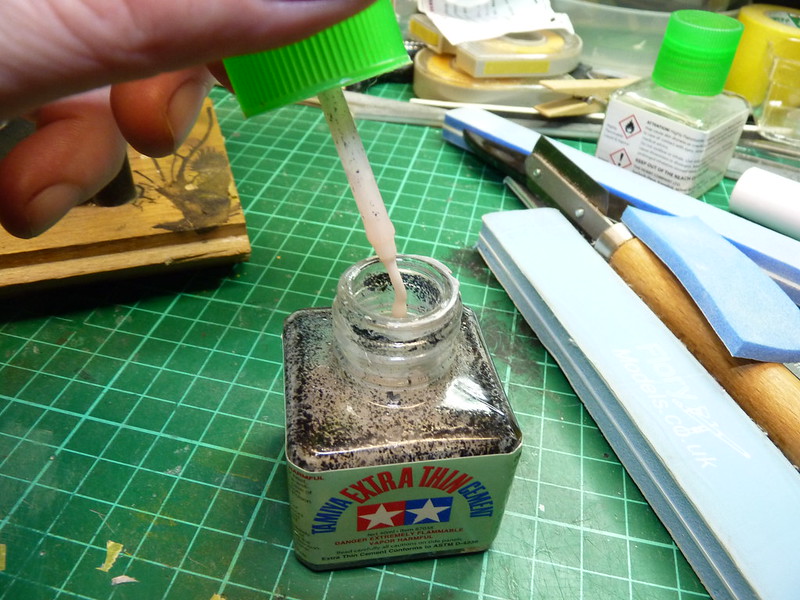
3M 471 Blue Fine Line Vinyl Masking Tape 3mm (£3.85 off ebay delivered) which is excellent stuff for guiding the scriber around fuselages. jet intakes, etc. I used to use Dymo tape but this stuff is a lot cheaper and the adhesive lasts a lot longer as well.
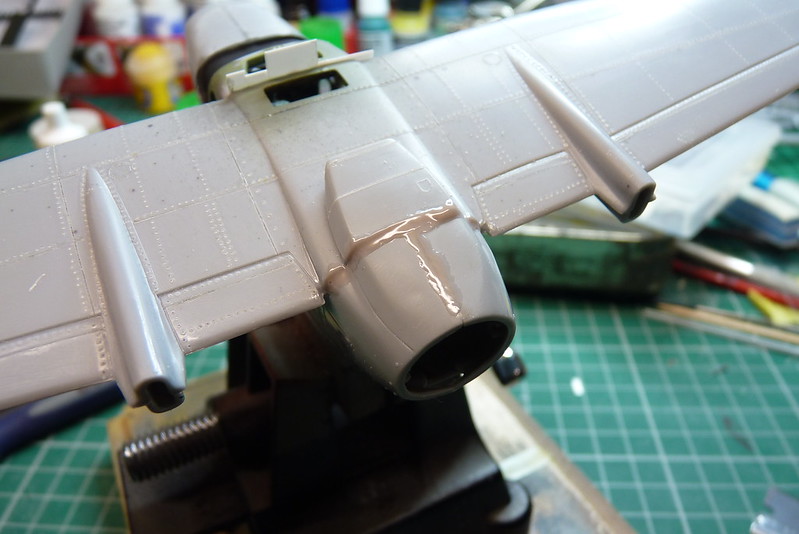
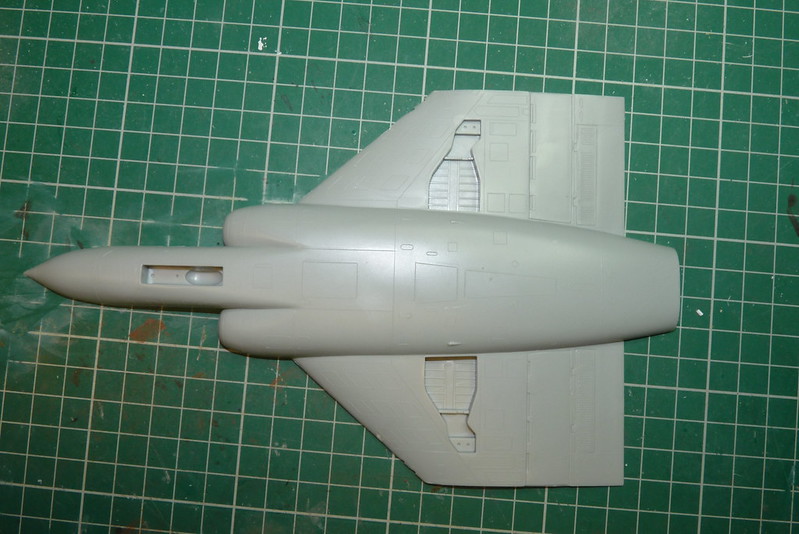
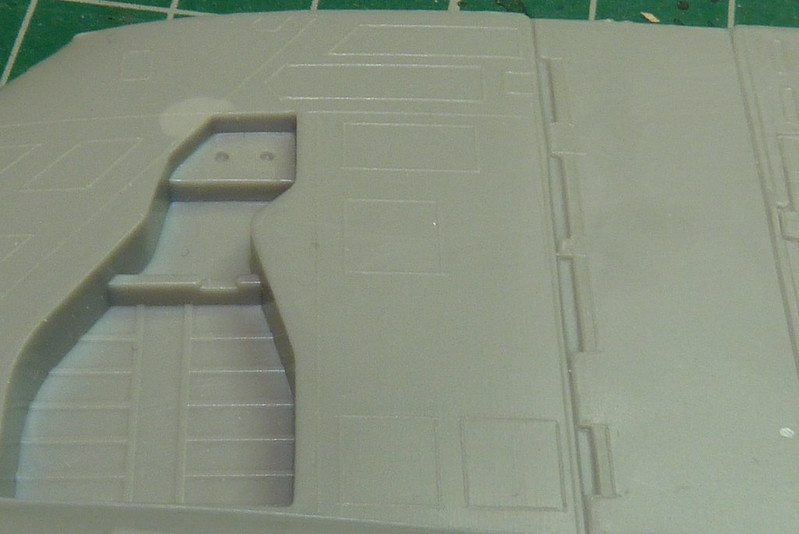
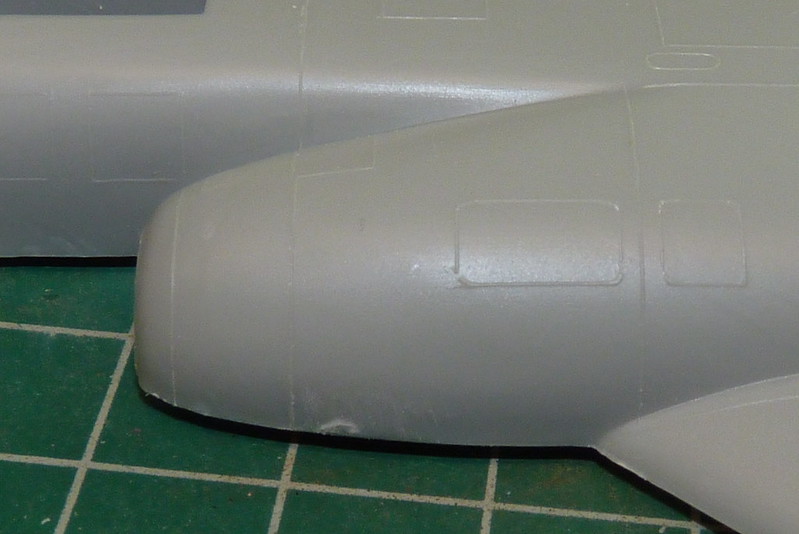
Here is the lower fuselage before I started and there is a quite a bit to do but I find if I get bored or fed up with re-scribing, its best to go for a coffee or watch the TV but don't carry on and try to rush it takes when I make a mistake. Its one of those jobs that you have to take your time.
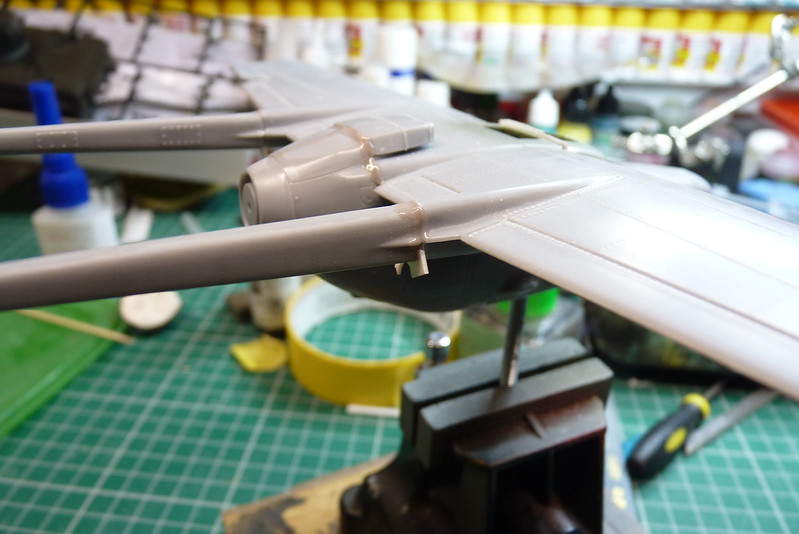
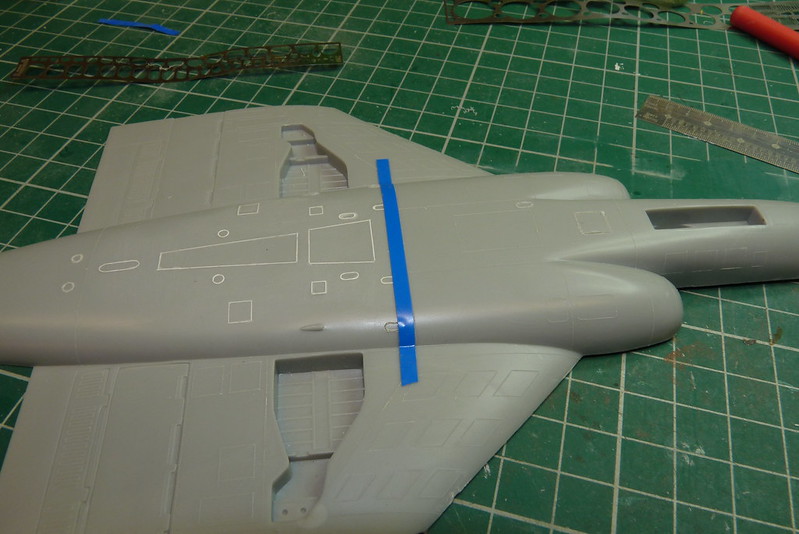
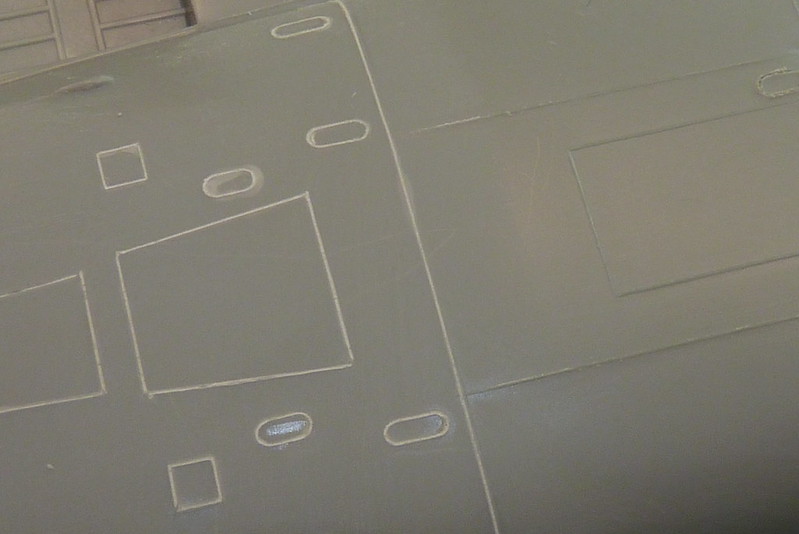
I started sribing the panels first using the templates. Normally I would sand down the raised panel lines and then re-scribe them but this time I decided to use the raised panel lines around the panels to help postition the template and keep it in the right place. I scribed the new panels then I would sand them down to remove any ridges. I have left the dust in the new panels to make it easier to see in the photo. Also here is the 3M tape in action. On this line I sanded the raised line down first just enough so you can see the original line then I placed the 3M tape along the line. Now it just a case of running the scriber along the edge of the tape, not pushing down on the scriber just letting the weight of the scriber do the cutting. You may think it hasn't cut anything but it will have. Now do it again and again and you will see a bit of waste plastic starting to come up from the scriber. When you are happy remove the tape.
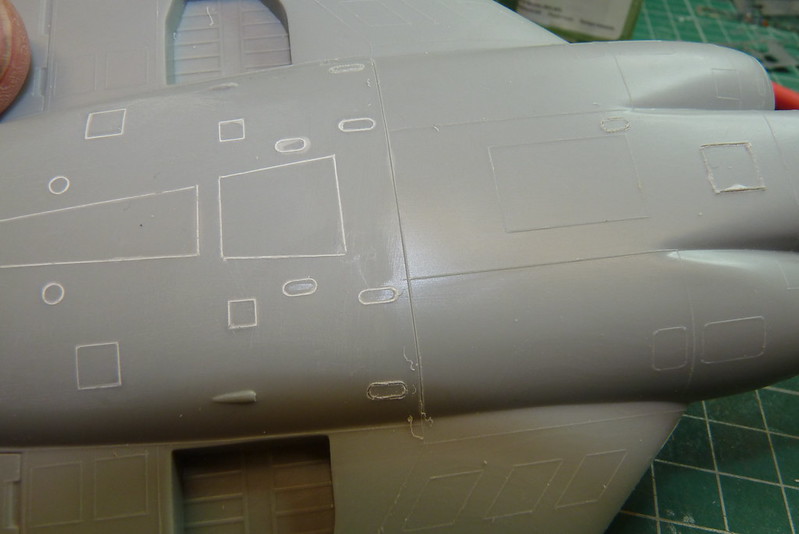
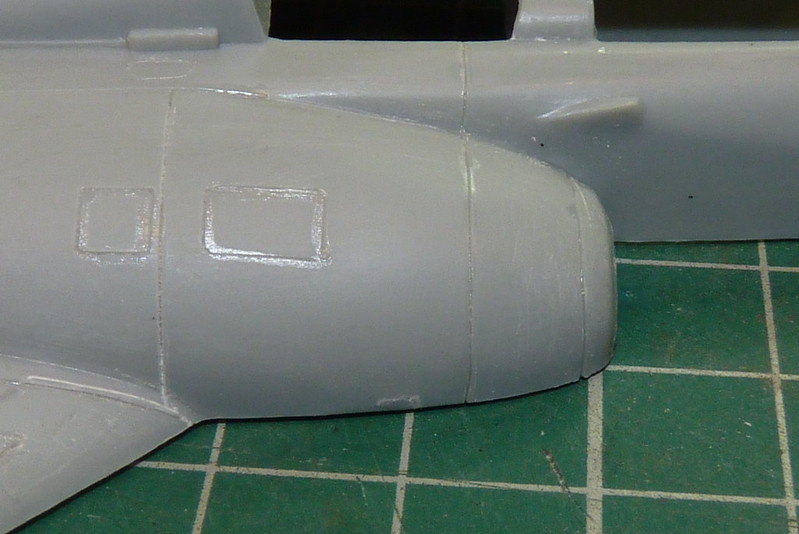
Here is the completed lower fuselage.
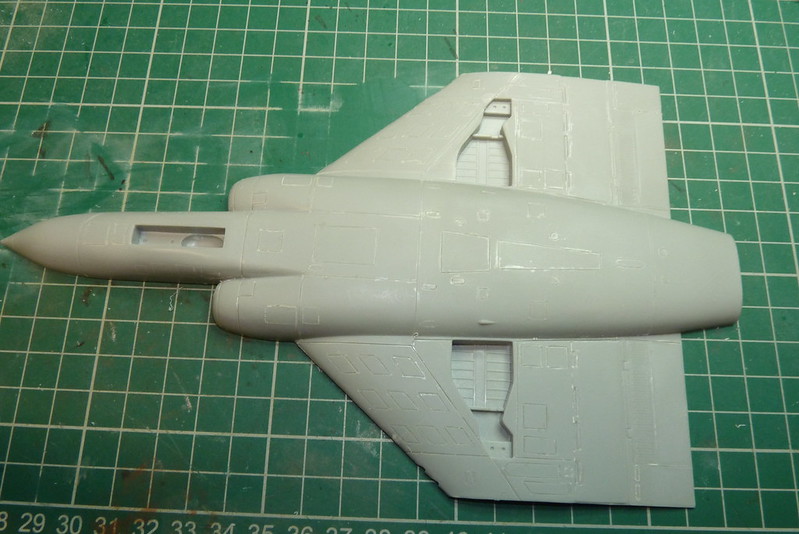
Now for the upper fuselage.
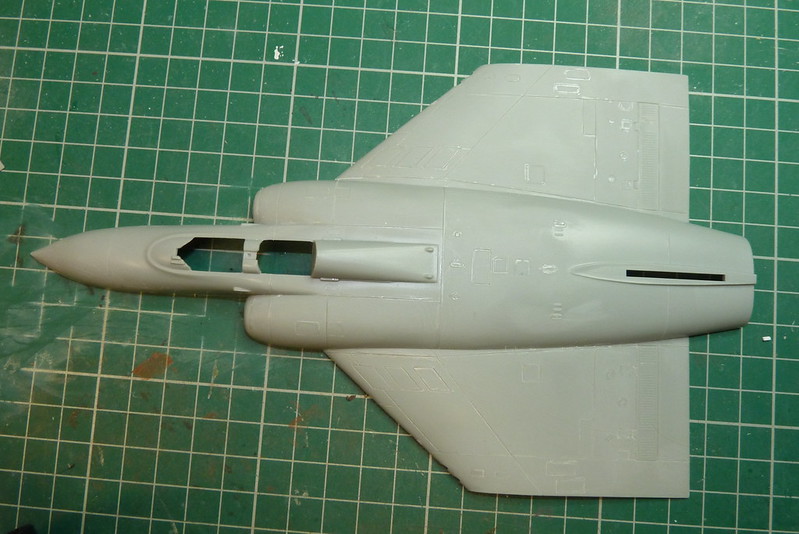
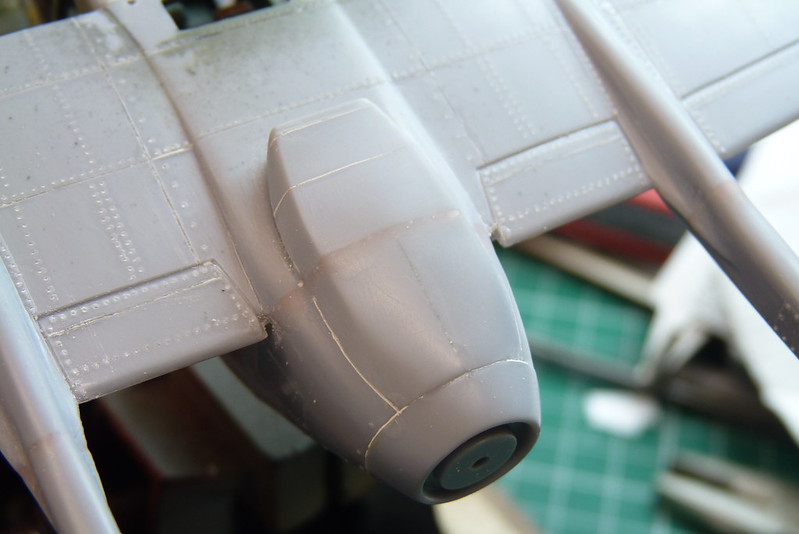
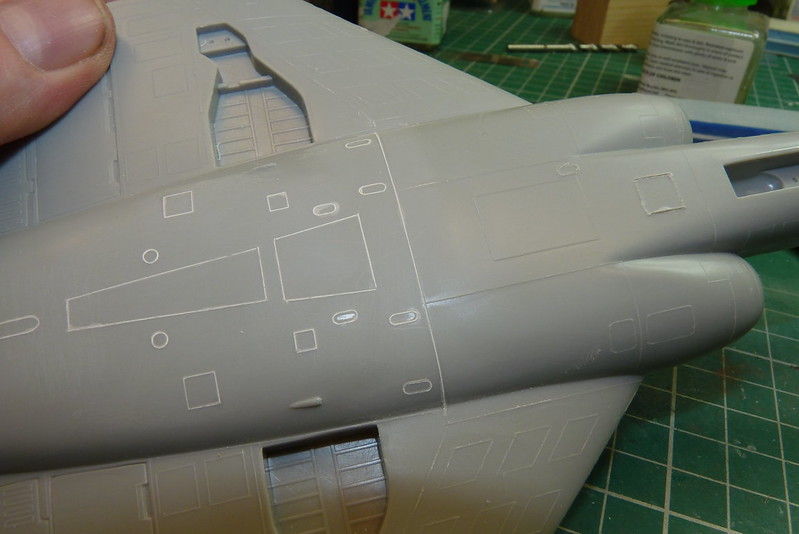
I used the 3M tape again around the air intakes.
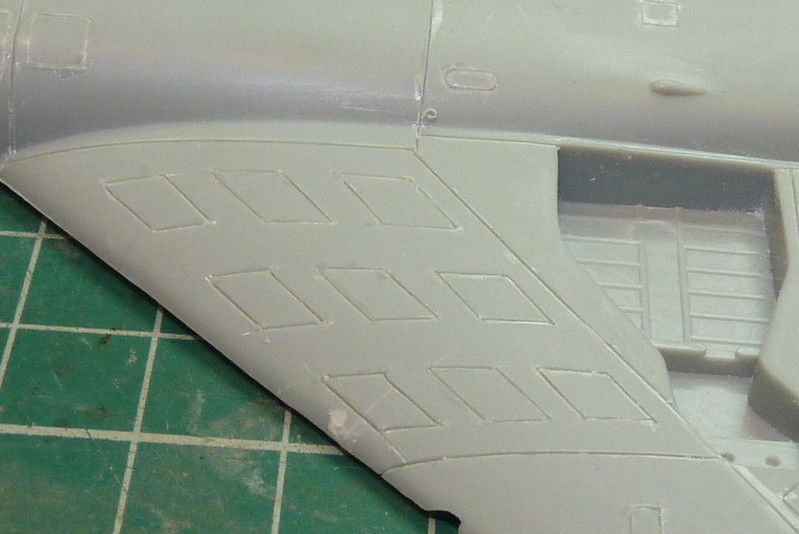
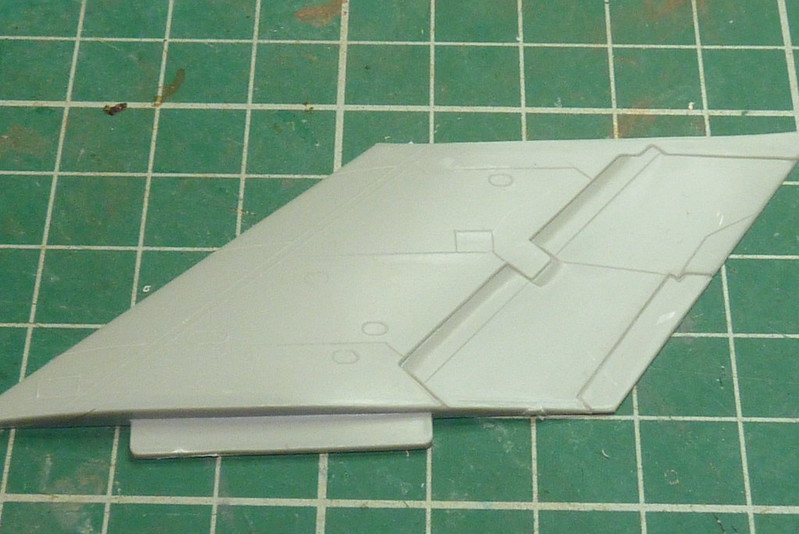
Here is part of the tail fin. Before......
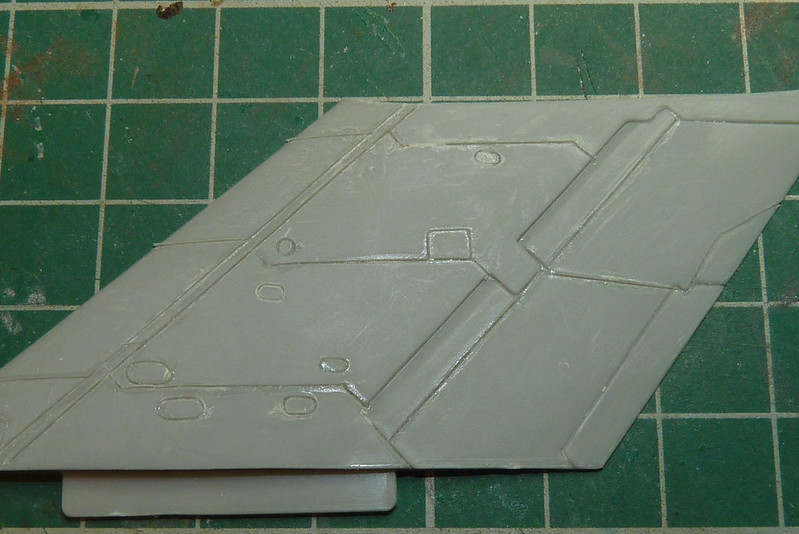
And after....
to be continued.