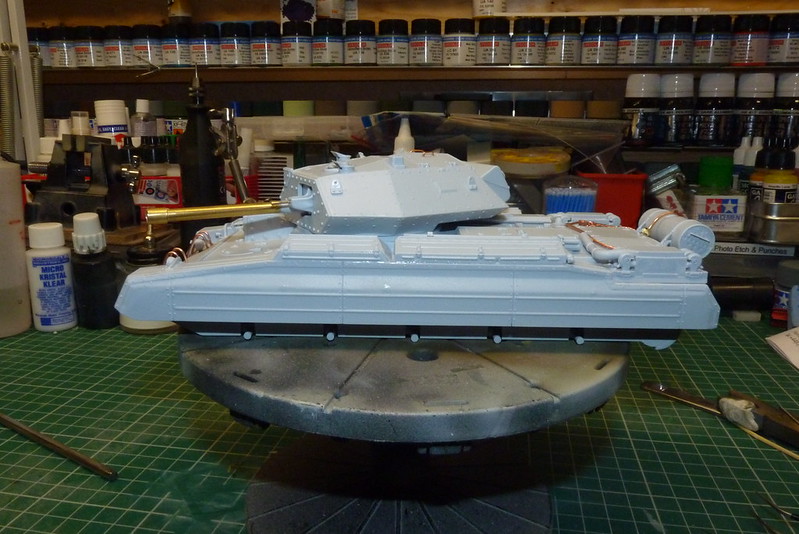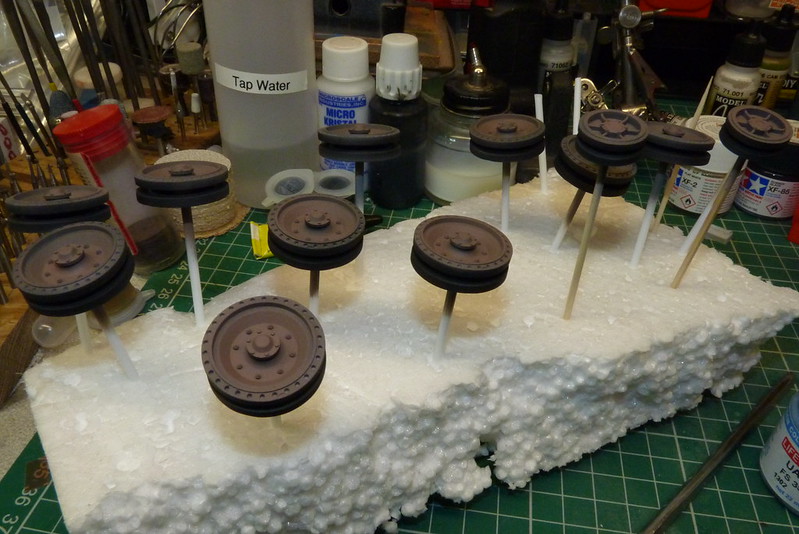
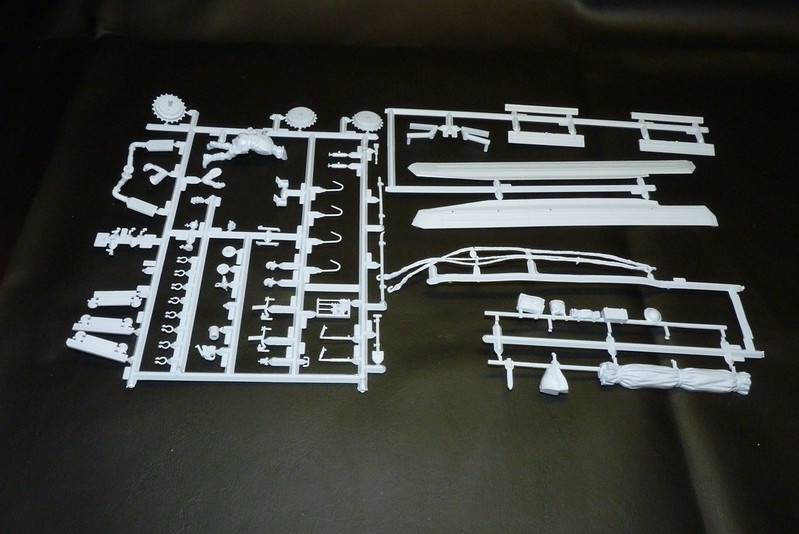
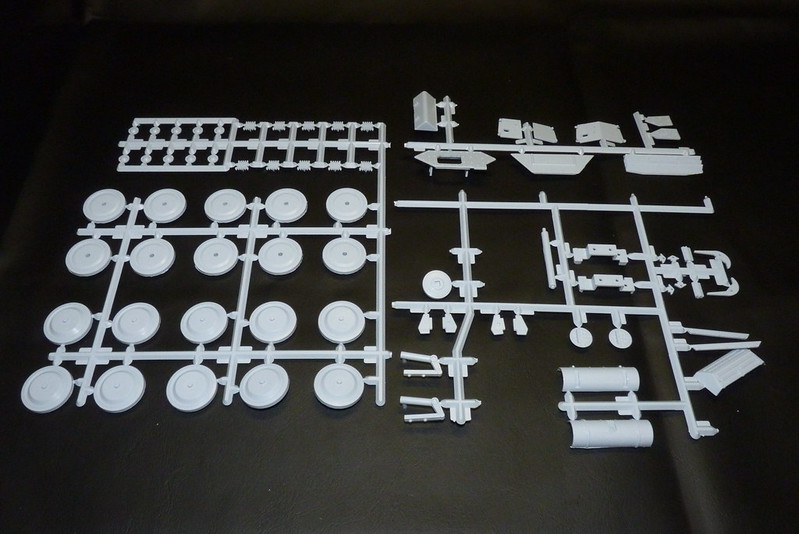
My first job was to sort out the wheels. As the kit first come out in the 1970's you can guess there would be a bit of flash and there is. So I tidied up and assembled the wheels.
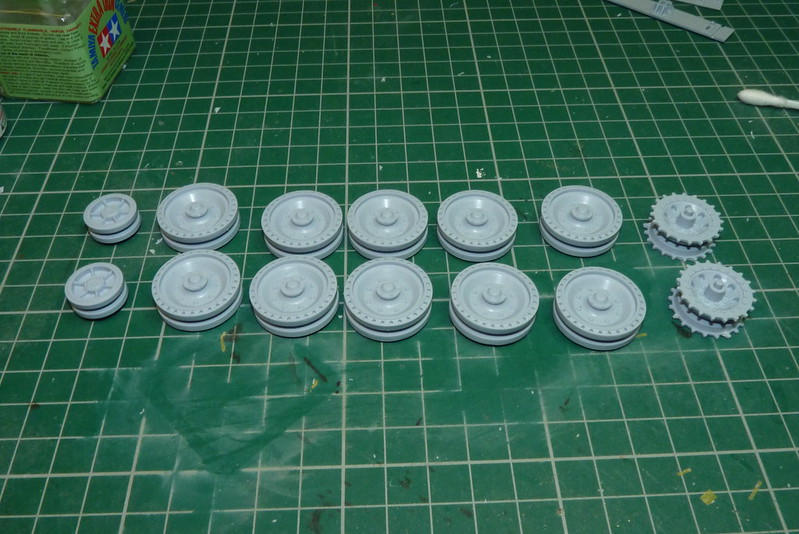
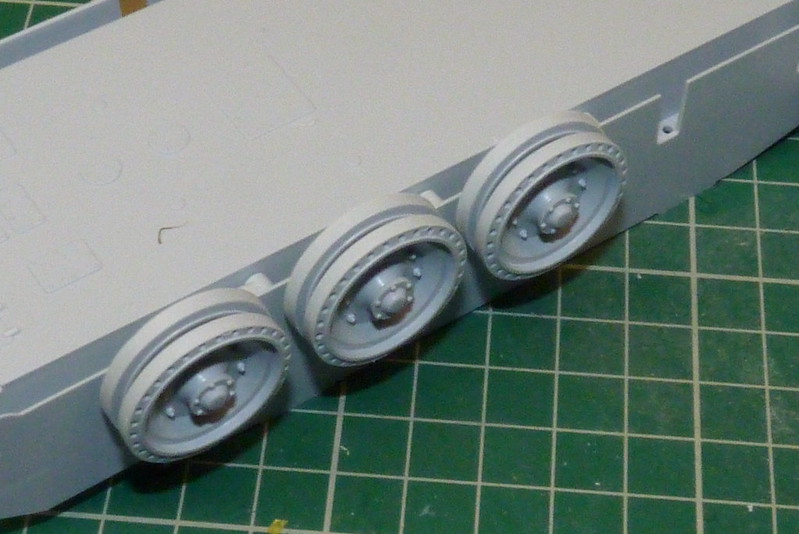
Next came the suspension which again needed a bit of flash removal and they were glued to the lower chassis and then I test fitted a few wheels to see how they looked.
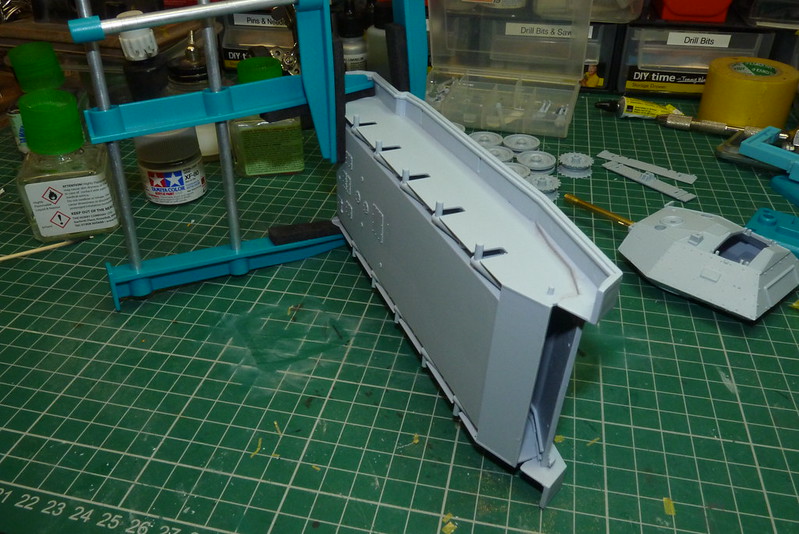
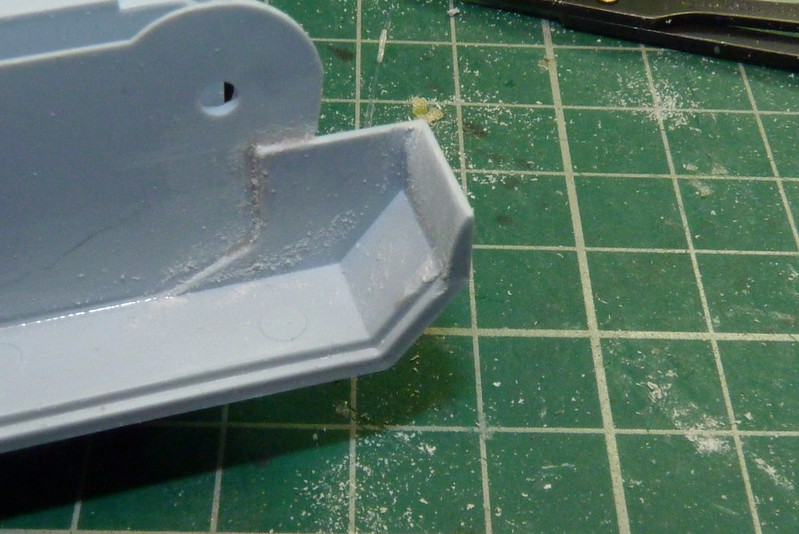
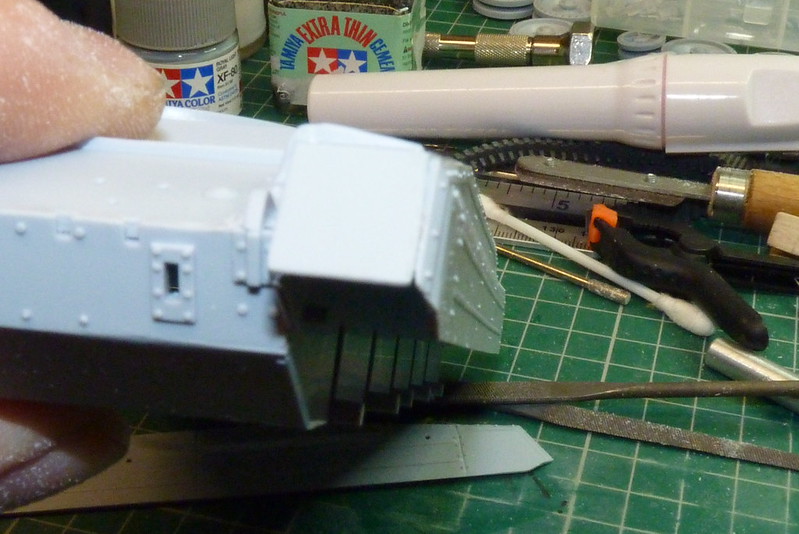
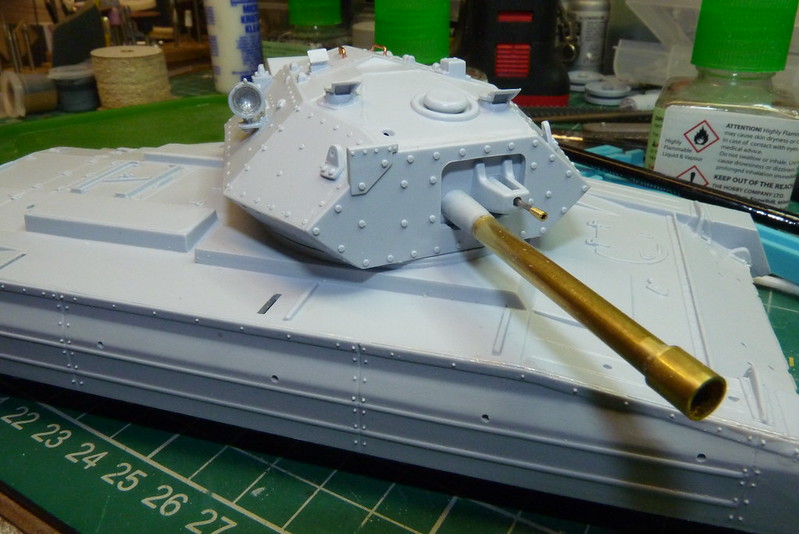
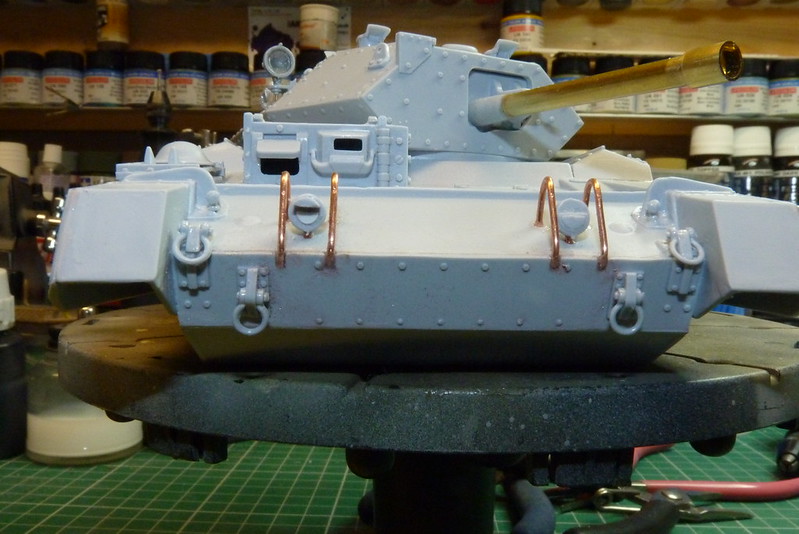
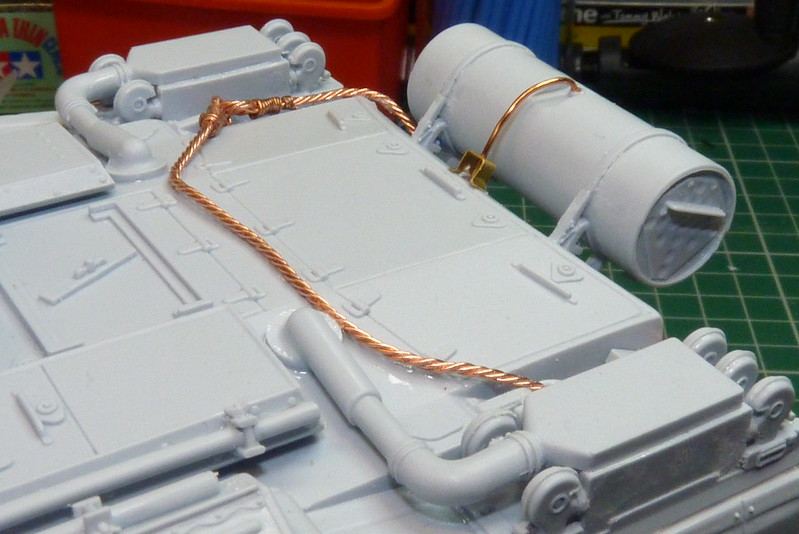
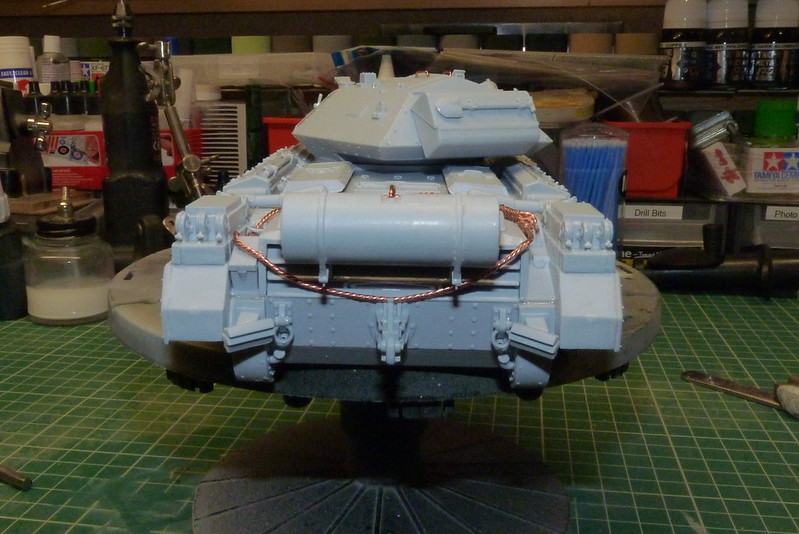
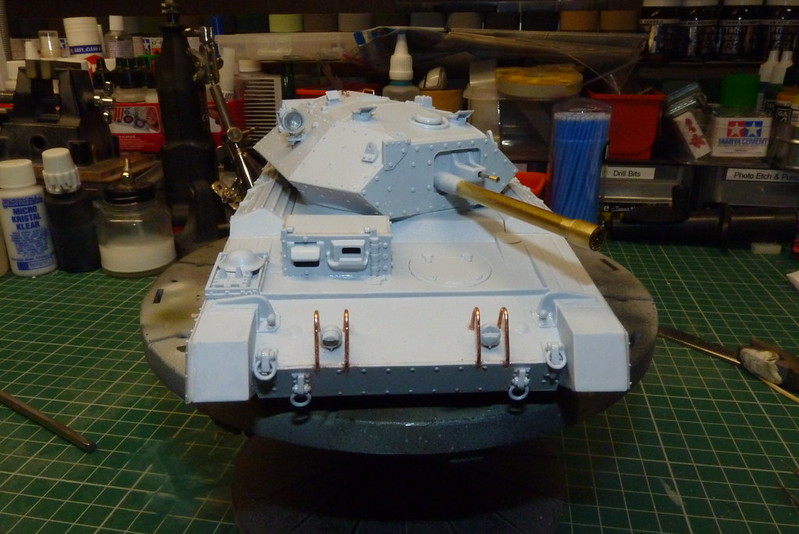
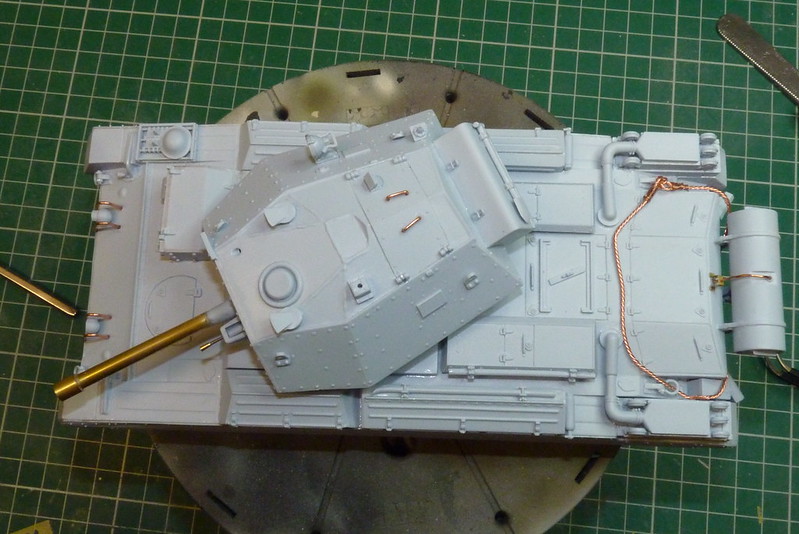
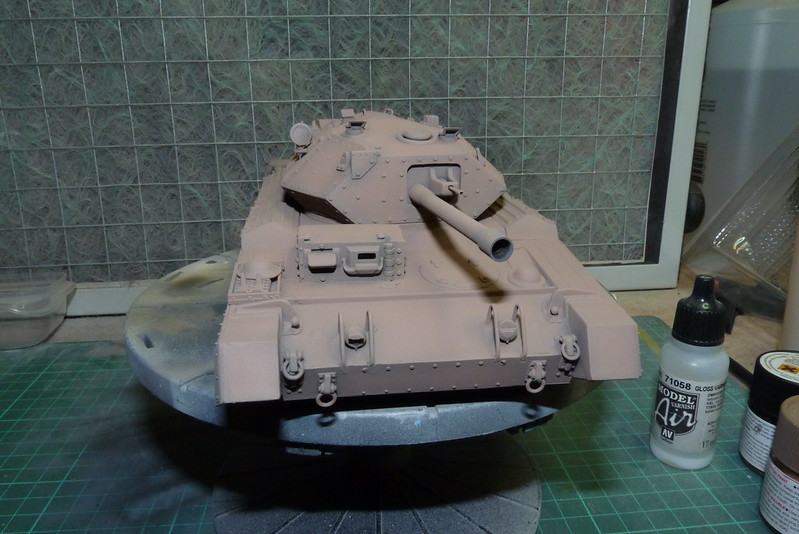
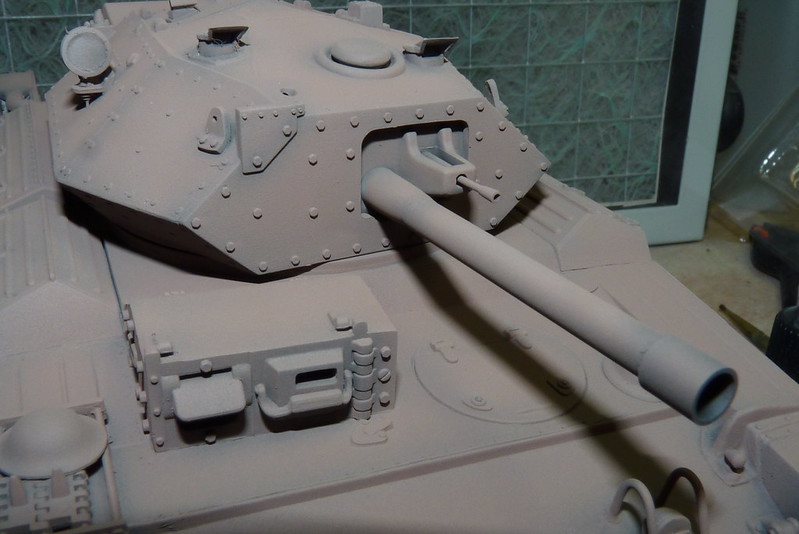
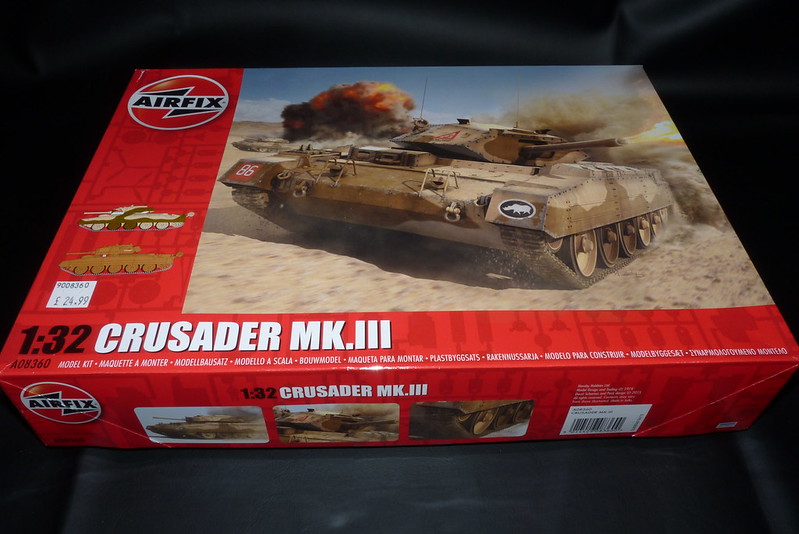
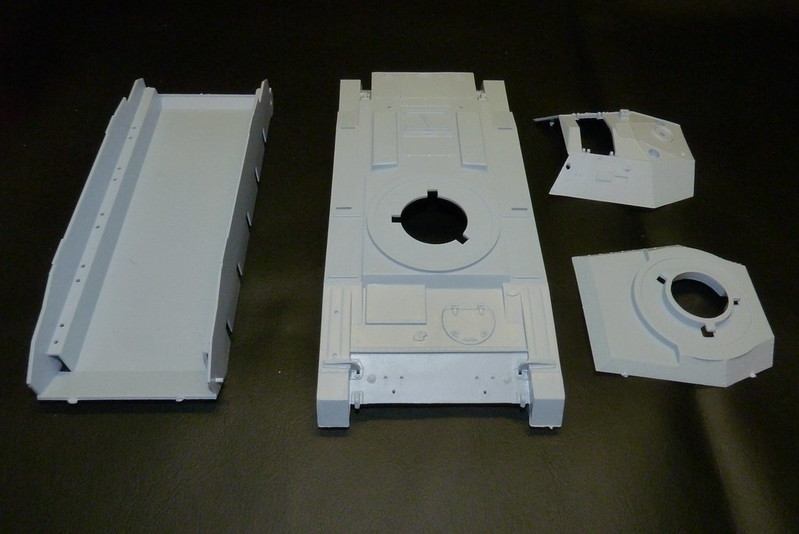
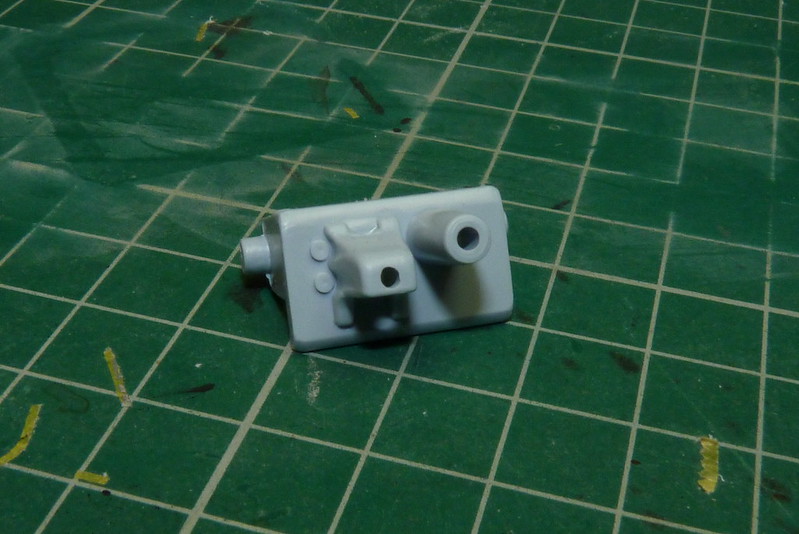
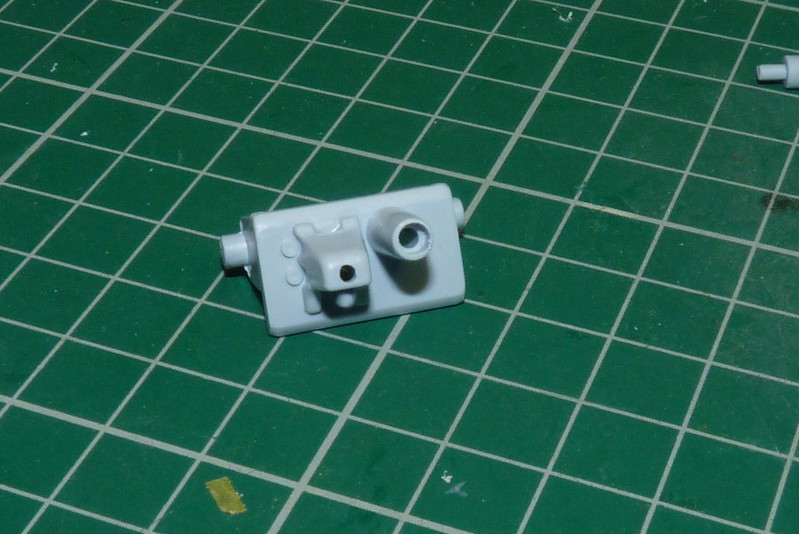
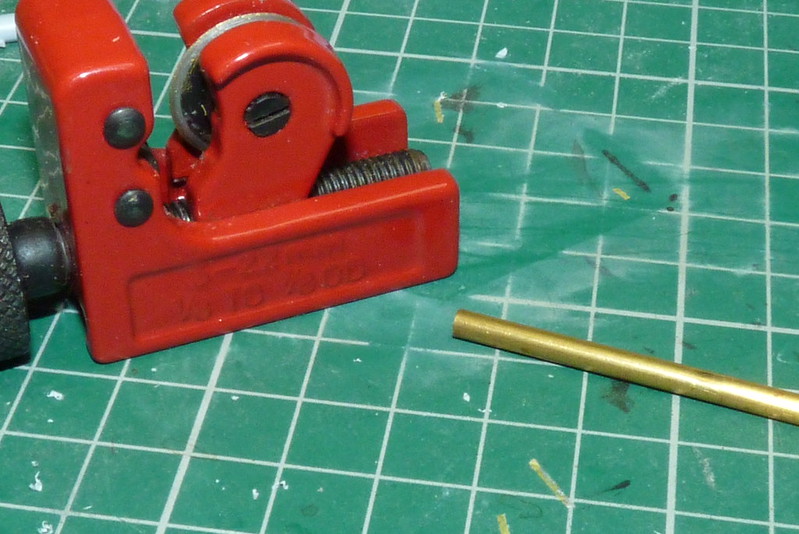
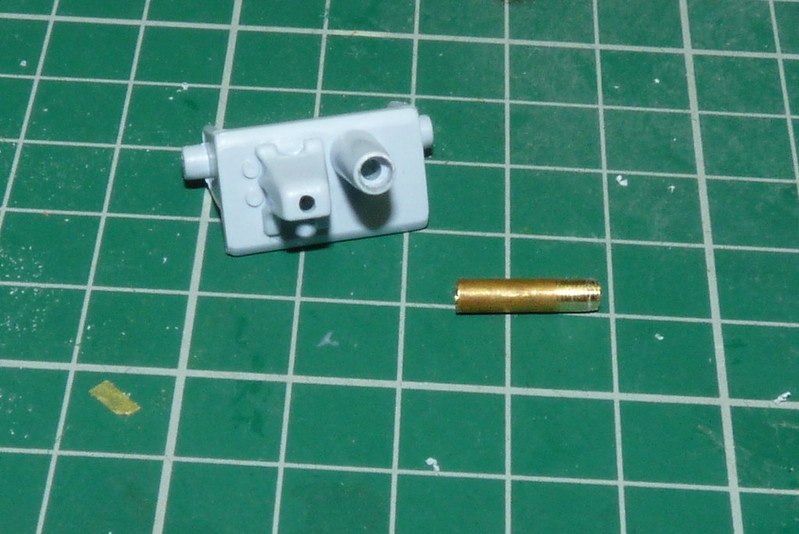
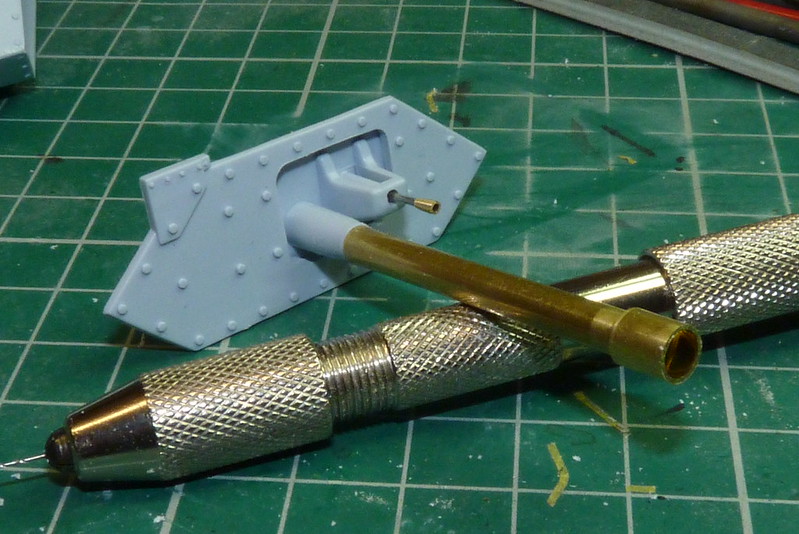
The instructions indicate to assemble the lower chassis, wheels and tracks first but because the lower chassis and upper body are slightly out of shape, I decided to start gluing them together a bit at a time to get them lined up as best I can. So As I was waiting for the glue to cure I moved on to the turret. The kit barrel didn't look too inspiring so I thought it needs replacing. I could fine any after market parts so I would have to make my own. Luckily enough the barrel didn't look tapered so I thought I would get away using brass tubing. I had a look in my draw and I had some tubing the same diameter as the kit barrel. Basically its the same stuff I use to make the stands when I am making an in-flight display for an aircraft. I had a look at the gun mount to see how I was going to do it.
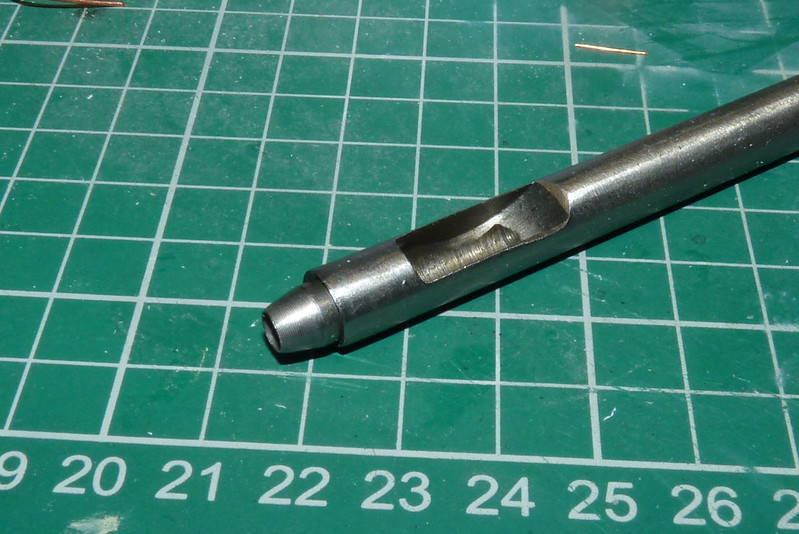
The barrel stub on the mount has a slight taper on it so the stub would have to stay. But the problem was how would I attach the brass barrel to the stub barrel on the mount as they are both the same diameter? To get around this I used a slightly smaller diameter piece of brass tubing to act as a spigot to join the mount and the brass barrel. Then I had another problem. The brass tubing I had was imperial and my drill bits are metric. The diameter of the tubing was 3.25mm. So to get around this one I drilled a 3mm hole down the stub barrel on the mount.
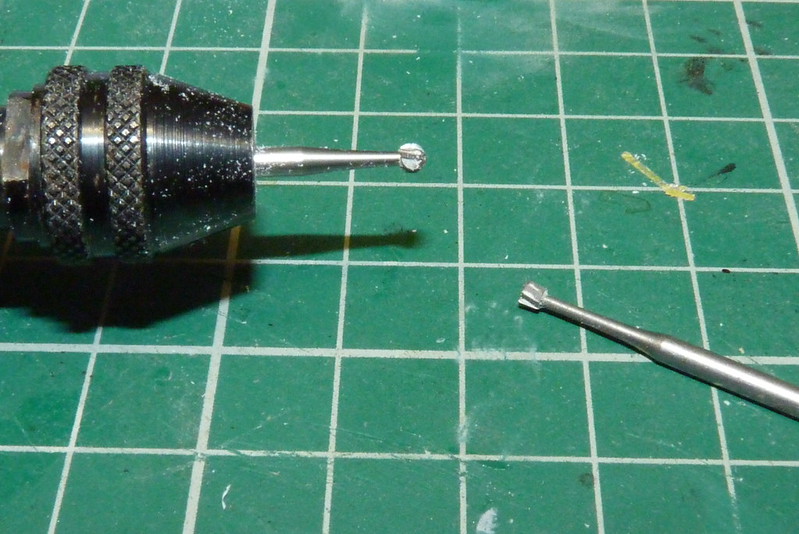
Then using a small pipe cutter I cut off a small piece of the 3.25mm tubing to act as a spigot.
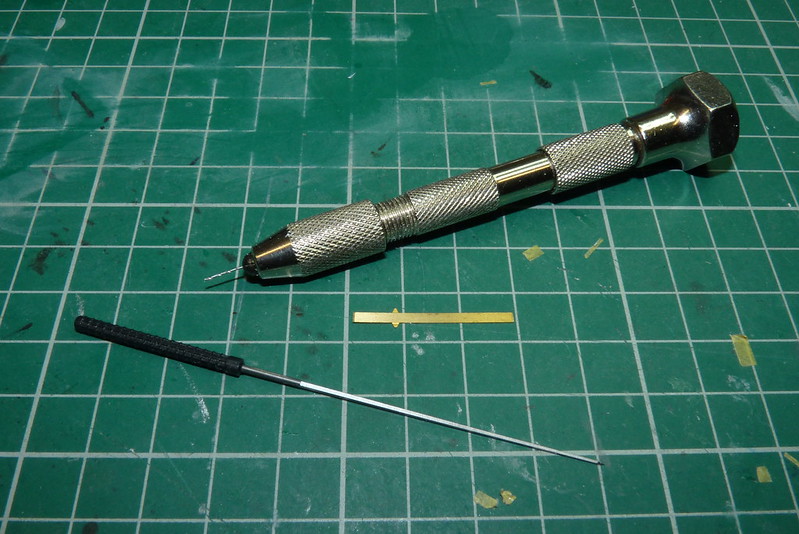
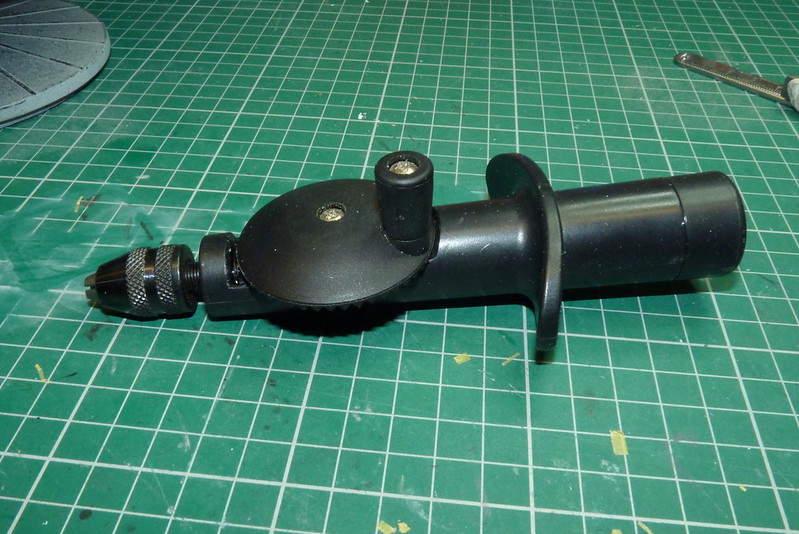
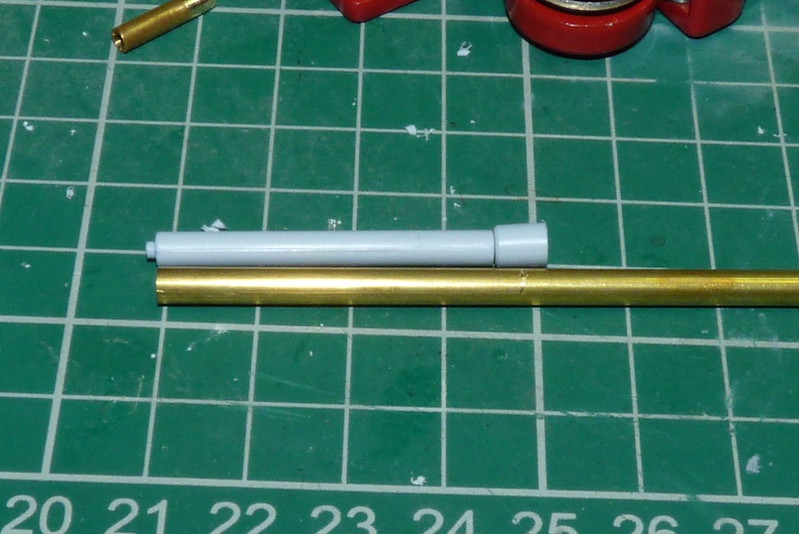
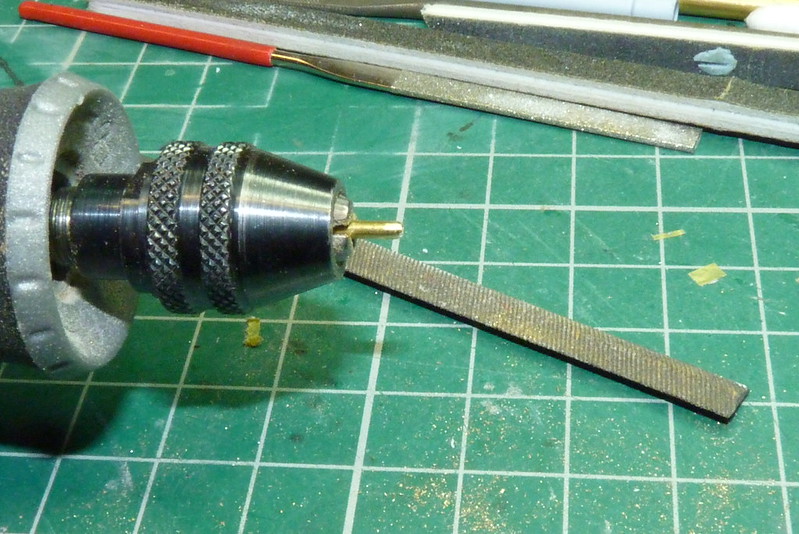
Now to reduce the diameter of one end of the spigot I put it into my trusty Dremel and use a needle file.
Then I glued them together with CA glue.

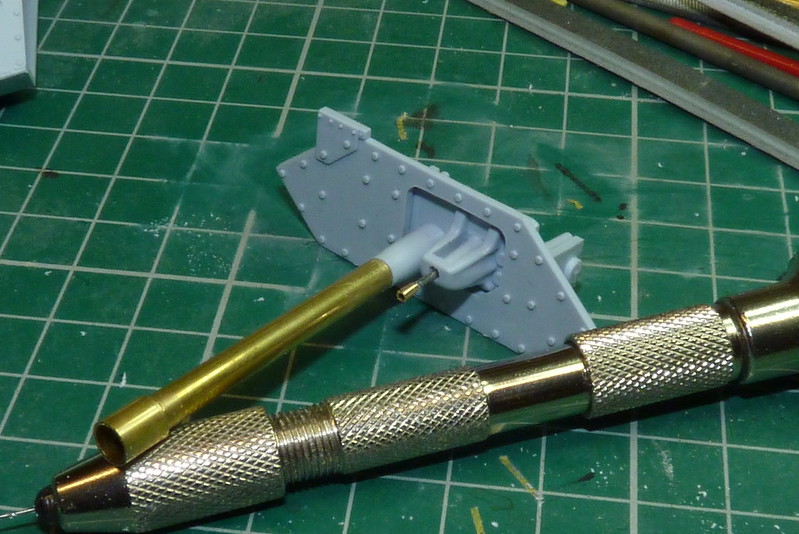
Now using the kit barrel as a template I proceeded to make the new barrel.
For the brake at the end of the barrel I just used a larger piece of brass tubing cut to size.
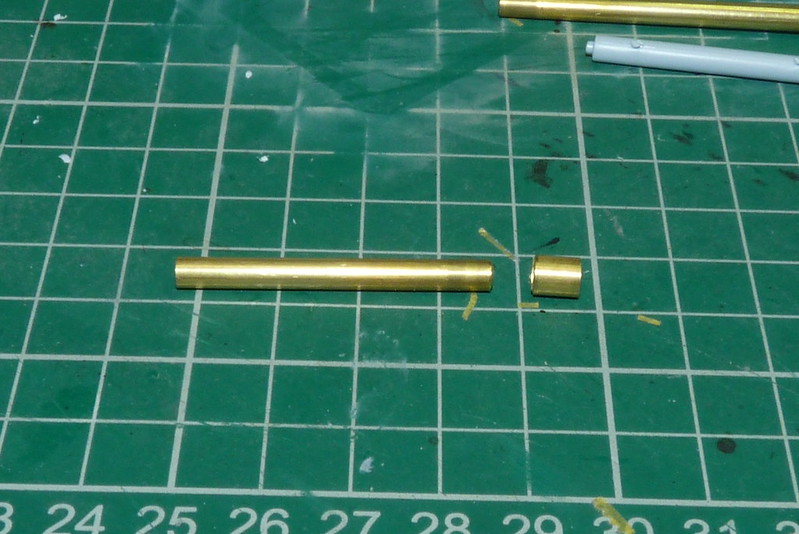
And I just glued the together with CA glue again.

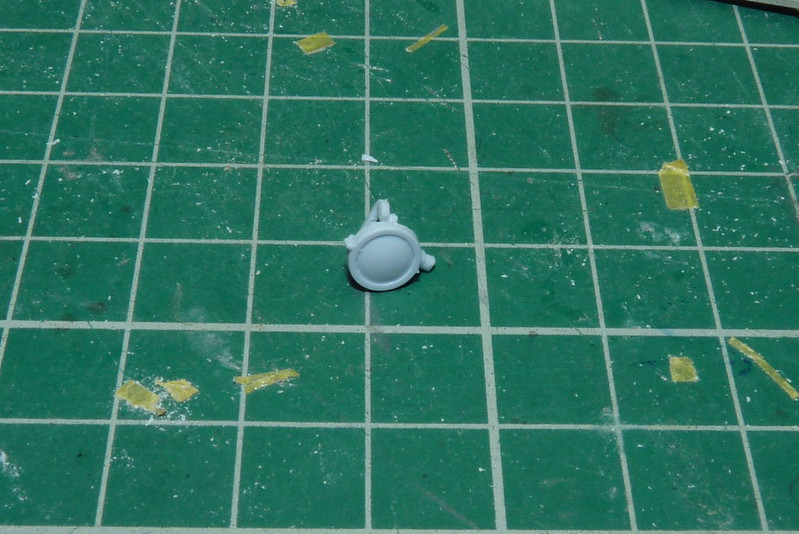
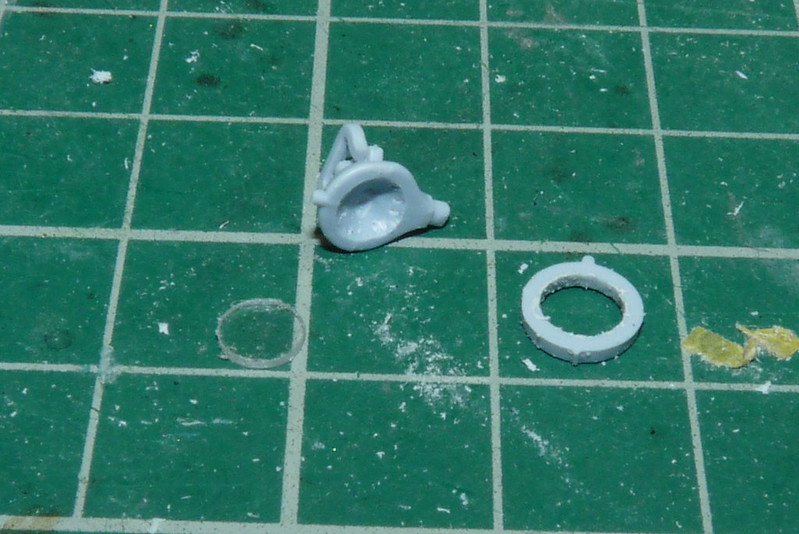
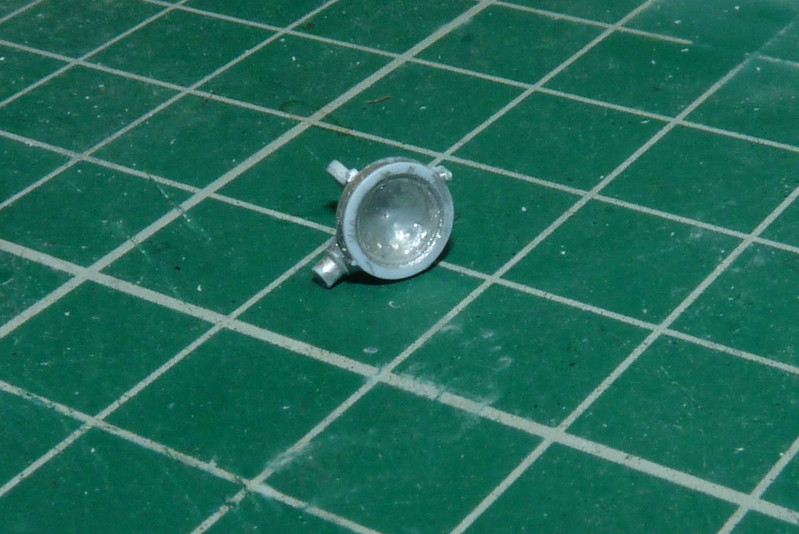
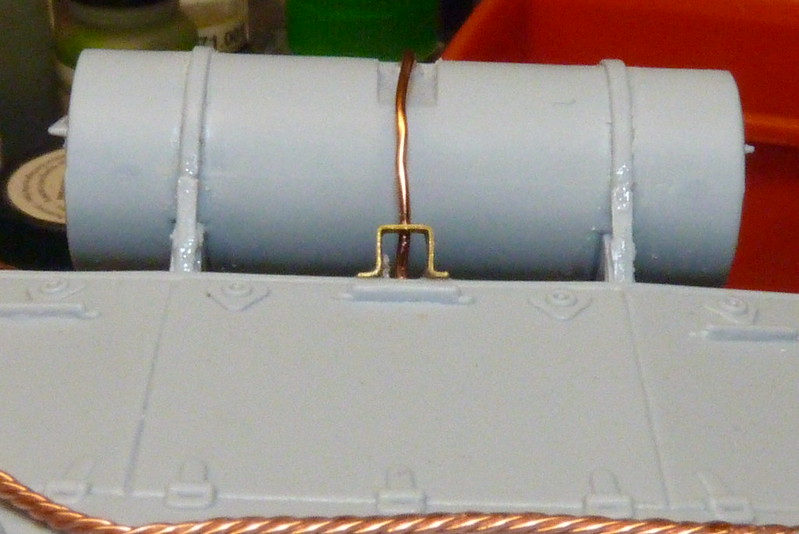
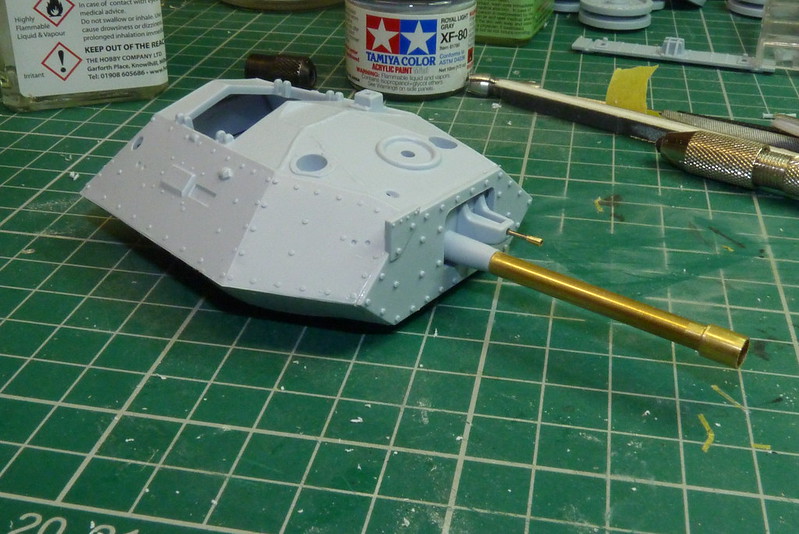
With that done I had a look at the machine gun. Again I thought I would have a go at making one of these as the kit one wasn't very strong.
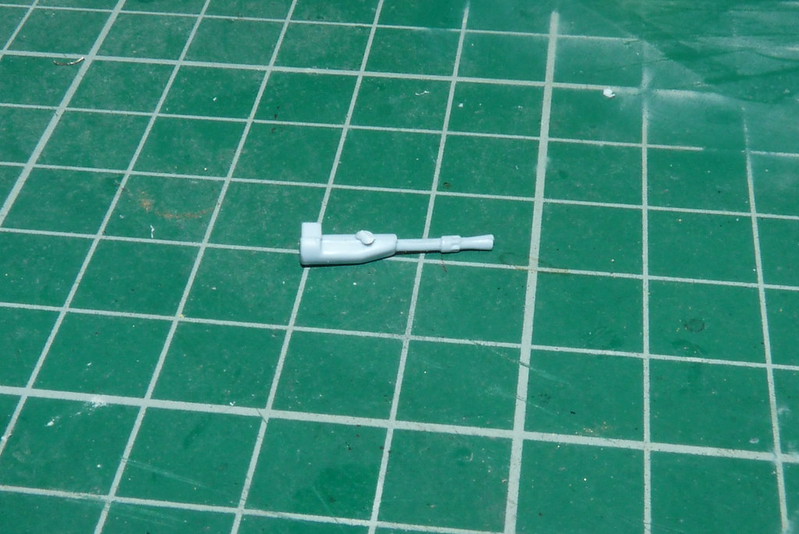
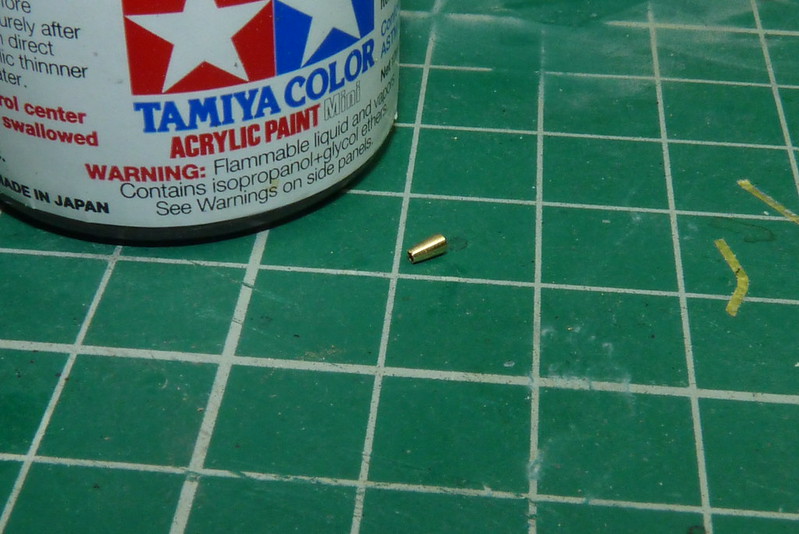
or the barrel I was going to use a syringe needle and I had to have a think how I was going to make the flash eliminator. I had some very small diameter brass tubing I had left over when I made the inside frame of my Piper Cub. So out came my trusty Dremel again and needle file and I managed to make a flash eliminator.
The Tamiya paint pot is there to give you an idea of scale.
I used CA glue to join the barrel and the eliminator.
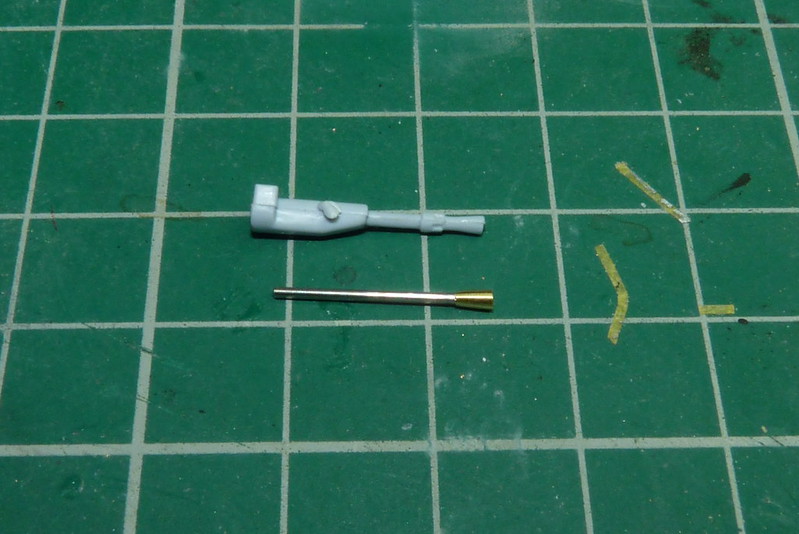
I then just cut off the plastic barrel off the gun, drilled a hole and attached the new barrel with CA glue. Then I brought them all together and attached them in the turret.
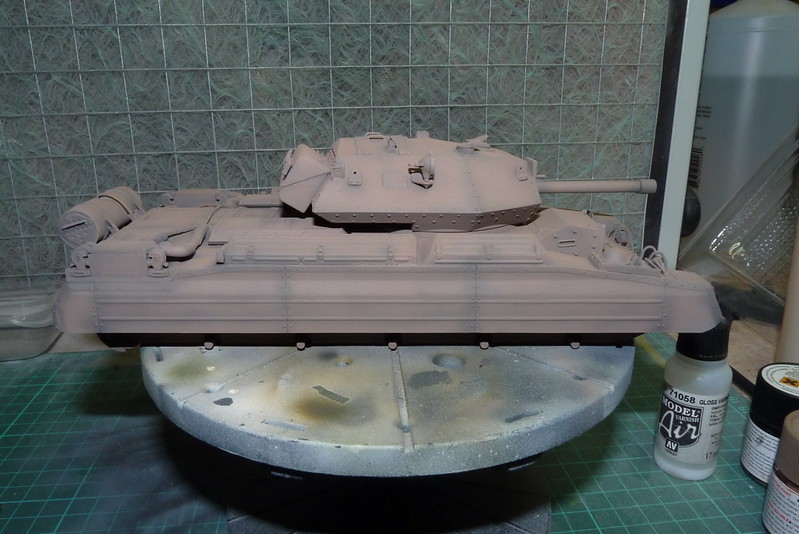
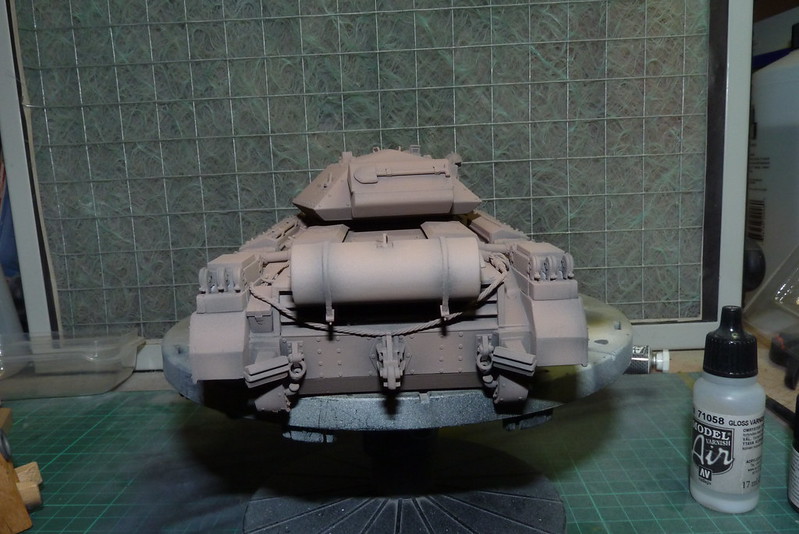
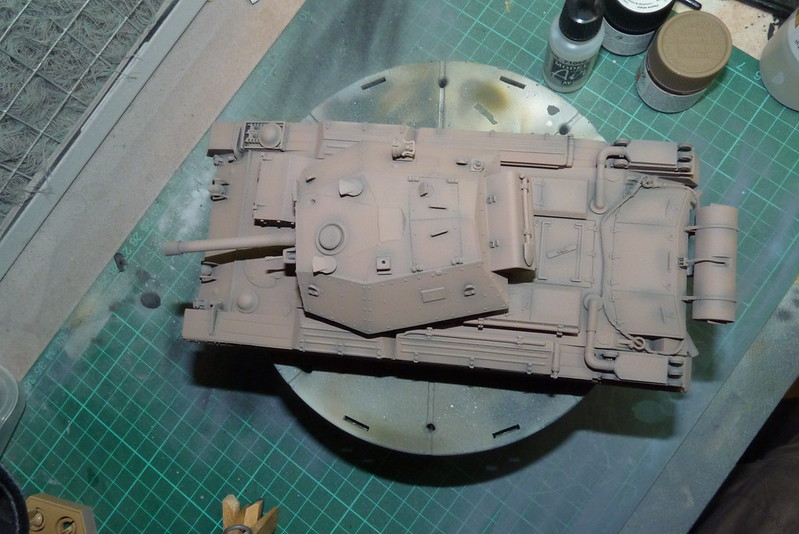
Then I went back to sorting out the chassis.