Revell 1/32 Lee Tank M3

Millitary miscellany; Tanks, AFV, Trucks and other Soft-Skin vehicles etc.
Sunray
Active Participant
Posts: 611
Joined: March 18th, 2014, 4:01 pm
Location: Penshaw, North East, England
Contact:

Revell 1/32 Lee Tank M3

Post by Sunray »

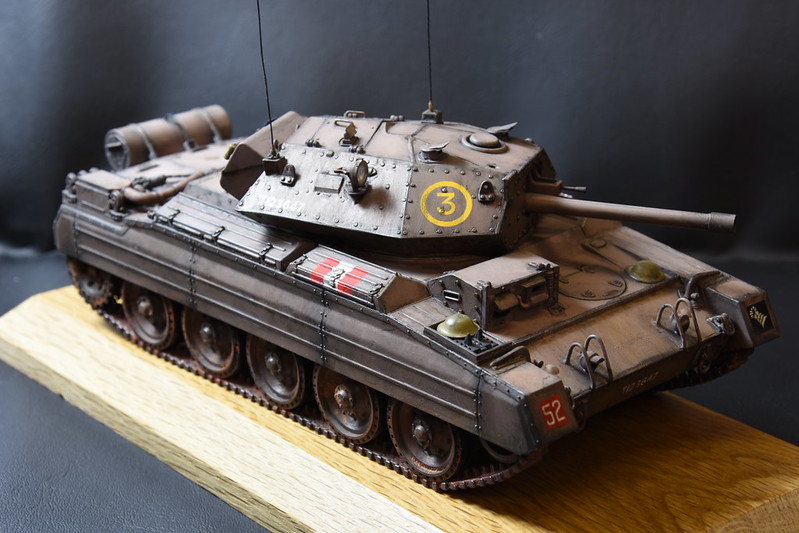
A last year I did Airfix's 1/32 Crusader Mk.III tank.

Image

http://www.uamf.org.uk/viewtopic.php?f=21&t=13483

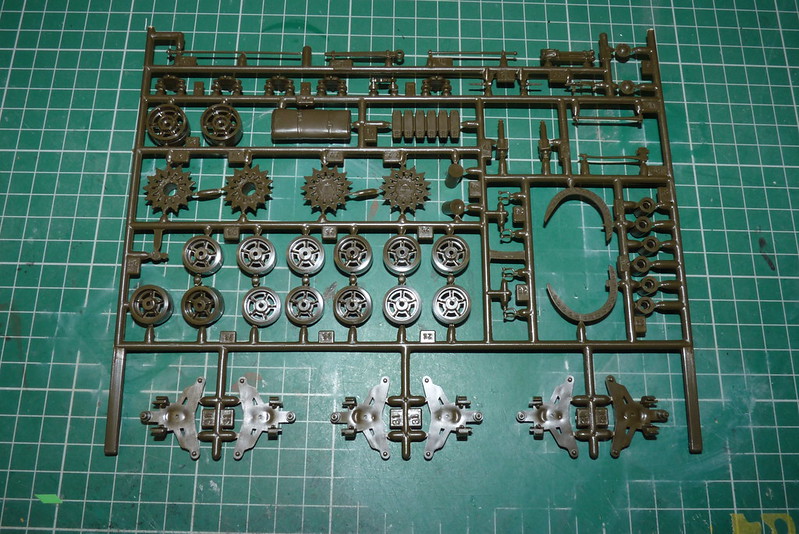
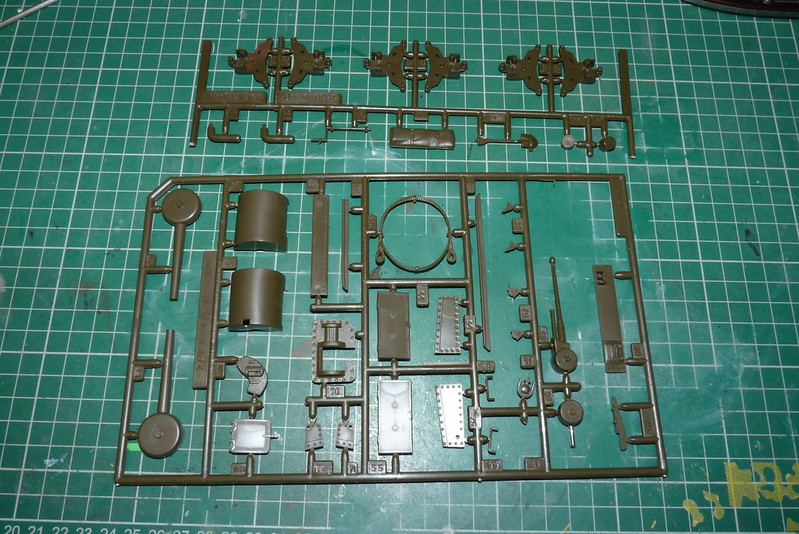
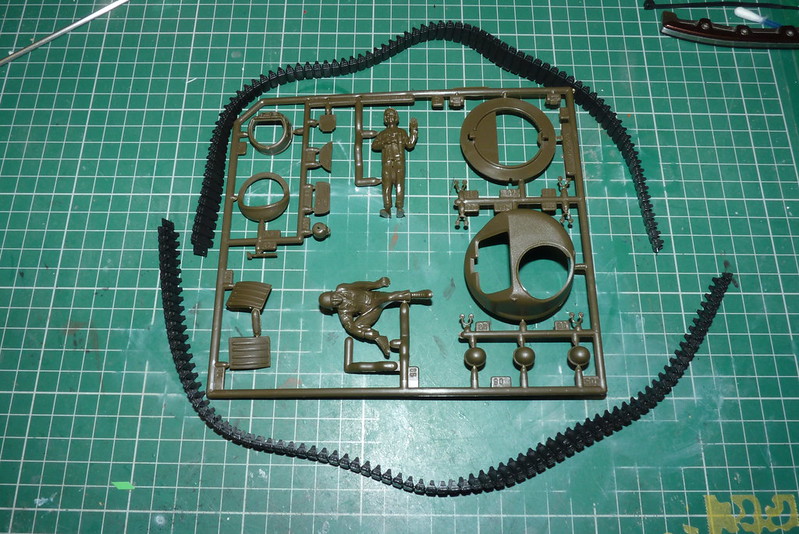
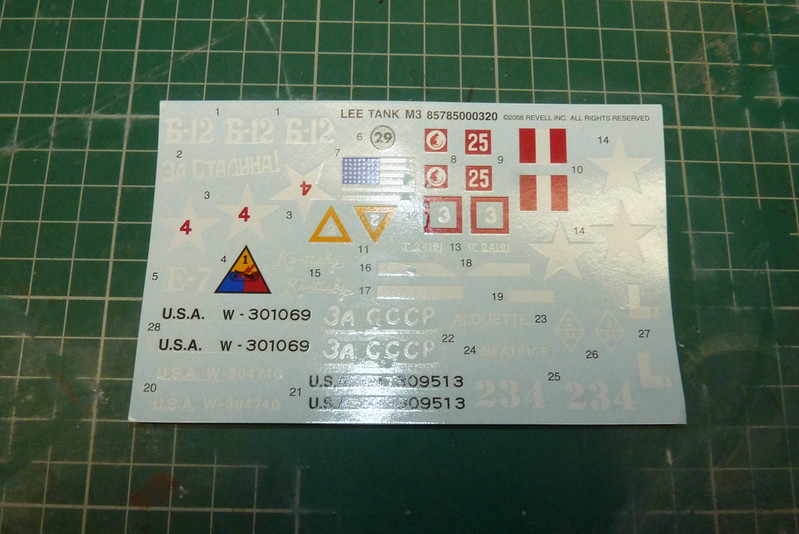
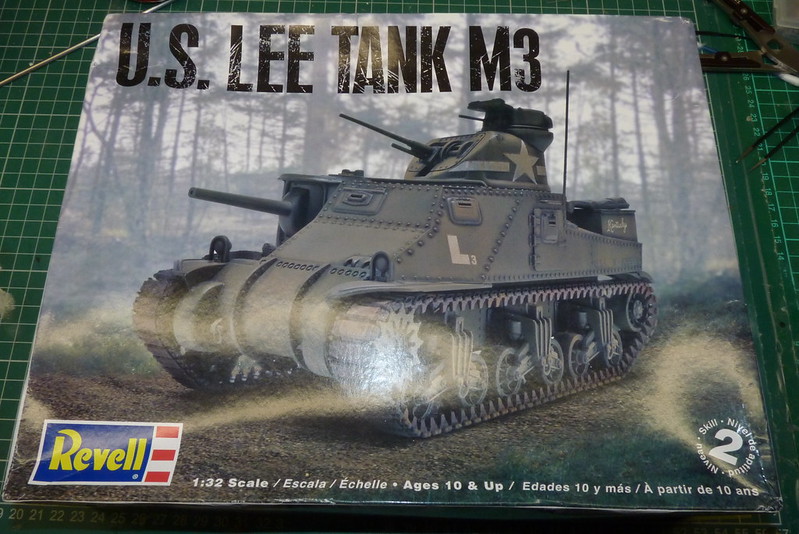
Loved the build so I thought I would see if I could get hold of an Airfix 1/32 Grant but I couldn't find one but I did manage to get hold of Revell 1/32 Lee so here is how I am getting on.
Image

Image

Image

Image

Image

Image

Image

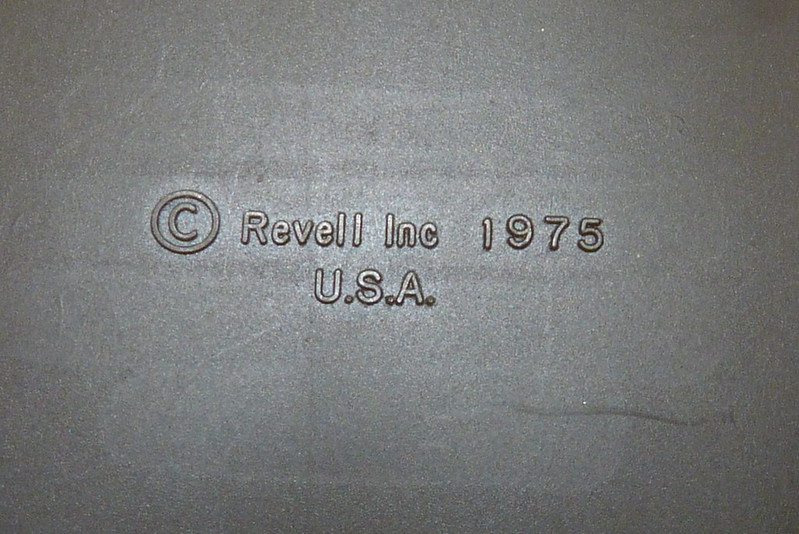
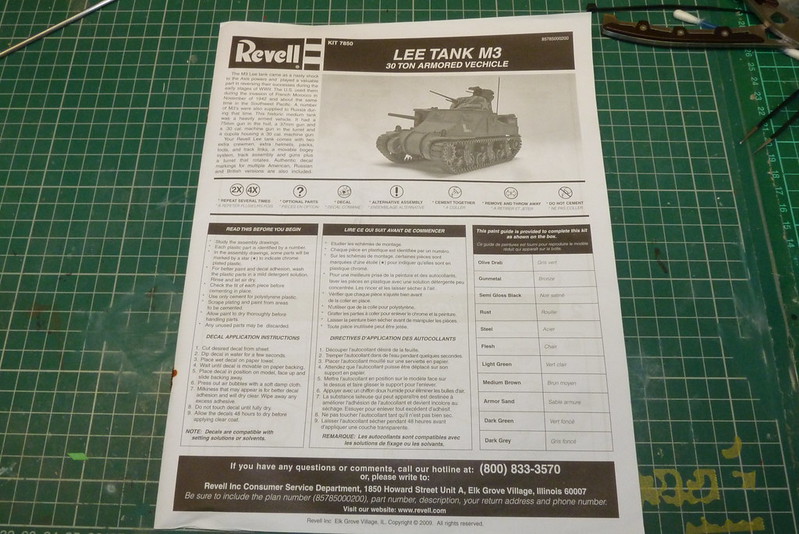
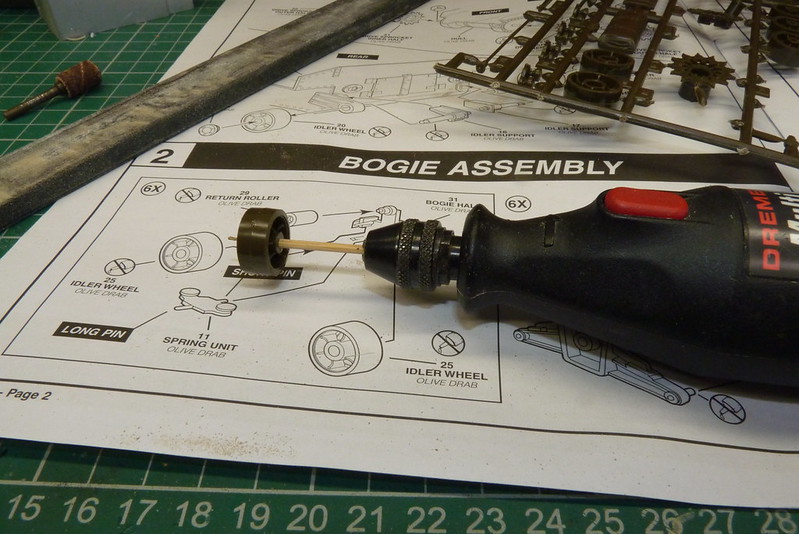
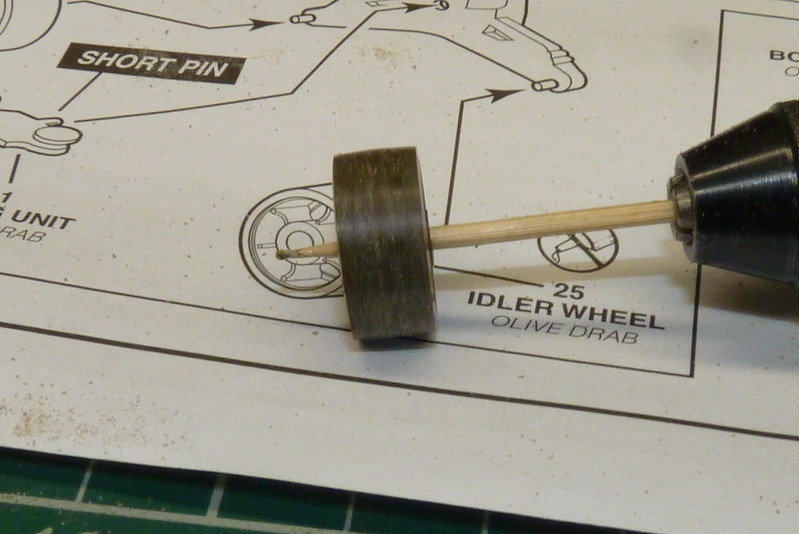
As you can see from the last photo this isn't a young kit but for a 42 year old kit it hides its years rather well. Though the figures are not the best nor are the decals and the vinyl tracks are a bit long but the rest of the kit passes muster. The plastic quality isn't bad, the ejector pins are not in any places to give too much trouble and the detail looks right to me. My first job was to make the six bogie's. The parts needed a bit of tiding up but not too much. To get read of the seam lines on the wheels. This was done using my Dremel, a cocktail stick and piece of wet and dry stuck on a flat piece of wood.
Image

Image

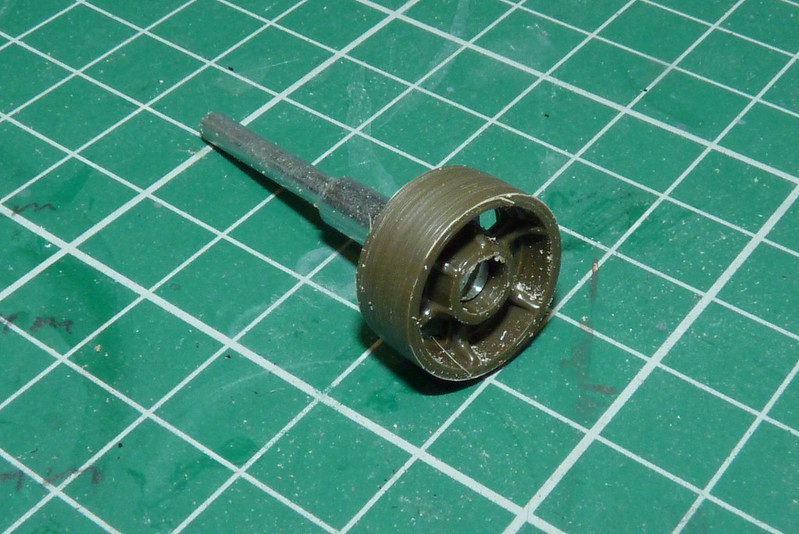
The cocktail stick are cheap but I found the chuck of my drill wasn't too keen on them as every now and then one tried to escape. So looking around my bench I spied a mandrel from my Dremel which has a thin screw which easily fitted the wheel.
Image

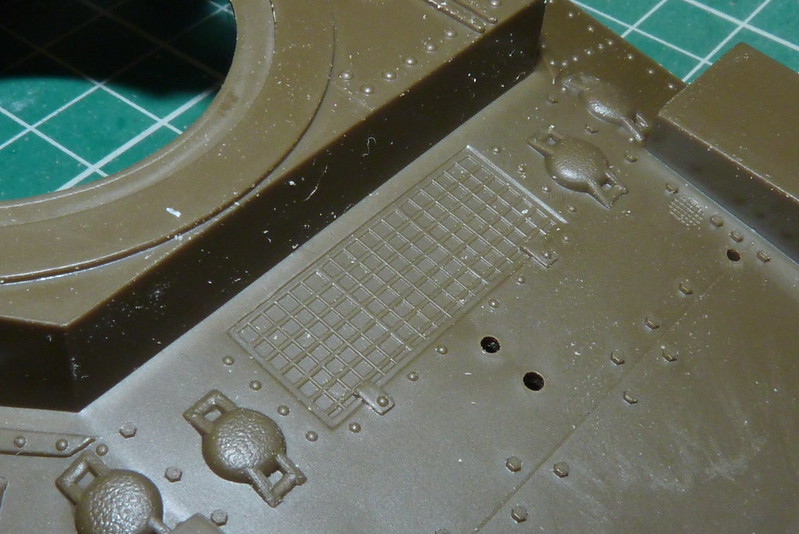
This worked perfectly and made the job of sanding the road wheels a faster. I had a piece of wire grill which I got from my spares box and I decided to replace the grill between the filler caps.
Image

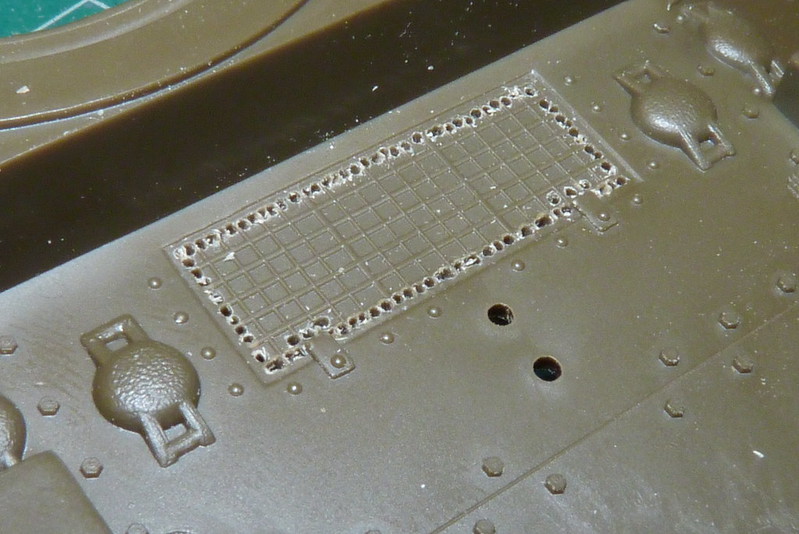
So using small drill bits I got to work.
Image

Image

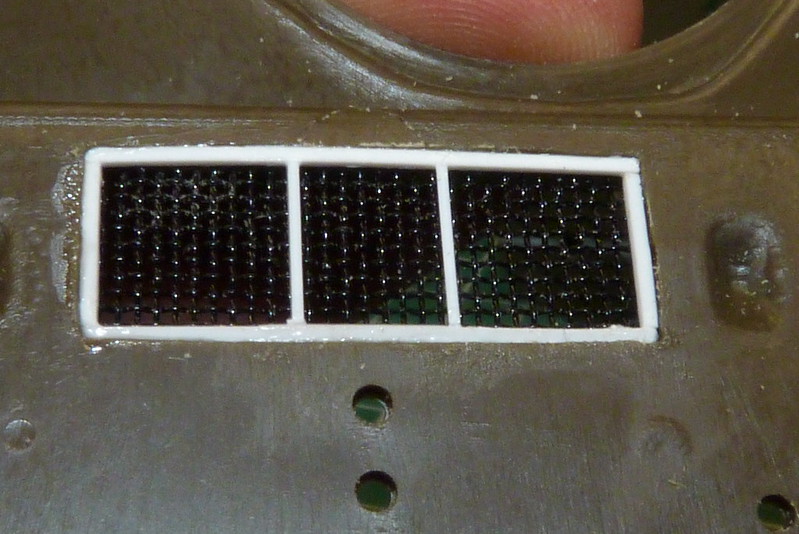
Using a file and skinny sticks I smoothed down the sides. I cut the grill to size and I used plastic rod to make the inner frame for the grill to sit on.

Image

Image

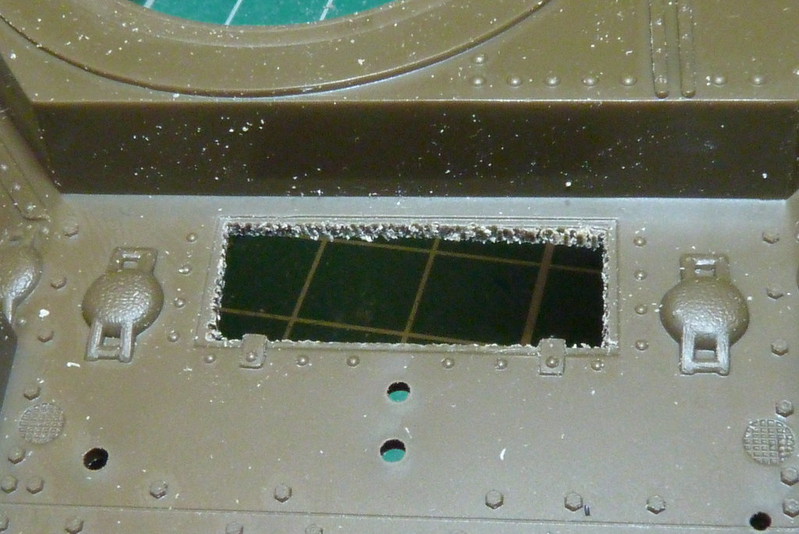
I had a look at the vision slots and I decided to drill them out and used scrap plastic as backing. I did this to give them a bit of depth and used the backing as I wanted the hull light tight.
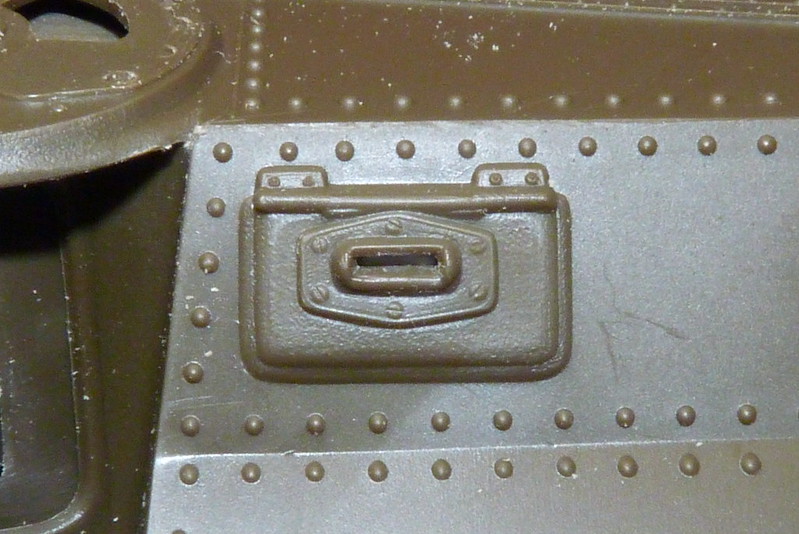
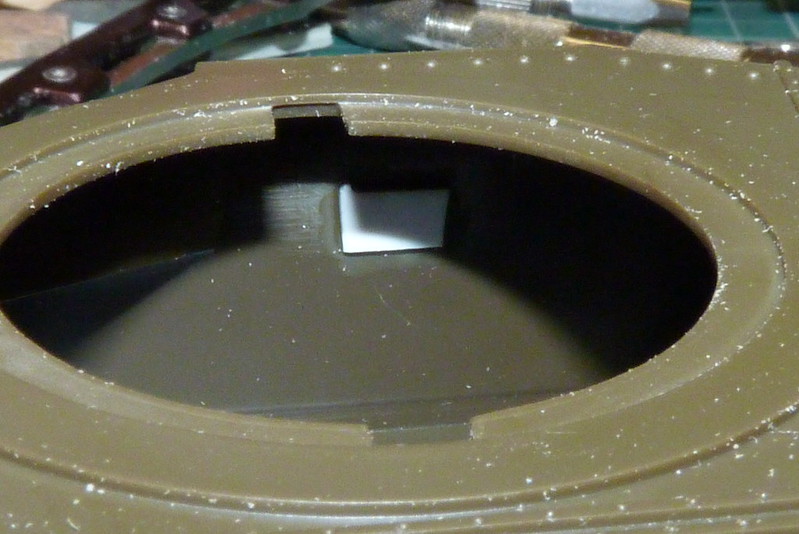
Image

Image

Image

I did this for the turret as well. Regarding the turret I drill out the main gun barrel and the coaxial machine gun adding cooling vent holes to the as well.
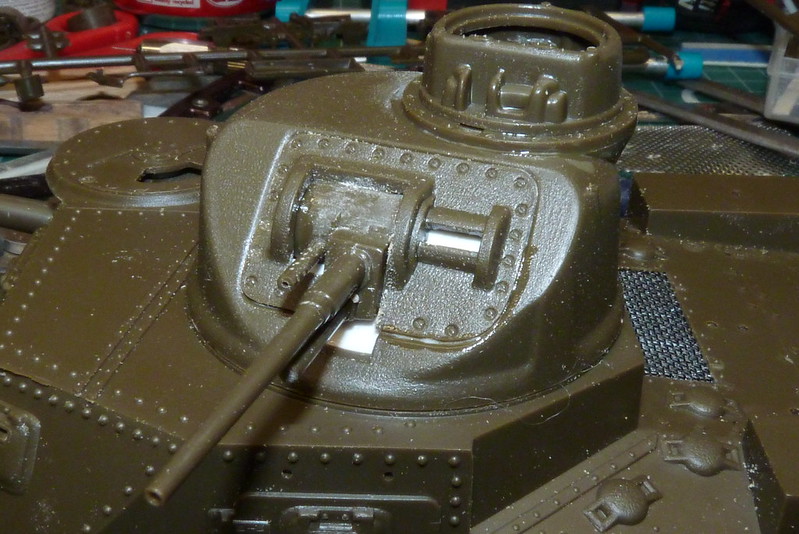
Image

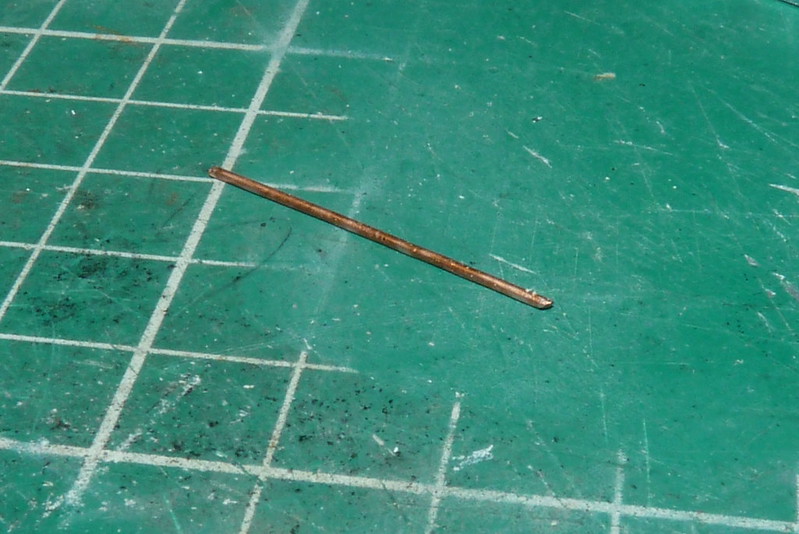
As you can see from the previous photo, the side door has a grab handle above it. As a rule I always replace plastic handles with metal ones if I can just because I don't want them to snap off later on and I think the look better. So using a bit of copper wire roughly the same thickness as the kit part I cut it to a usable size.
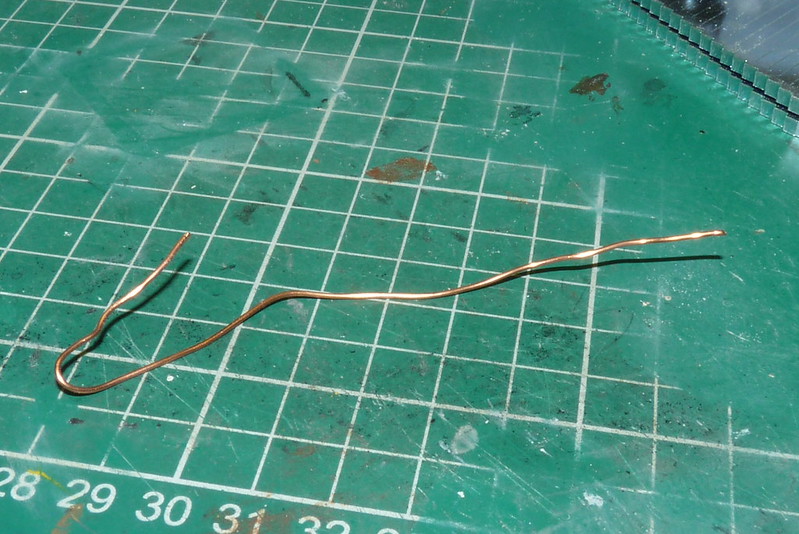
Image

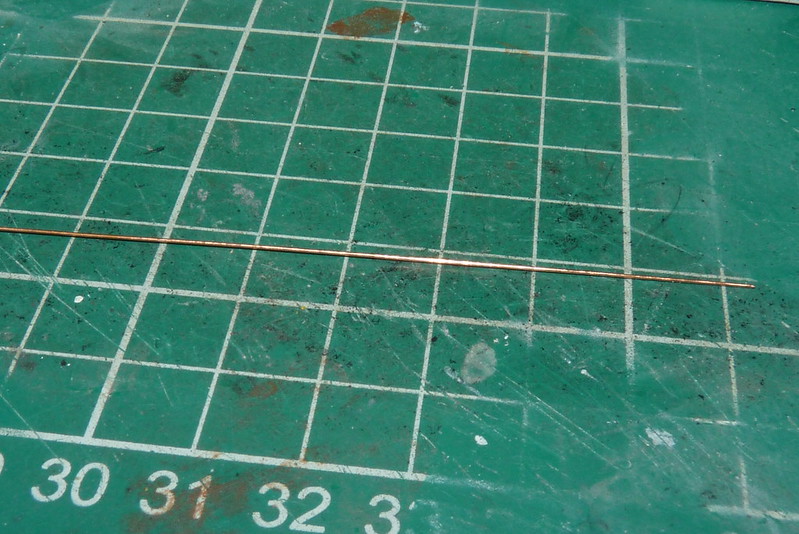
I used a metal ruler to straighten the wire by rolling it under the ruler.
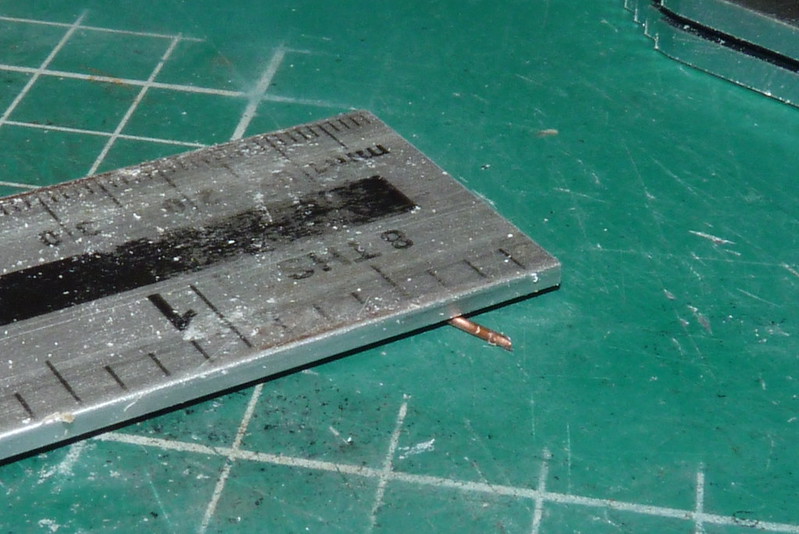
Image

Image

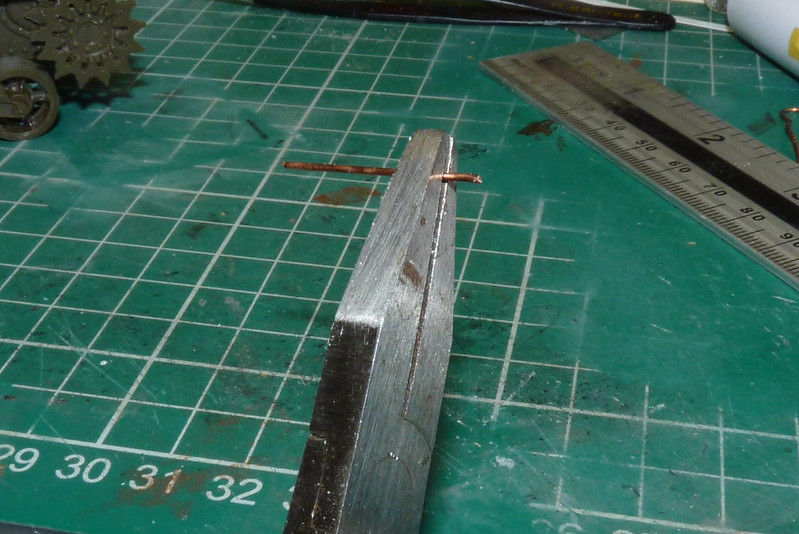
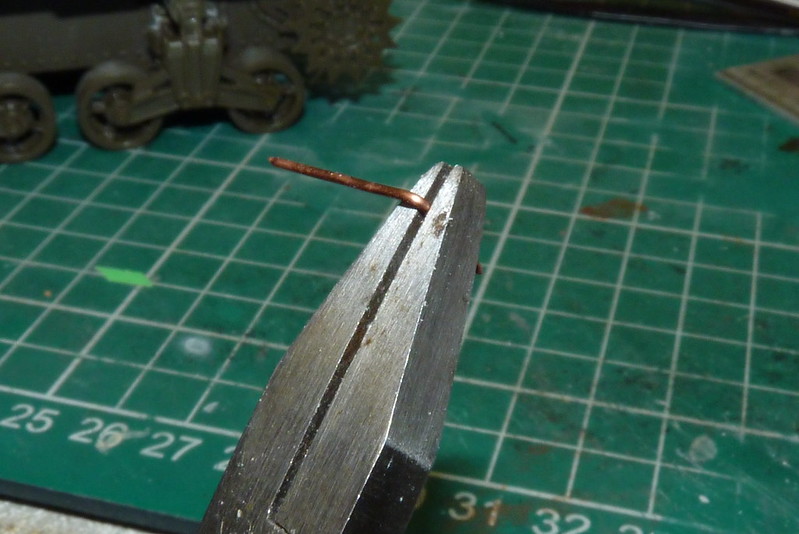
Now using a flat pair of pliers I put the first bend in.
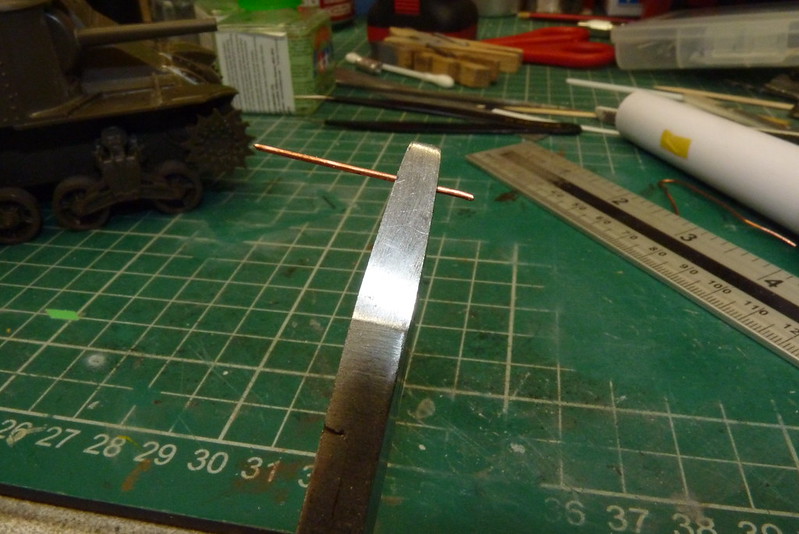
Image

Image

Image

Image

At this point I was going to use a nice piece of kit made by RP Tools for making handles.

Image

But just my luck, the size of handle I wanted was where the pin is, so on to plan "B" and I made them the old way.
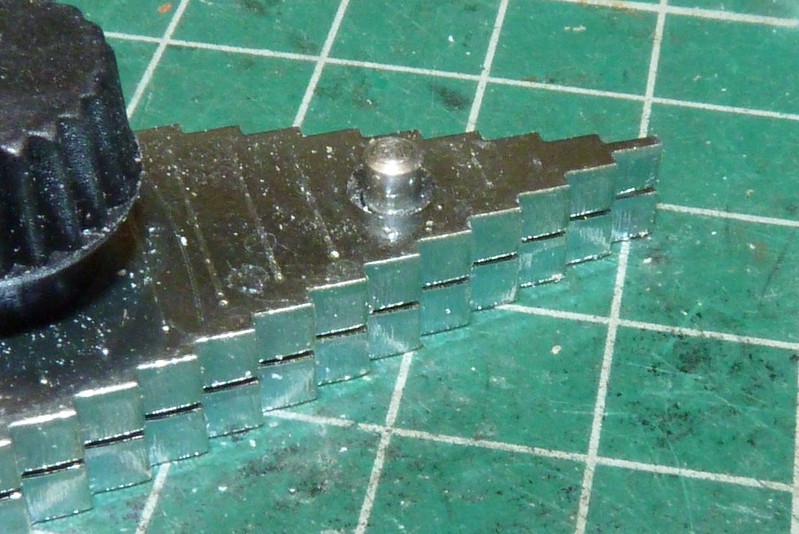
Image

So I first fitted the wire into one of the handle holes.
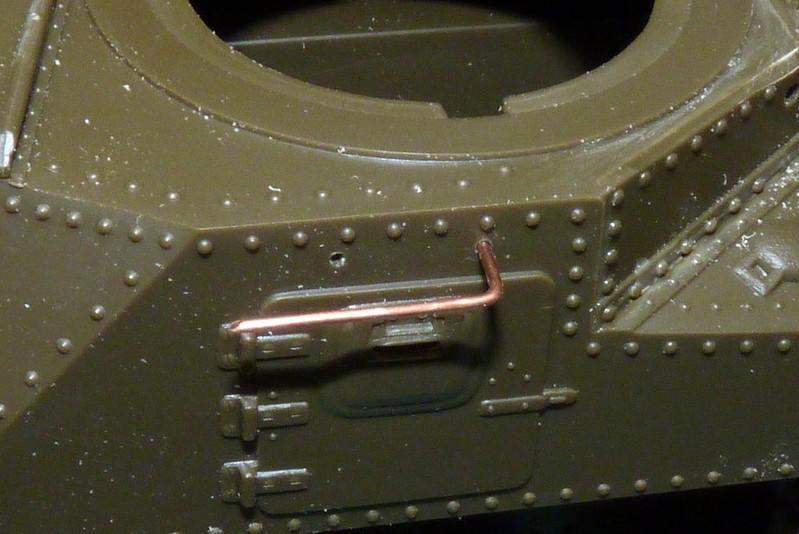
Image

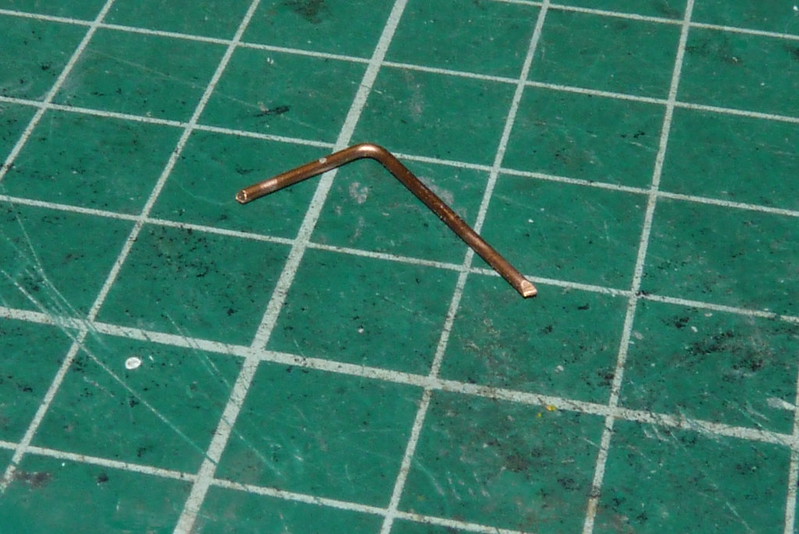
Then I roughly placed the flat pliers where I wanted the second bend to be. Keeping the pliers in place I removed the wire from the hull and then I put the second bend in. If I wasn't happy with the bend, as I am using copper I just straightened the wire with the steel ruler and tried again. Anyway when I was happy I trimmed the wire ends to make it easier to fit.
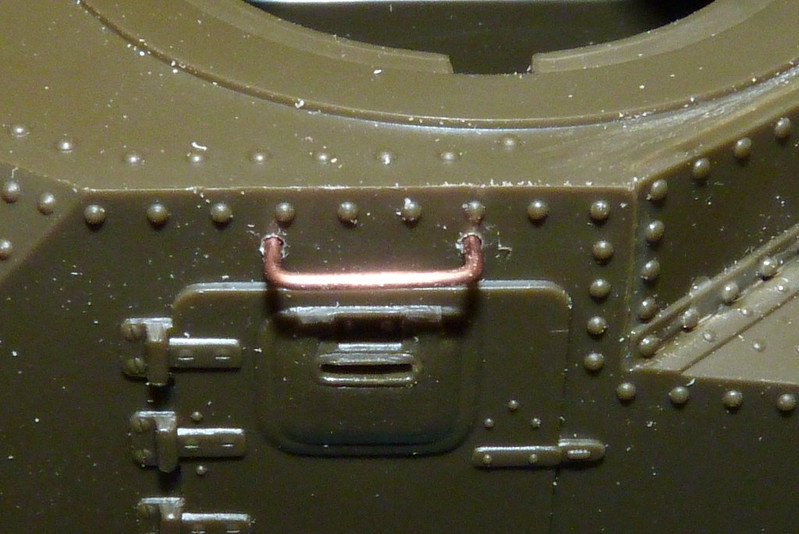
Image

I then fixed them in place with CA glue.
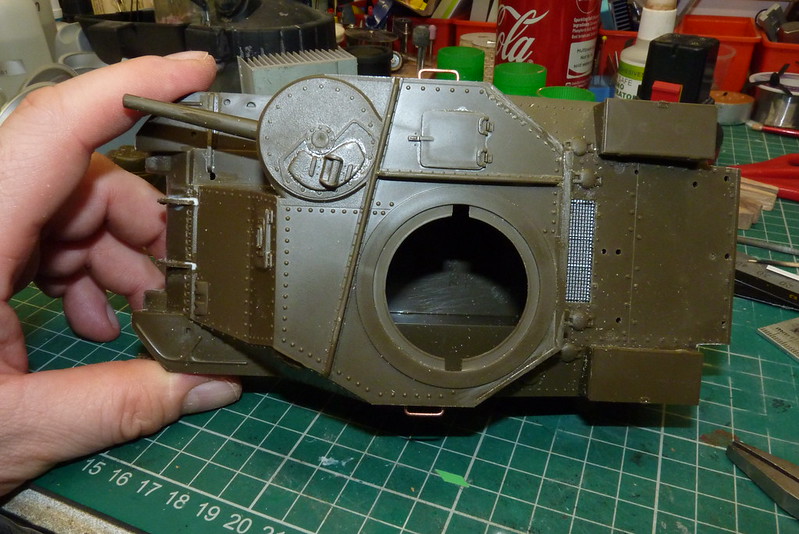
Image

For the upper machine gun I used a syringe needles which was the same diameter as the kit part and I cut to size using my Dremel and a cutting disc. Then I glued in place with CA glue.
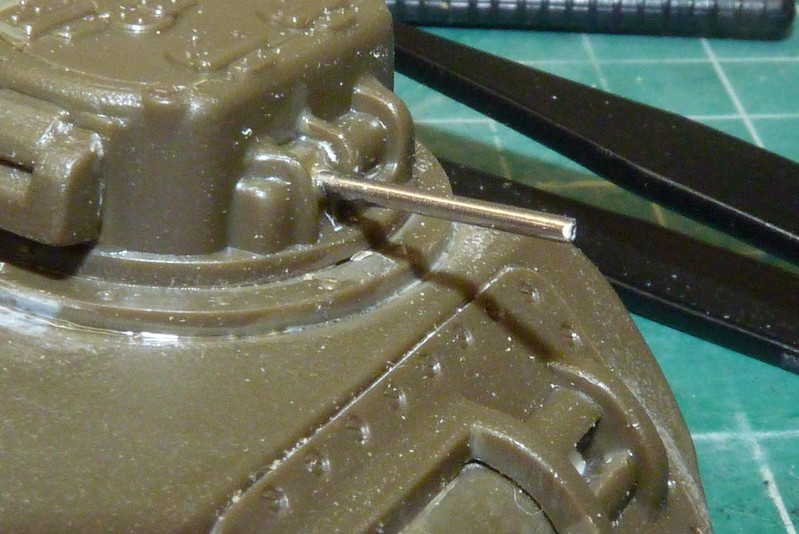
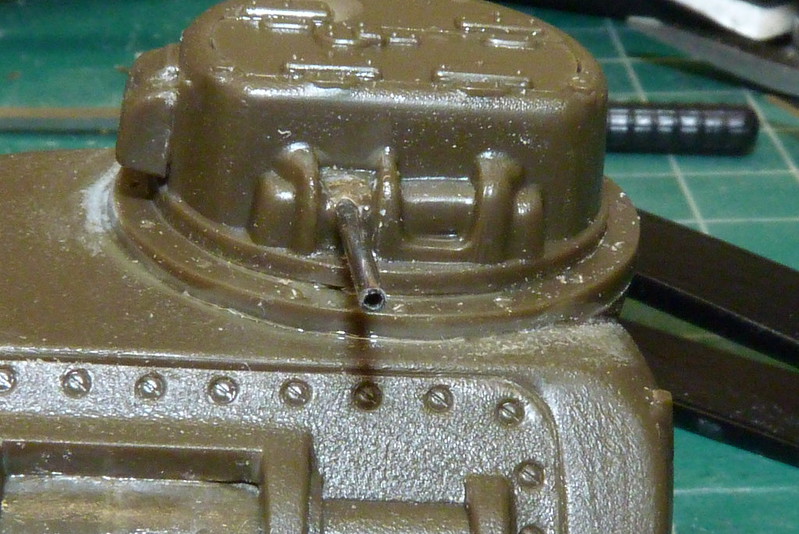
Image

Image

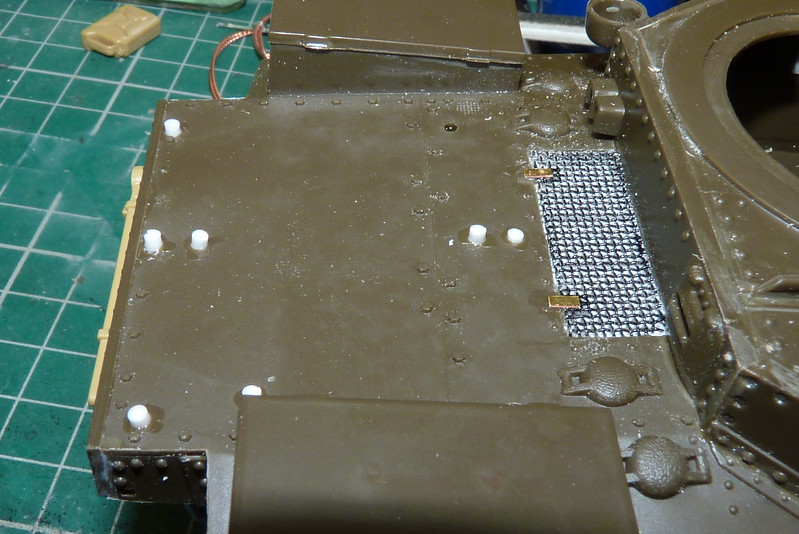
I filled the tool locating holes on the rear deck as I was going to add my own tow cable made from twist thin copper wire. The reason for filling all of the holes as it allows to slightly move the location of each tool if I have to.
Image

I used plastic rod glued in the holes and I sanded when the glue has cured. Here is the kit tow cable.
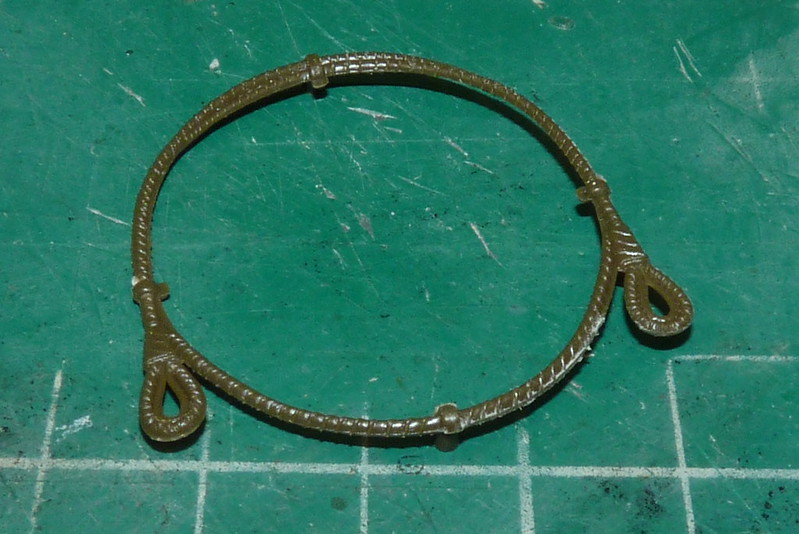
Image

And here is the homemade one.

Image

Image

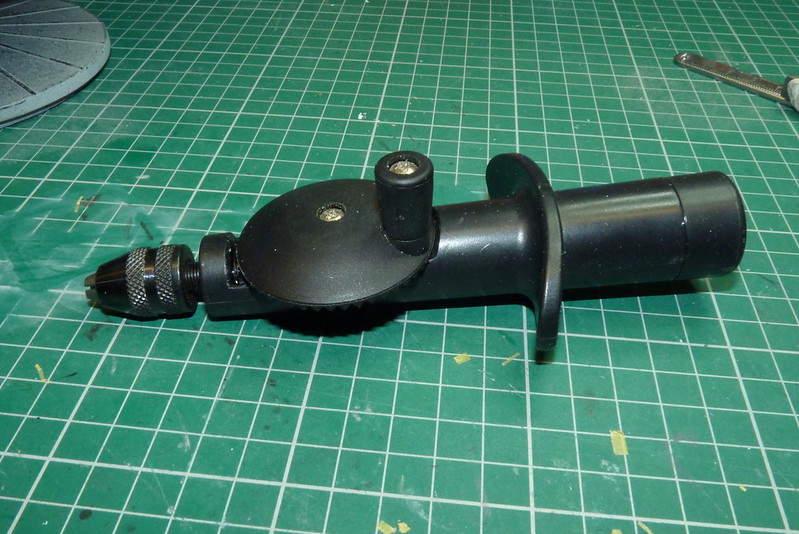
These are easy and cheap to make. All you need in a hand drill.
Image

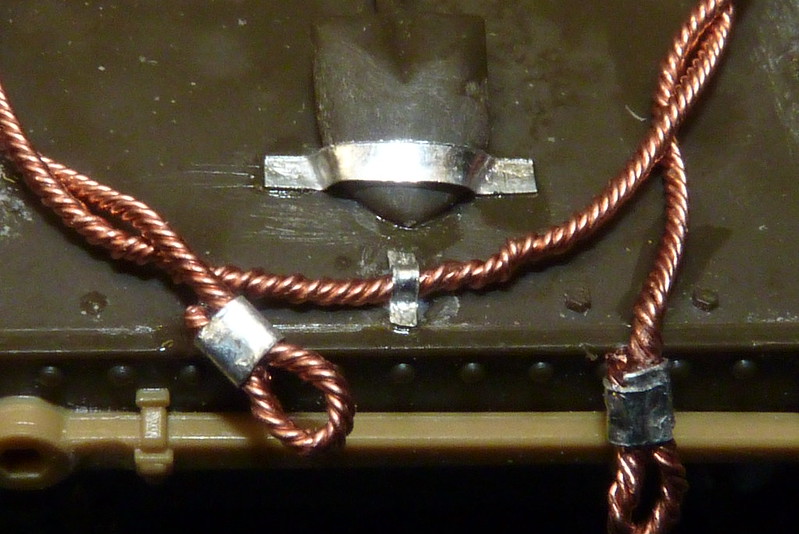
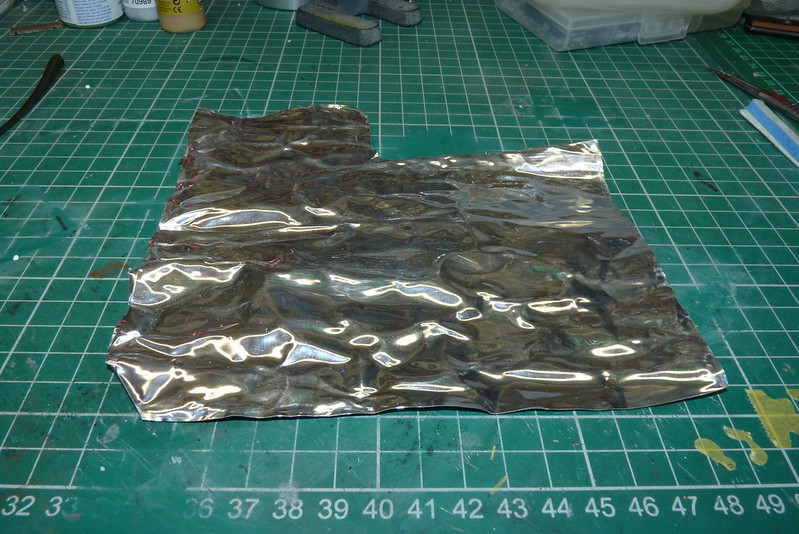
A vice and a screw. You put the screw in the vice with the head of the screw and about an inch of the screw shaft sticking out of the top of the vice and tighten the vice. For this cable I used two pieces of thin wire bent in half. The loose ends of the wire are placed in the drill chuck and tightened. The two loops at the other end are placed over the head of the screw in the vice. Now pull back slightly on the drill to straighten the wire and just turn the handle of the drill and watch it braid the wire. Stop when you are happy and cut to size. For the loop I bent the end of the wire then I used a small strip of soft aluminium then I used a drop of CA glue to keep it in place. I use aluminium sheet but you could use the aluminium off the top of wine bottles.
Image

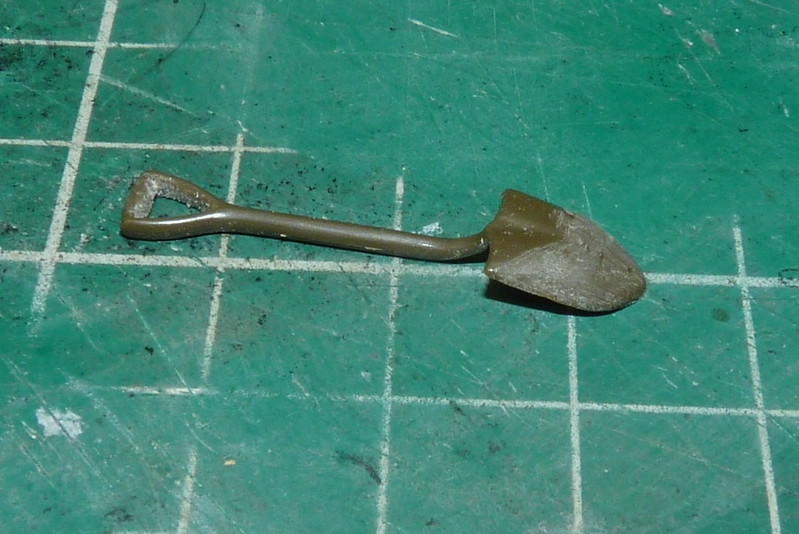
Next I tidied up the shovel by removing the mounting strips, etc and the plastic that filled in the gap in the handle.
Image

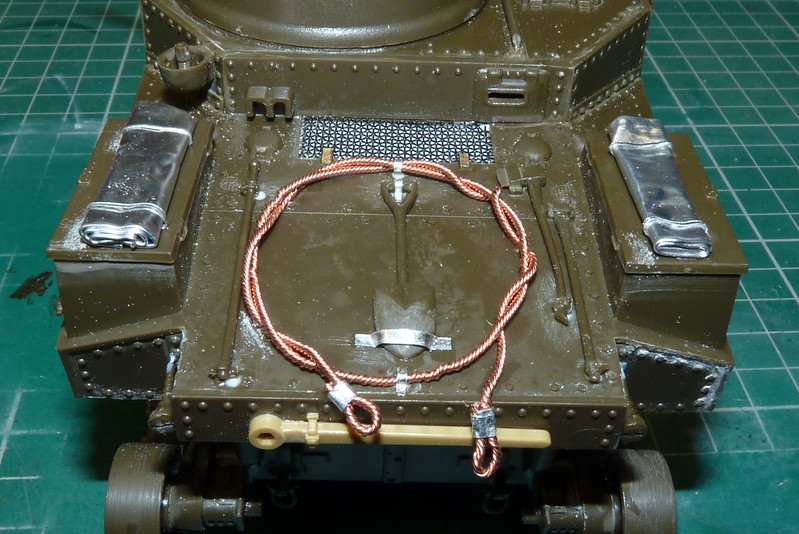
Then I started to add the tools, cable, tarps, etc.
Image

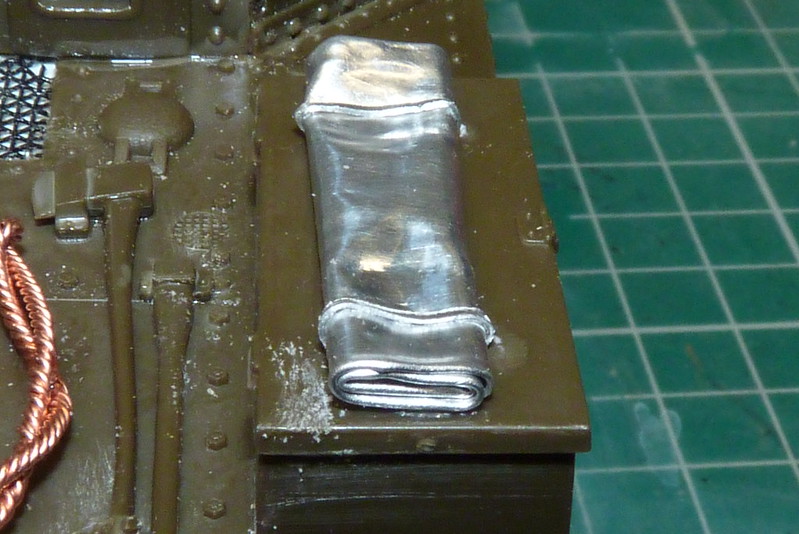
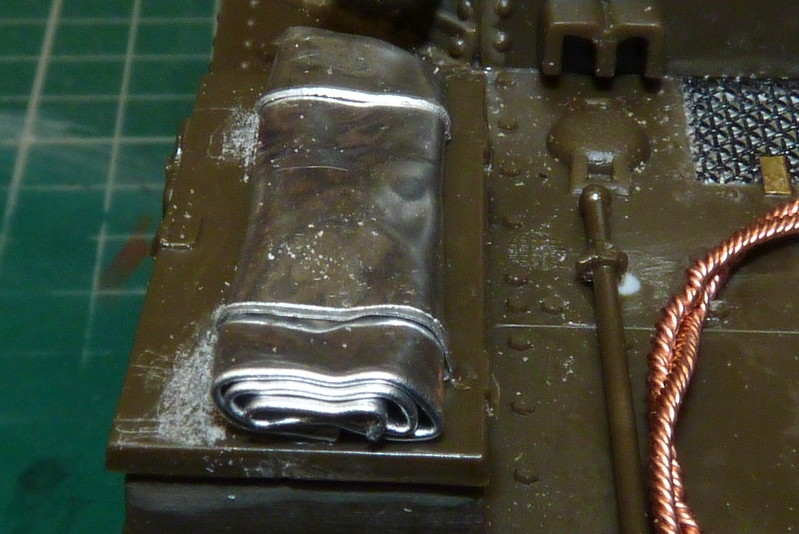
The tarpaulins where made by just rolling a piece of soft aluminium and the shovel and cable strips where made from the same using CA glue to attach.
Image

Image

Image

Even with all the homemade additions for me this is a fast build. There has been a bit of filling but not as much as I first though.
Image

Image

Image

Image

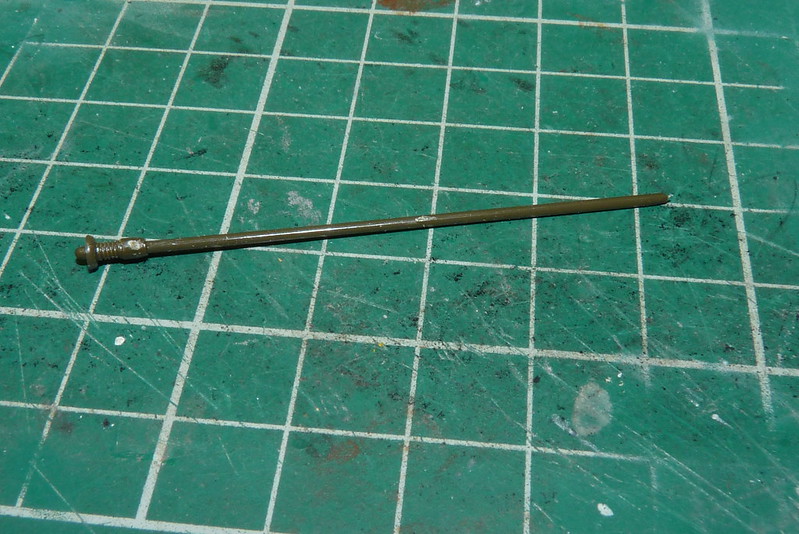
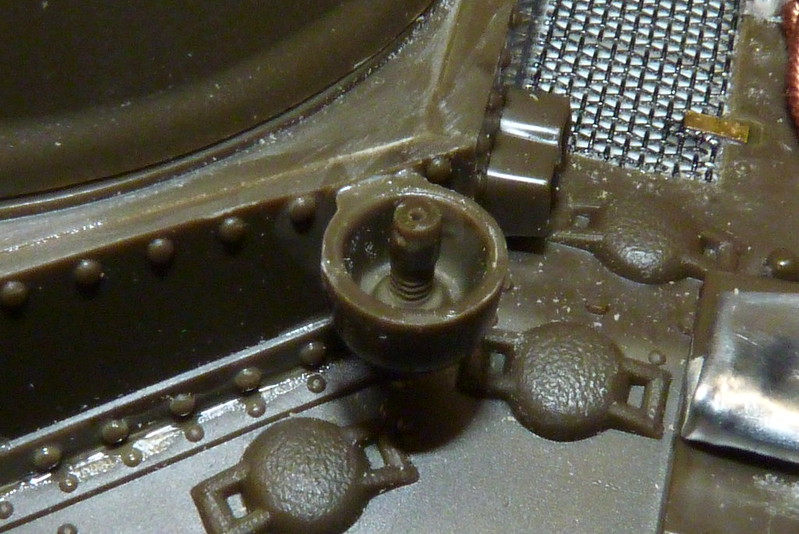
For me the kit antenna was a touch too thick and I knew would snap off in the future so I again used thin copper wire rolled and straightened as before.
Image

Image

So I just cut off the kit antenna from its mount and I drilled a hole in the mount to take the wire. I then attached the antenna mount to the tank hull.
Image
Cheers
Ian


Please click on the web link below to have a look at all my photo's.

https://www.flickr.com/photos/ecirpnai/albums
Sunray
Active Participant
Posts: 611
Joined: March 18th, 2014, 4:01 pm
Location: Penshaw, North East, England
Contact:

Re: Revell 1/32 Lee Tank M3

Post by Sunray »

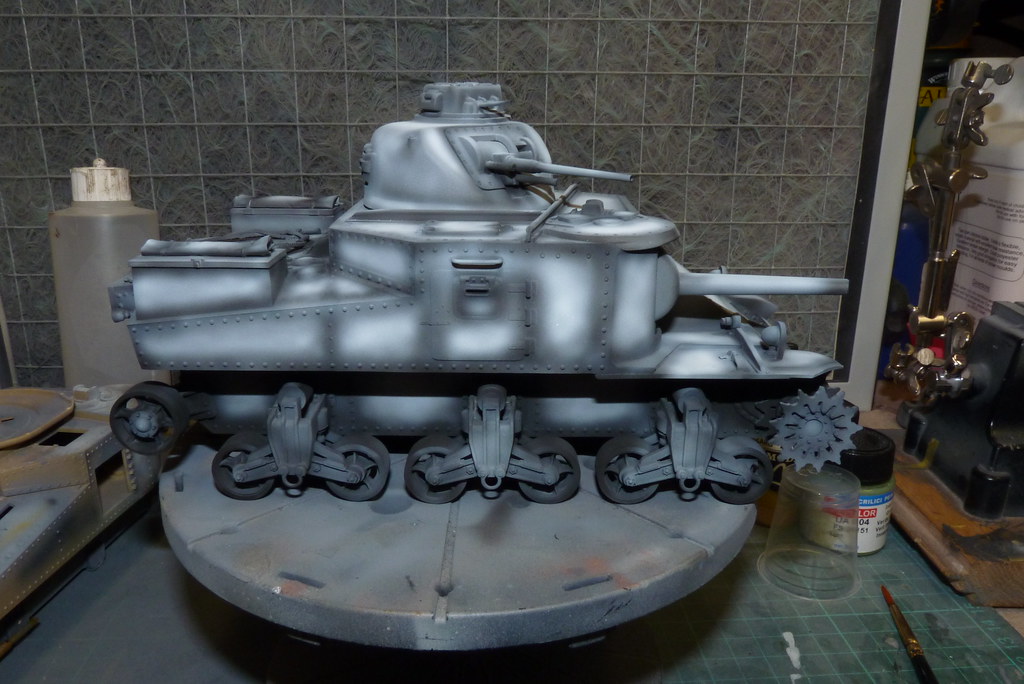
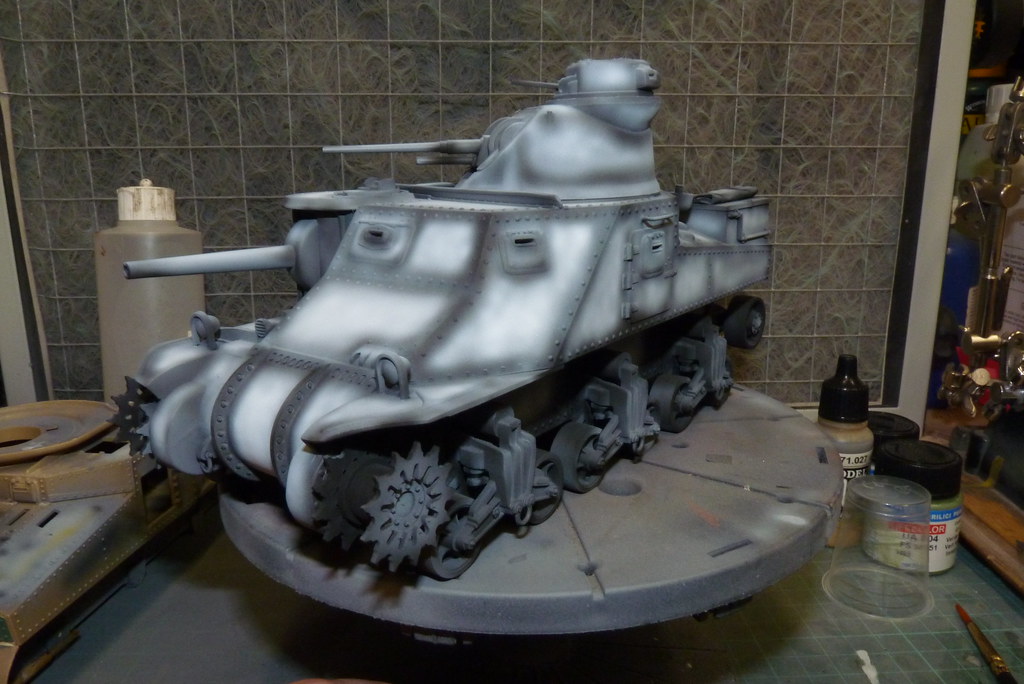
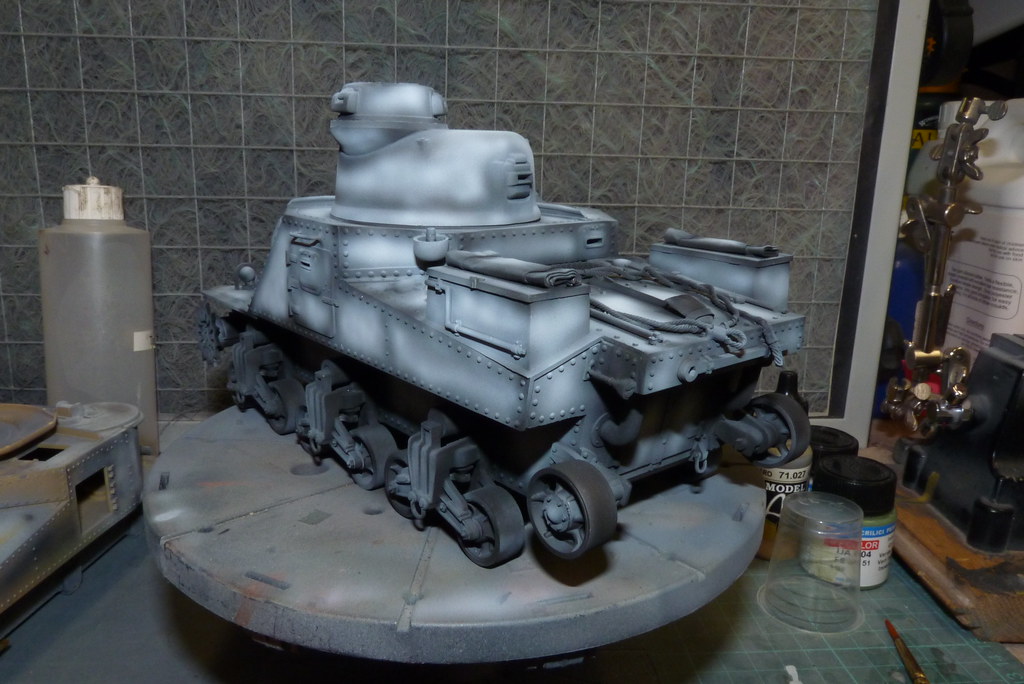
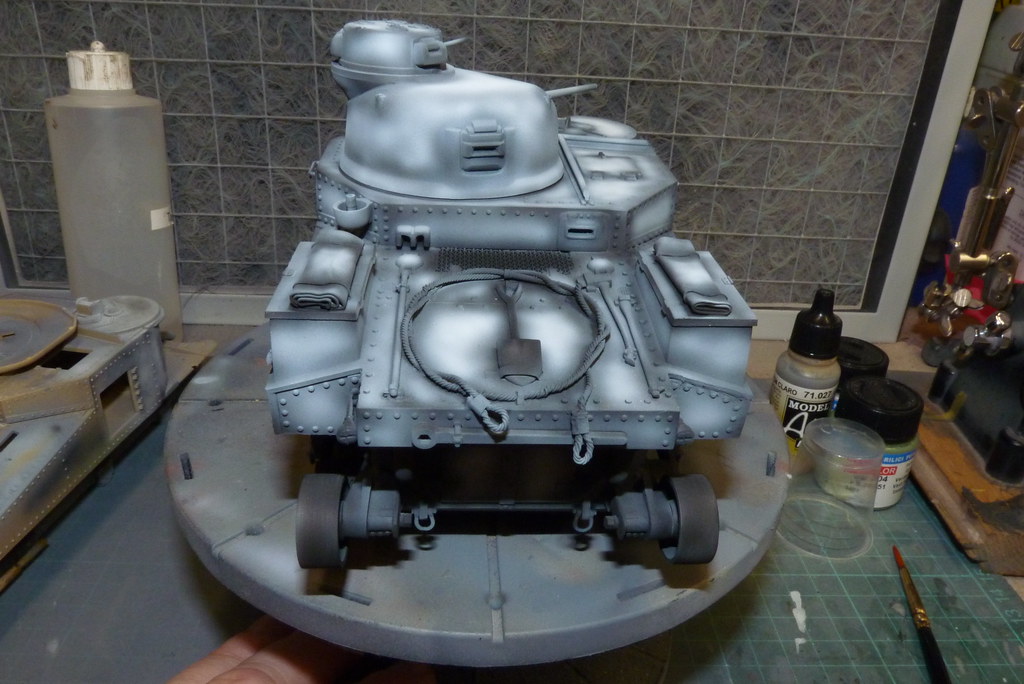
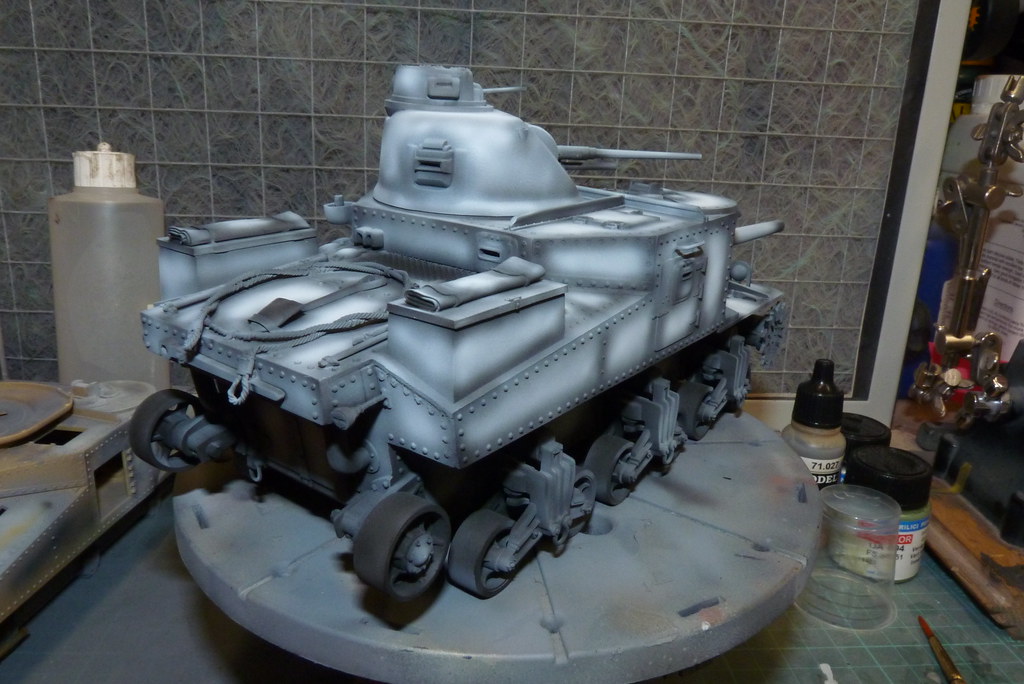
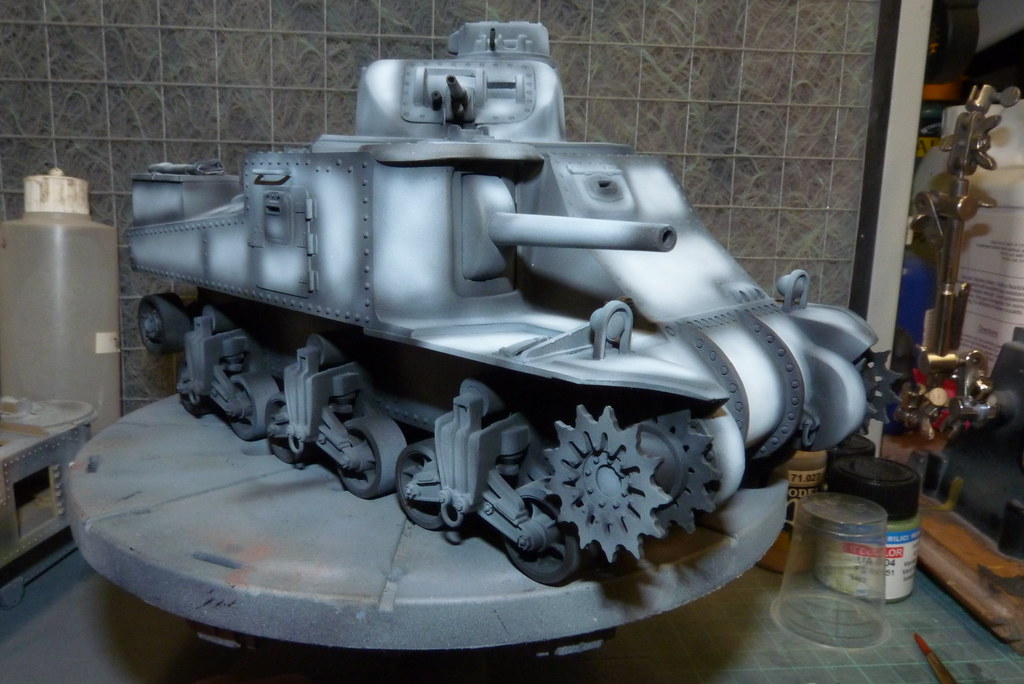
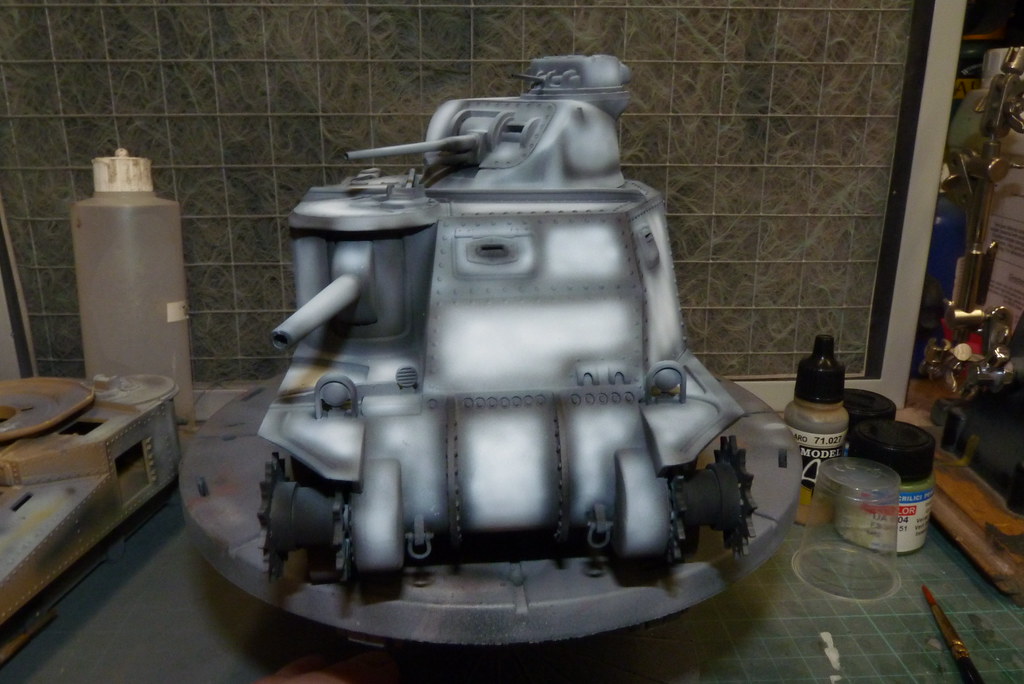
I have started the paintwork by applying the the primer coat and then I added a bit of pre-shading.

Image

Image

Image

Image

Image

Image

Image
Cheers
Ian


Please click on the web link below to have a look at all my photo's.

https://www.flickr.com/photos/ecirpnai/albums
User avatar
iggie
Modelling Gent and Scholar
Posts: 23320
Joined: July 31st, 2013, 11:04 am
Location: North Somercotes, Lincolnshire
Contact:

Re: Revell 1/32 Lee Tank M3

Post by iggie »

Excellent start Ian. It looks kind of eerie in the white and pre-shading!
Best wishes

Jim
If you can walk away from a landing, it's a good landing. If you use the airplane the next day, it's an outstanding landing
"Never put off till tomorrow, what you can do the day after tomorrow"
ShaunW
NOT the sheep
Posts: 26096
Joined: November 26th, 2011, 6:11 pm
Location: Pontefract West Yorkshire

Re: Revell 1/32 Lee Tank M3

Post by ShaunW »

Masterful Ian, I'm always keen to see another one of your excellent build threads. IMHO you are replacing/detailing all of the stuff that really needs it, solid moulded grilles and what have you don't really cut it in 1/35th let alone in this larger scale. Some great hints and tips as usual, together with nice clear photos - your build threads are much better than the average modelling magazine!!
Doing - Tamiya 1/35th Universal Carrier.

Work is the curse of the modelling classes!
IPMS#12300
User avatar
PTB11
Modelling Gent and Scholar
Posts: 2462
Joined: April 30th, 2015, 12:50 pm
Location: Belfast

Re: Revell 1/32 Lee Tank M3

Post by PTB11 »

Really nice detailing work - Looking forward to seeing the paint going on this.
Regards, Paddy.

On The Bench
Fujimi 1/72 A-7E Corsair II
celt
Modelling Gent and Scholar
Posts: 3234
Joined: July 6th, 2014, 3:19 pm

Re: Revell 1/32 Lee Tank M3

Post by celt »

Well tidy mun,look forward to seeing more of your work.
User avatar
Clashcityrocker
Modelling Gent and Scholar
Posts: 10771
Joined: May 1st, 2011, 12:31 am
Location: Adelaide. South Australia

Re: Revell 1/32 Lee Tank M3

Post by Clashcityrocker »

ShaunW wrote:Masterful Ian, I'm always keen to see another one of your excellent build threads. IMHO you are replacing/detailing all of the stuff that really needs it, solid moulded grilles and what have you don't really cut it in 1/35th let alone in this larger scale. Some great hints and tips as usual, together with nice clear photos - your build threads are much better than the average modelling magazine!!
Just what I was going to type :)

Nigel
User avatar
Dazzled
Modelling Gent and Scholar
Posts: 9592
Joined: October 1st, 2011, 11:08 pm
Location: Mid Glamorgan, South Wales
Contact:

Re: Revell 1/32 Lee Tank M3

Post by Dazzled »

Great work and thanks for the useful tips. I have to make about 16 grab handles for my Centurion so I'll be looking out for some suitable wire 8-)
COLD WAR S.I.G. LEADER

Wherever there's danger, wherever there's trouble, wherever there's important work to be done....I'll be somewhere else building a model!
Sunray
Active Participant
Posts: 611
Joined: March 18th, 2014, 4:01 pm
Location: Penshaw, North East, England
Contact:

Re: Revell 1/32 Lee Tank M3

Post by Sunray »

Thanks chaps. After reading your comments my wife suggests getting wider door frames so I can get my head through them. My she has a way with words but she is a good cook. :) :)
Dazzled wrote:Great work and thanks for the useful tips. I have to make about 16 grab handles for my Centurion so I'll be looking out for some suitable wire 8-)
Thanks mate. A good place to find the copper wire if you are stuck is Hobbycraft in the flower arranging section. My wife spotted it. It is available in different gauges but I get most of my wire comes from old cable. I hope this helps?
Cheers
Ian


Please click on the web link below to have a look at all my photo's.

https://www.flickr.com/photos/ecirpnai/albums
User avatar
Tim Reynaga
Active Participant
Posts: 637
Joined: November 9th, 2014, 5:36 pm
Location: California, USA

Re: Revell 1/32 Lee Tank M3

Post by Tim Reynaga »

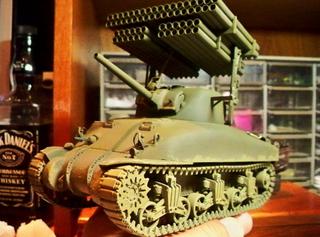
Wow, Ian, that's some great old-school modeling! I loved those old Monogram (now Revell) 1/32 armor kits back in the 1970s, and you are proving that they still can build up quite well. I did their Sherman a little while ago...

Image

... not as professional as your Lee, but still lots of fun. Keep the updates coming - I'm enjoying your posts immensely!

Regards,
Tim
User avatar
Marek
Modelling Gent and Scholar
Posts: 2455
Joined: May 1st, 2011, 8:03 am
Location: Madison, WI
Contact:

Re: Revell 1/32 Lee Tank M3

Post by Marek »

Very nice work on the oldtimer. I like the aluminum stowage idea a lot.
User avatar
gnomemeansgnome
Modelling Gent and Scholar
Posts: 5269
Joined: July 16th, 2013, 4:03 pm
Location: No Fun City

Re: Revell 1/32 Lee Tank M3

Post by gnomemeansgnome »

That's looking very fine.
Ego no habeo consilium.

ICBM = Insatiable Collector and Builder of Models
LarryH57
The Bug Has Well And Truly Bitten
Posts: 236
Joined: December 4th, 2012, 11:58 pm

Re: Revell 1/32 Lee Tank M3

Post by LarryH57 »

I'm looking forward to more progress and photos!
Sunray
Active Participant
Posts: 611
Joined: March 18th, 2014, 4:01 pm
Location: Penshaw, North East, England
Contact:

Re: Revell 1/32 Lee Tank M3

Post by Sunray »

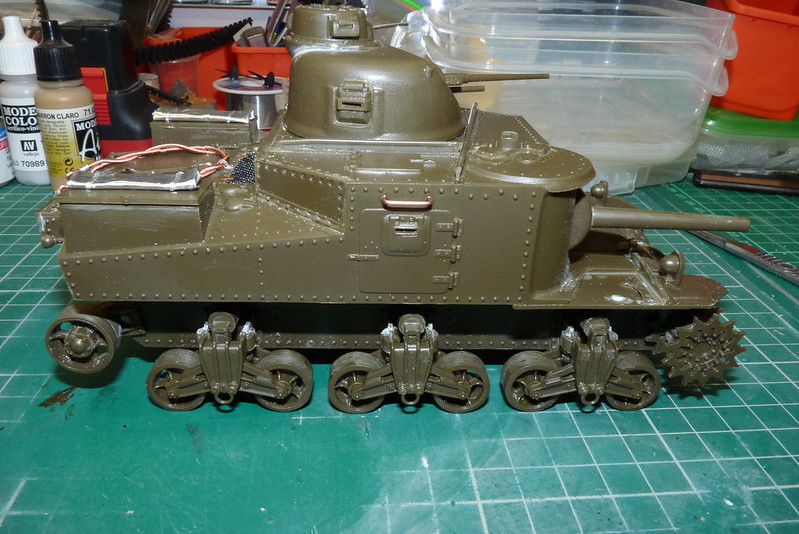
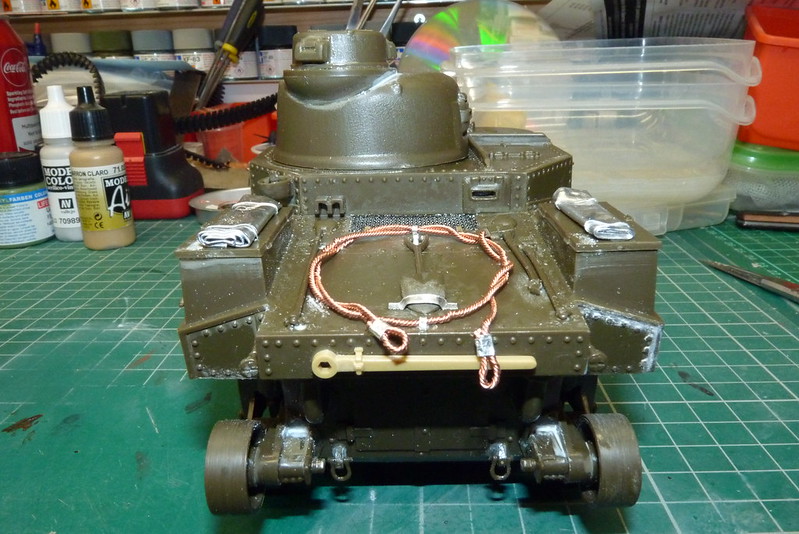
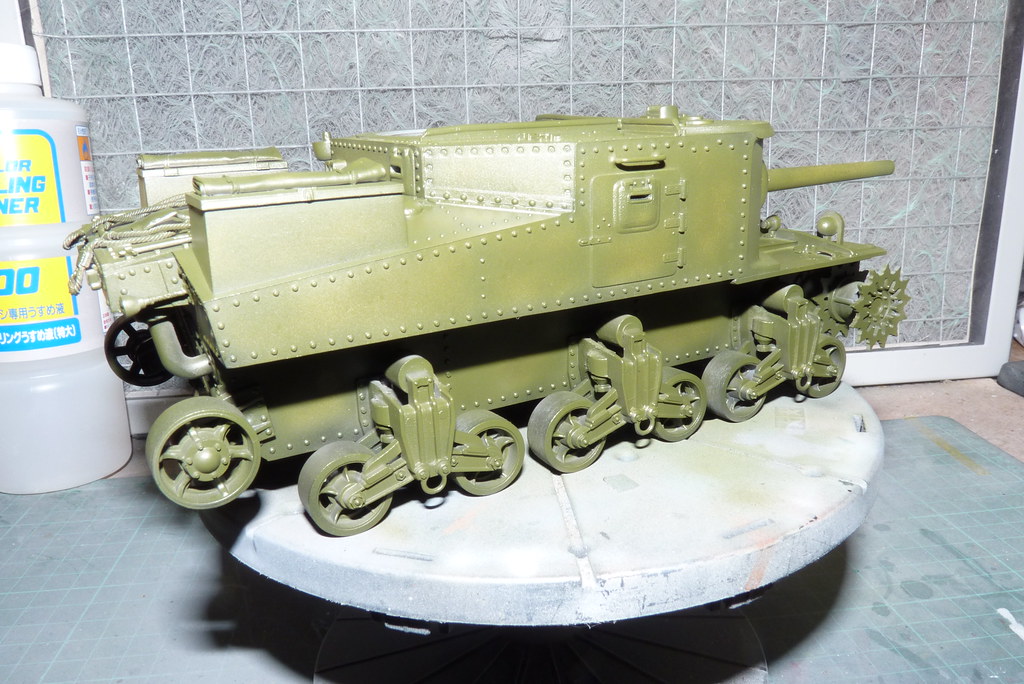
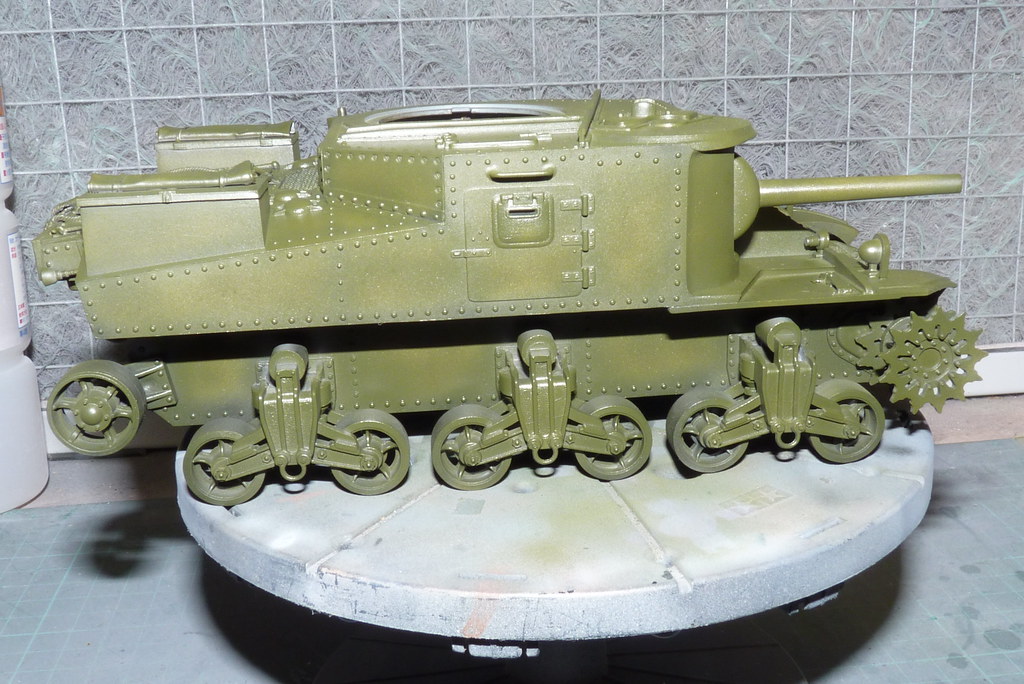
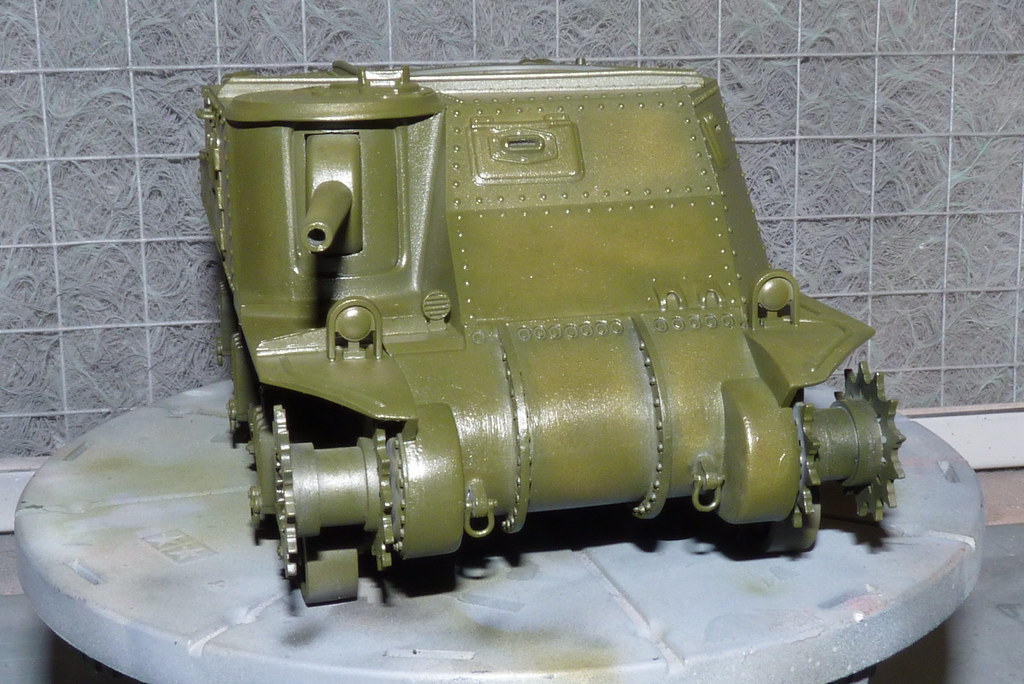
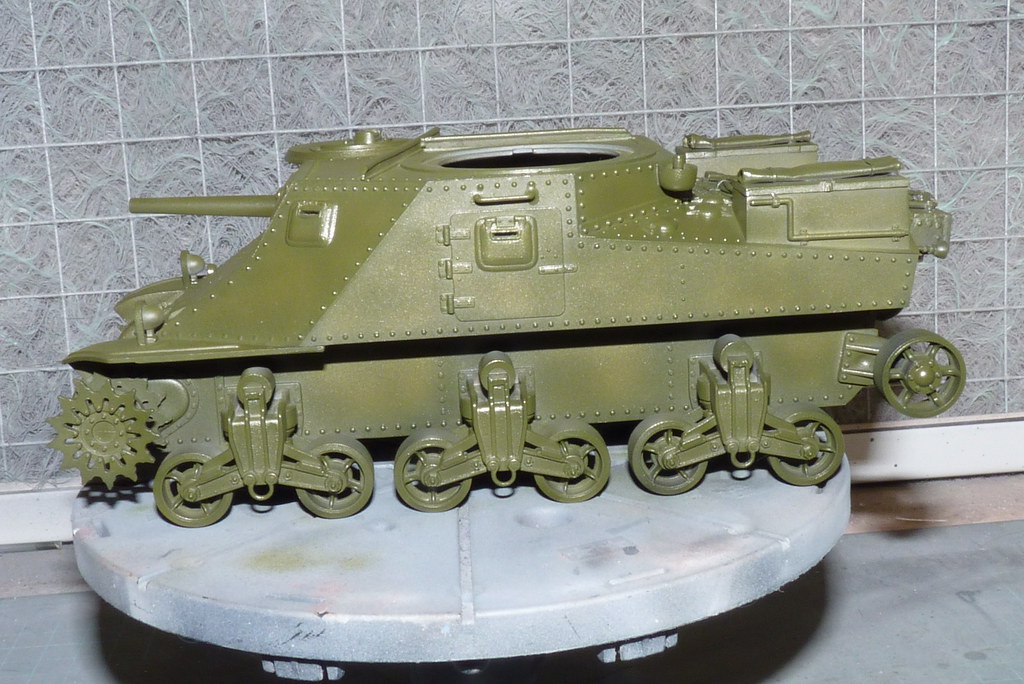
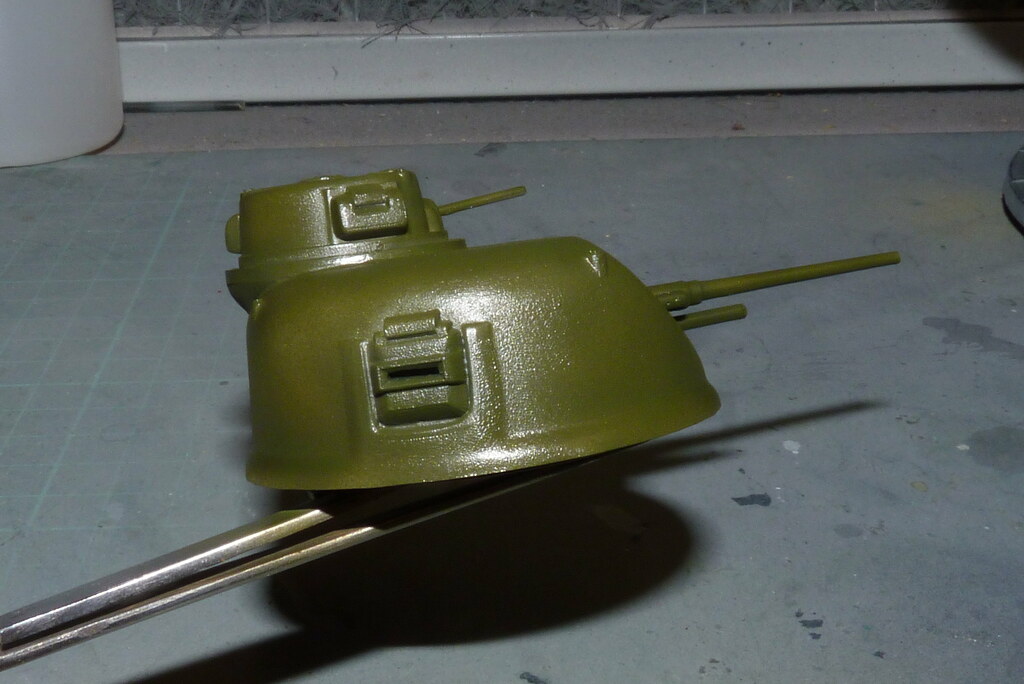
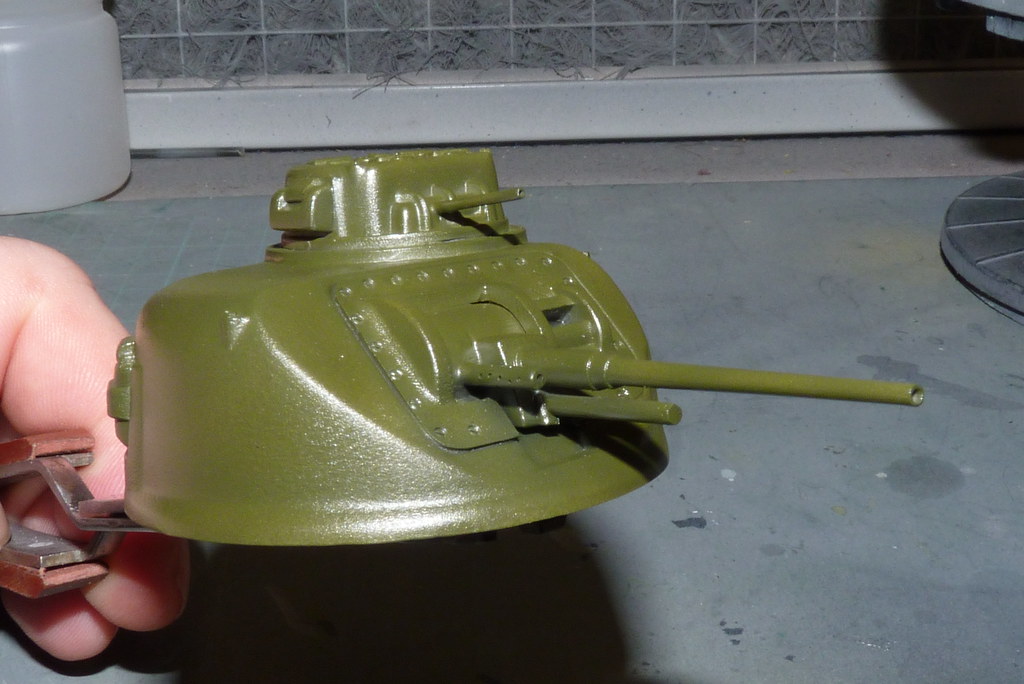
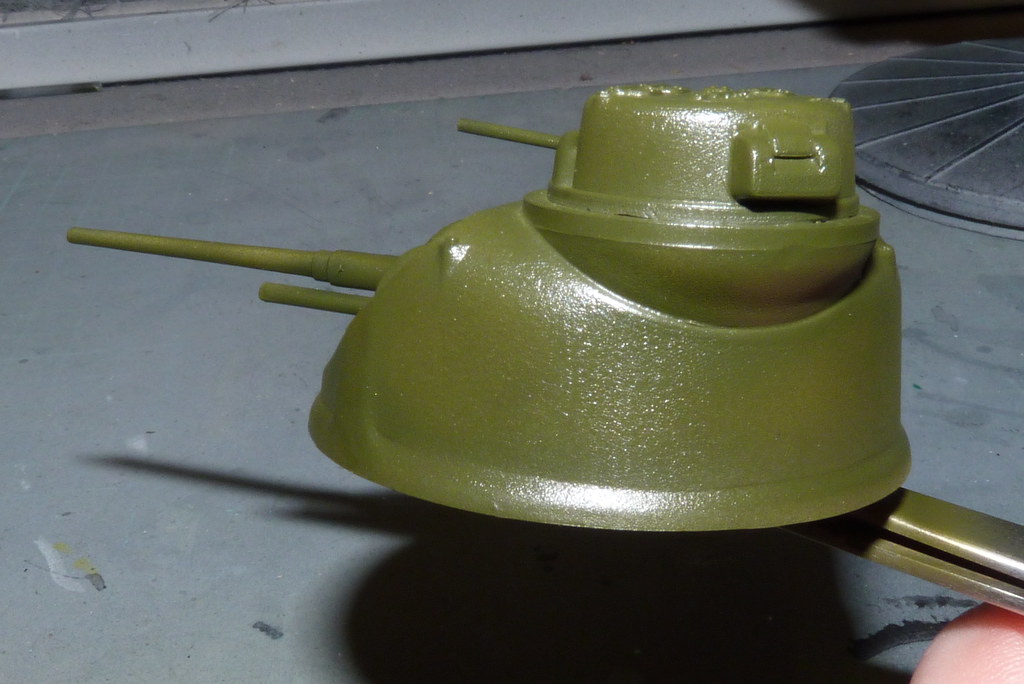
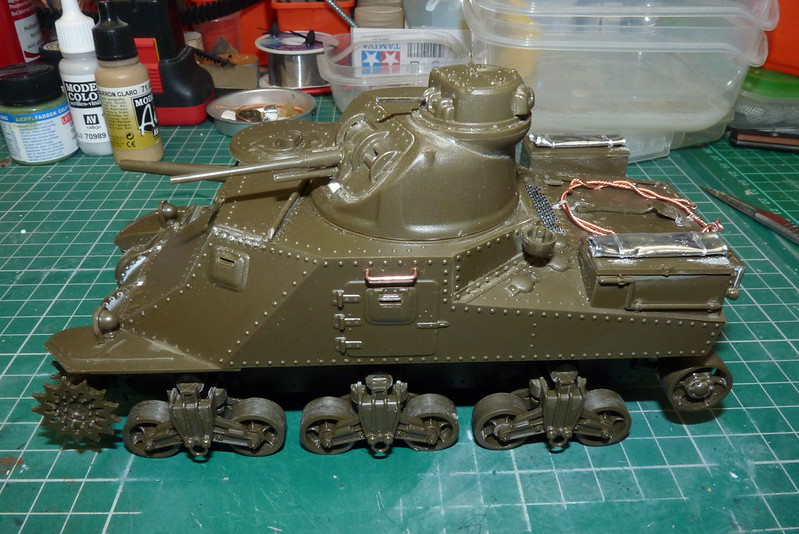
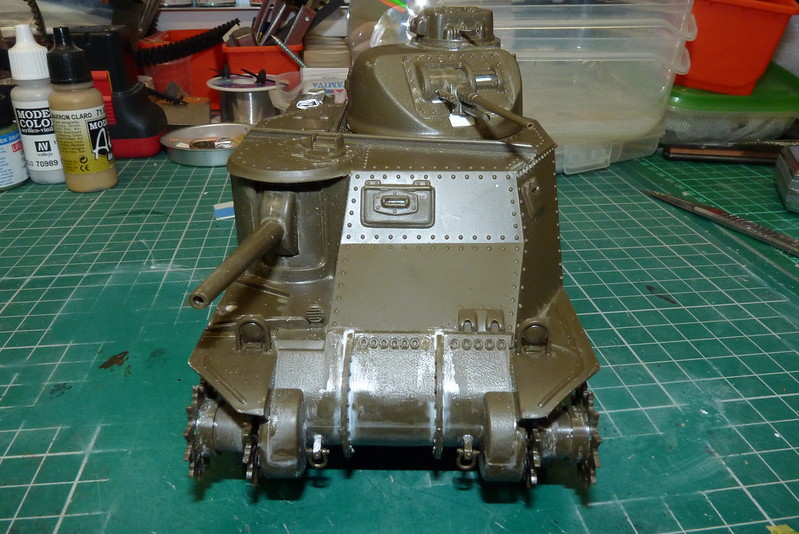
Thanks chaps. I haven't done much to the Lee as I have been busy. But now it's up and running again and I sprayed on the base coat of Olive Drab. Once dry I gave it a coat of Klear to seal the paint.

Image

Image

Image

Image

Image

Image

Image

Image
Cheers
Ian


Please click on the web link below to have a look at all my photo's.

https://www.flickr.com/photos/ecirpnai/albums
LarryH57
The Bug Has Well And Truly Bitten
Posts: 236
Joined: December 4th, 2012, 11:58 pm

Re: Revell 1/32 Lee Tank M3

Post by LarryH57 »

I'm looking forward to see it completed!
Post Reply

Return to “Tanks, AFV and other Military Models”