In the box it all looks nice enough, the plastic is quite soft, comes in a couple of different colours (I don't know if that's deliberate or just a consequence of the short-run nature of the production) and has a fair amount of flash.


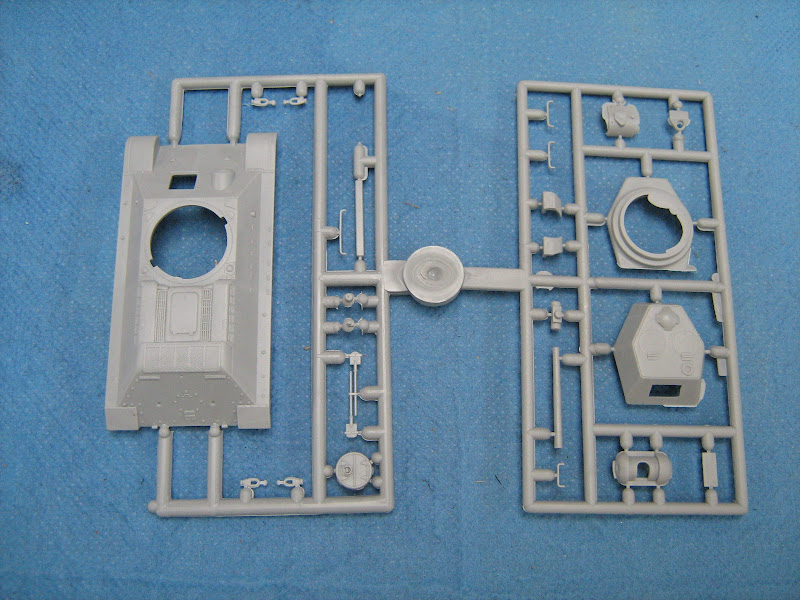


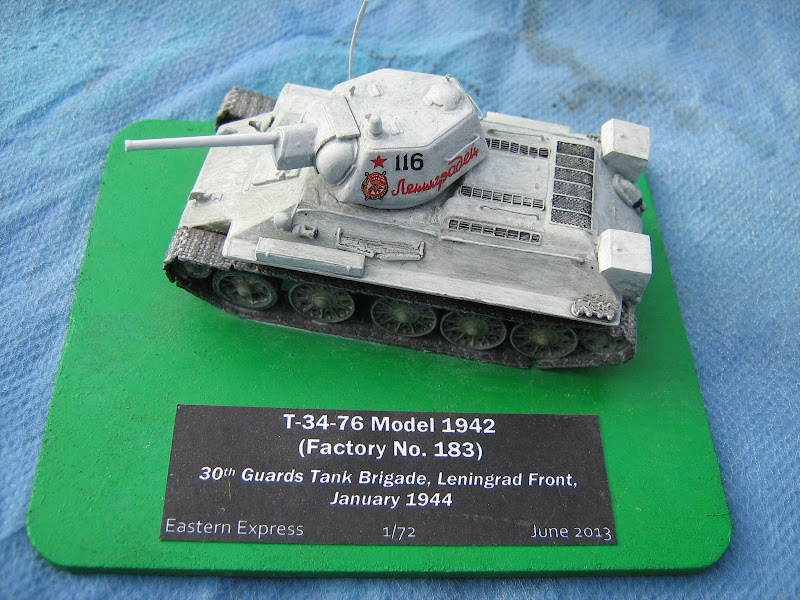
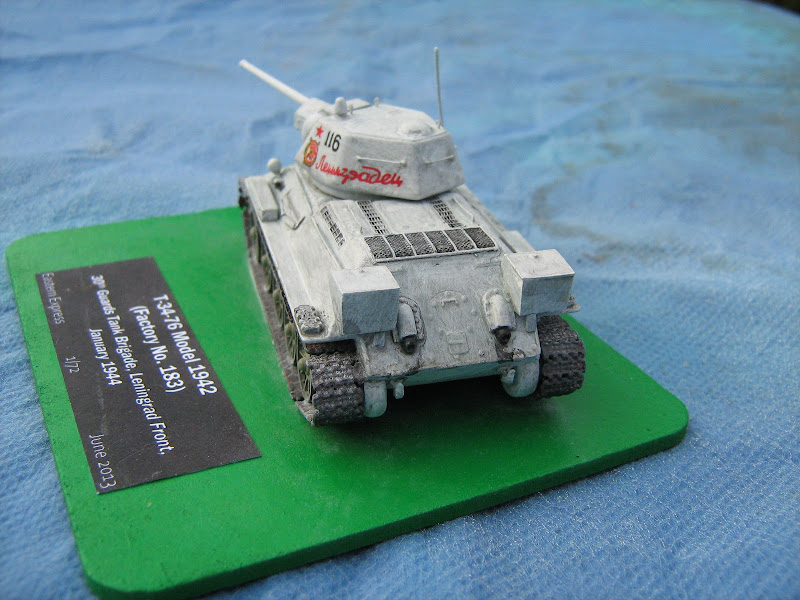
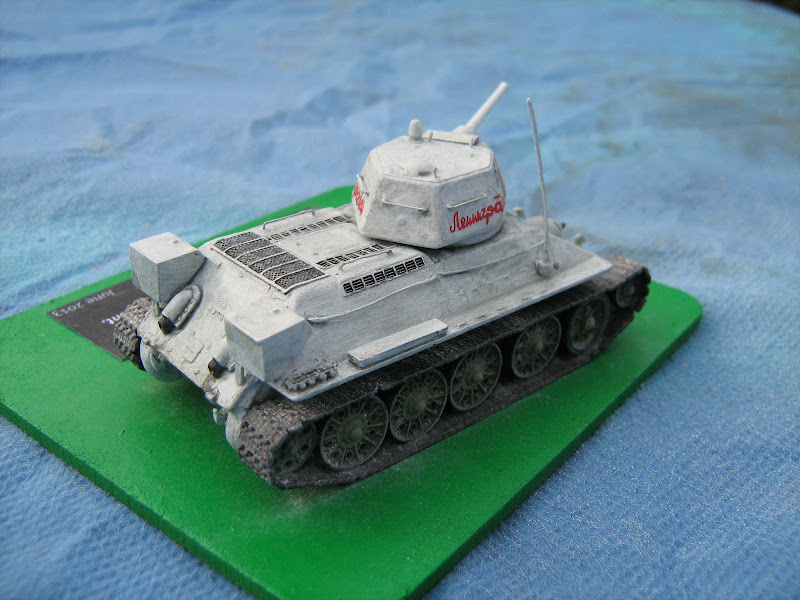
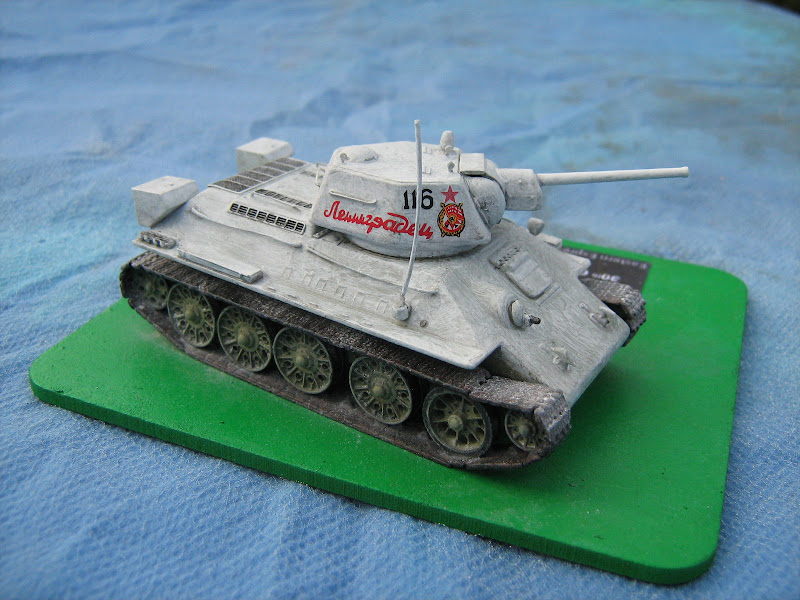
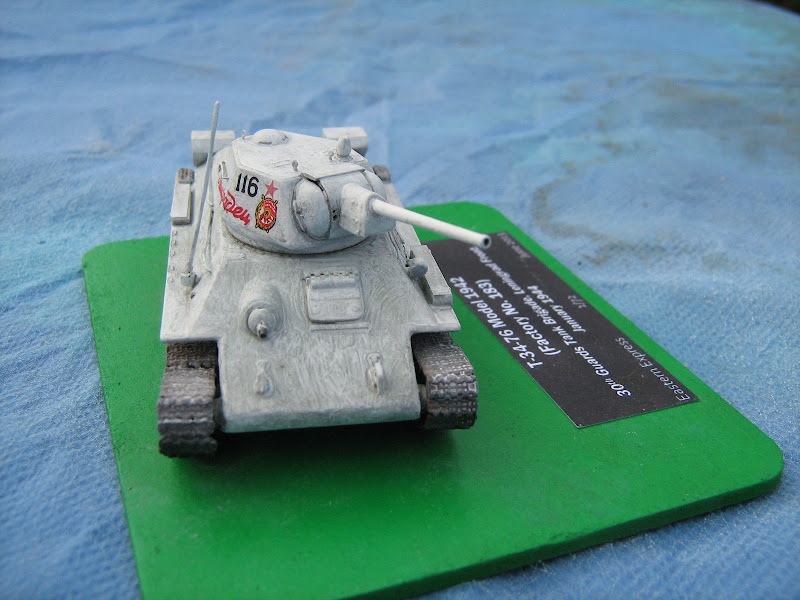
The level of detail is not up to the level of, say, a Dragon or Trumpeter kit, but it's better than the old ESCI kit, and dimensionally it's pretty good. The kit is identified as a "Model 1942" by which it means a hexagonal turret with no commander's cupola. Looking through my references and available decals, I decided to build a vehicle depicted in the Concord book Soviet Tanks in Combat 1941-1945 (Zaloga et al) which is identified as a Model 1943 of the 30th Guards Tank Brigade. Well, I don't know why they say it's a Model 1943, because it doesn't have a cupola and looks pretty much identical to the kit here. The only significant changes I needed to make were to add the rear box fuel tanks that the kit doesn't provide, and replace the solid dish wheels of the kit (which are not very well depicted any way) with the pierced-steel-rimmed wheels visible in the photo. Fortunately I had fuel tanks left over from a previous ESCI kit build, and I stole the wheels from one of the Dragon kits -- which are mostly excellent depictions, let down only by Dragon's inability to mould the wheels with holes in them. It's easy enough to drill out the holes myself, but it's a tedious task. (Why Dragon couldn't take the extra step of moulding the wheels with the holes already present I'll never understand, every other 1/72 and 1/76 kit with this style of wheel -- including kits from over thirty years ago -- is able to manage it.)

The markings for the vehicle I will depict are available in one of the many Dragon kits (but in keeping with Dragon's "every other day we're incredibly sloppy" philosophy, almost certainly not one of the kits that could be used to build this particular vehicle!).
The decal sheet that comes with the kit is shared with their Model 1943 kit and is just a miscellaneous collection of T-34 markings that aren't really identified in any way.

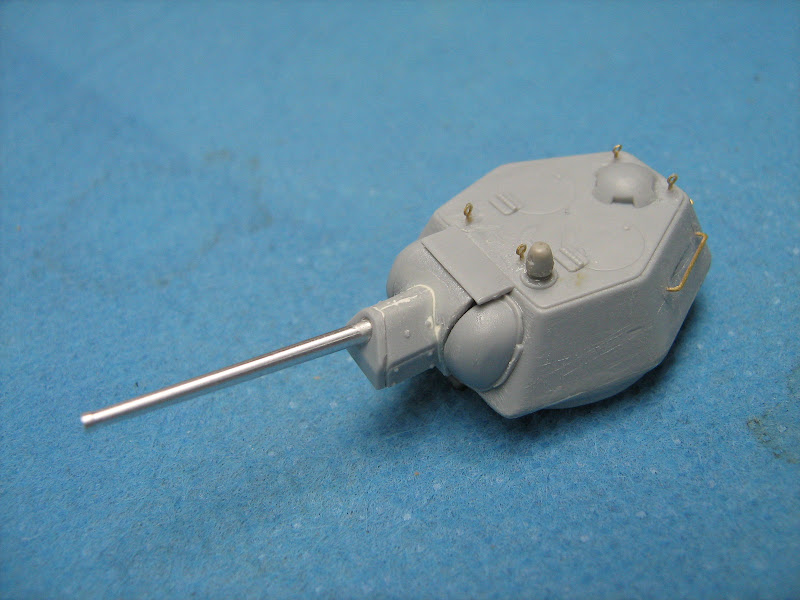
The final parts of the puzzle are replacing the gun barrel with the excellent Aber aluminium part, and as I had an ExtraTech PE set for this kit available I decided to use that as well. There's more PE in the set than is really practical to use, but the parts I did want to use add some very nice detail.

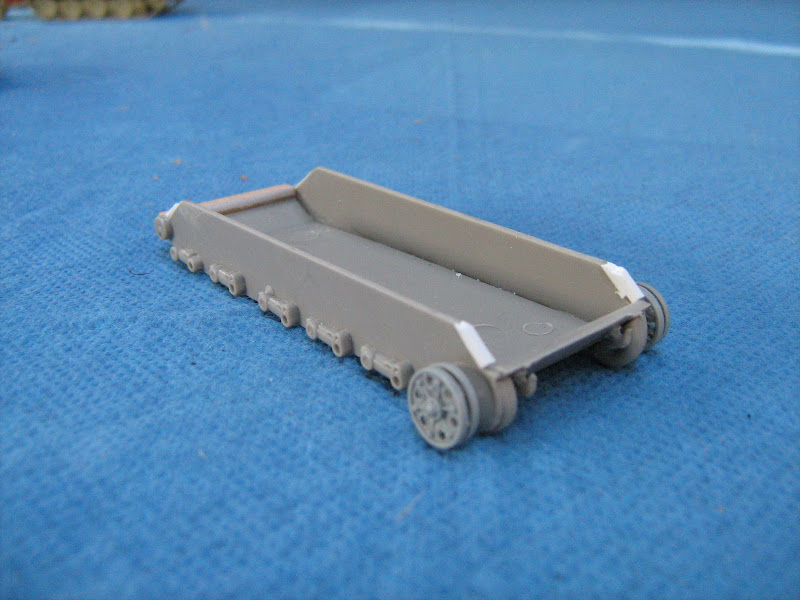
First step was to prepare the wheels -- shown here with the holes drilled and some attachment points added so the wheels would fit properly onto the EE hull. The fuel tanks were also assembled.

Assembly of the hull began with adding some PE.

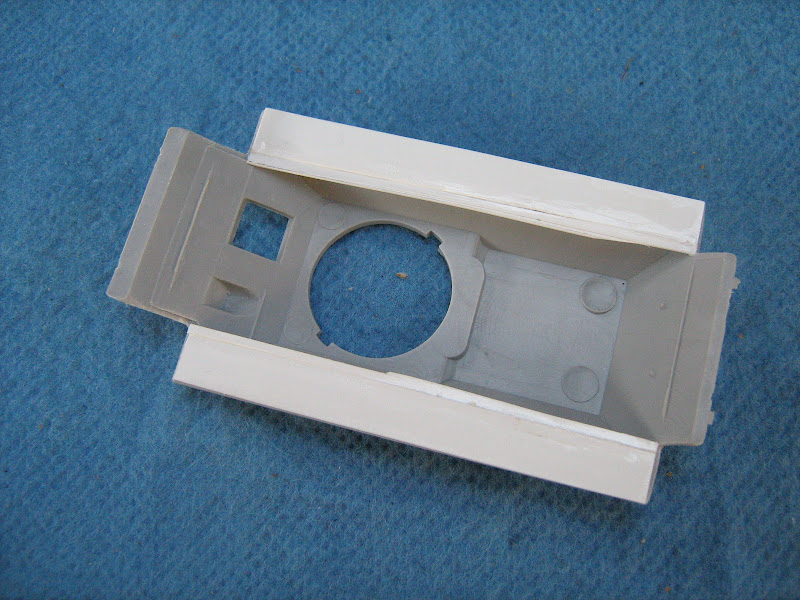
Then the lower hull was put together. As you can see there are a few nasty gaps and sink holes that need filling ....

... but not nearly as nasty as the gaps that presented themselves when I went to put the two halves of the hull together!


This was very disappointing, since the kit seemed so nice otherwise. I have a few of these in the stash, I really hope this problem was a one-off (but I doubt it). Oh well, time to break out the modelling skills and start filling gaps with whatever would plug those holes. For the huge gap in the nose, it was a chunk of thick scrap sprue shaped to fit. The rest was plastic card.


Once that was done, the rest of the build was pretty straight-forward.


That's as far as I got when I put the kit away. Once I pulled it out again, the next step was to apply the tracks. These were actually very nicely depicted, and unlike all the other plastic in the kit, virtually flash-free. Assembly was mostly straight-forward, I had some issues because the wheels were not really in the positions on the hull that they were supposed to be, and my improvised mounting points were not very strong -- I ended up having to re-sit a lot of the wheels and use super-glue to hold them in place. I think if you used the kit wheels the tracks would fit the finished model a little better than they do here. Still, I am satisfied with the end result.


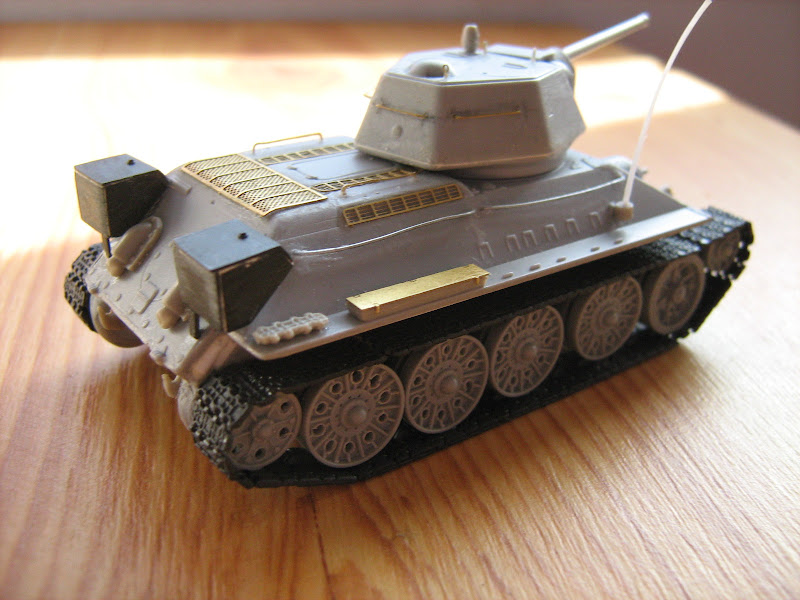

All building done, the kit is being painted, as I say above, that's almost done (no photos I'm afraid). I hope to get it finished within a few days at most, maybe even by tomorrow if things go well. Then I can concentrate fully on the F-104 ....