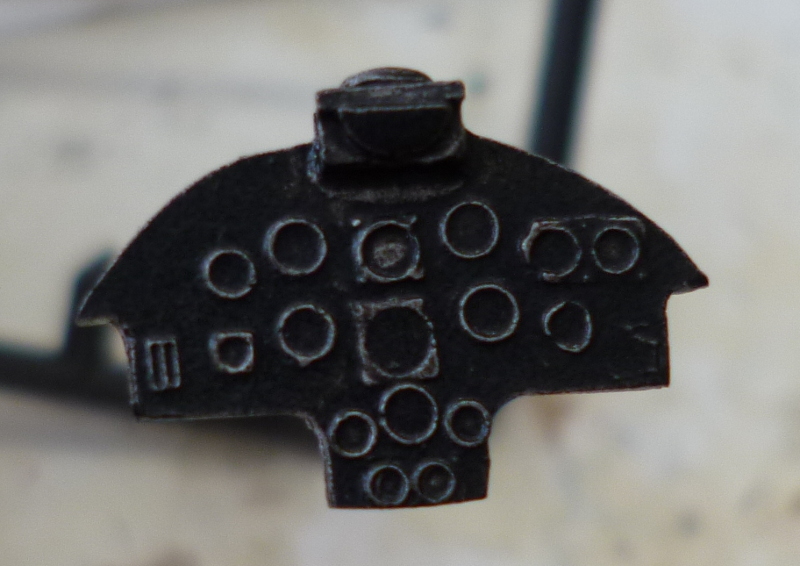
The paint on the instrument panels (rattlecan over bare metal) didn't exactly do a sterling job covering the metal, but it saves me from drybrushing to pick out the details
"We don't make mistakes, we have happy accidents"...

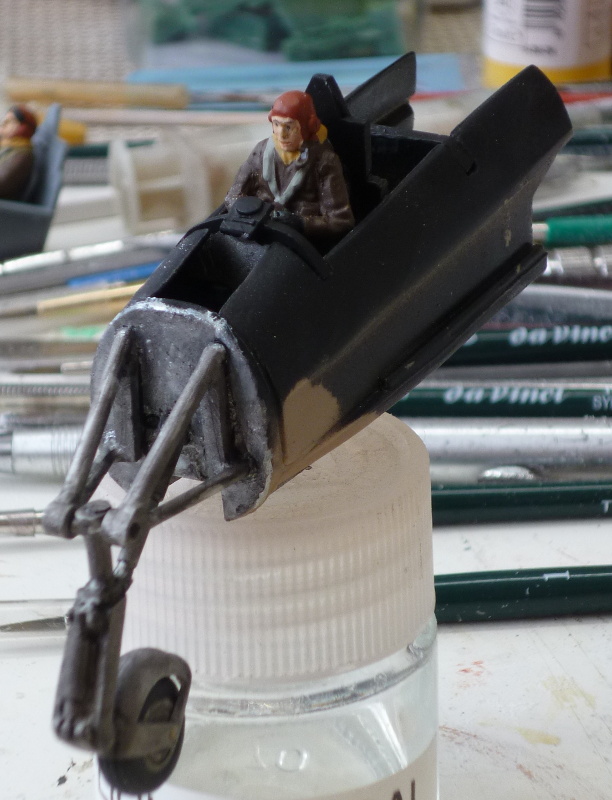
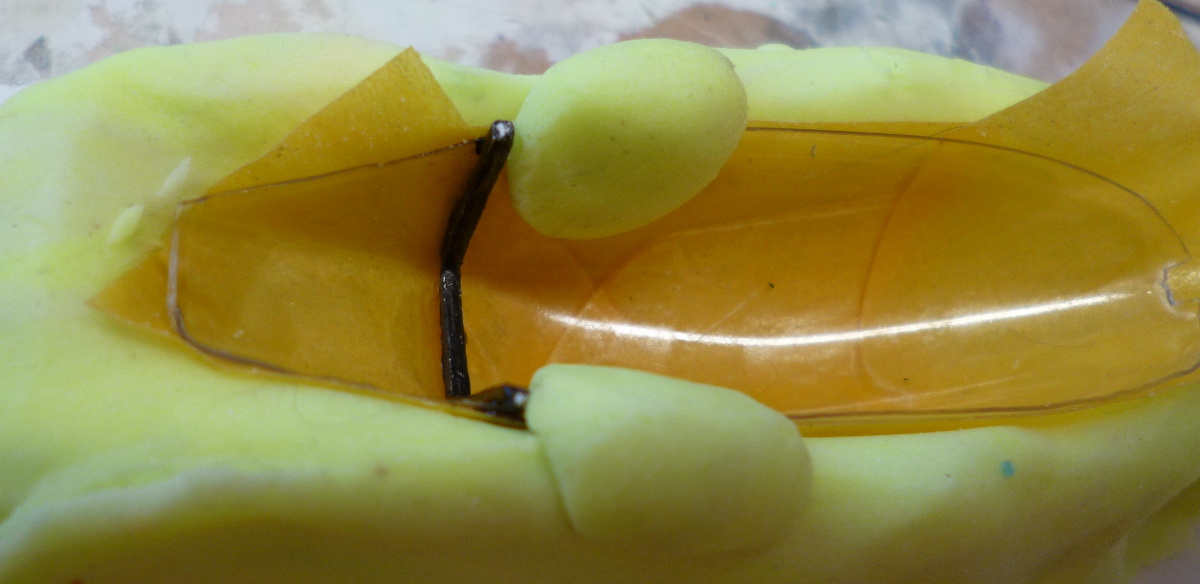
That couldn't look better. Happy accident indeed.rob_van_riel wrote:Sometime you just get lucky..
The paint on the instrument panels (rattlecan over bare metal) didn't exactly do a sterling job covering the metal, but it saves me from drybrushing to pick out the details
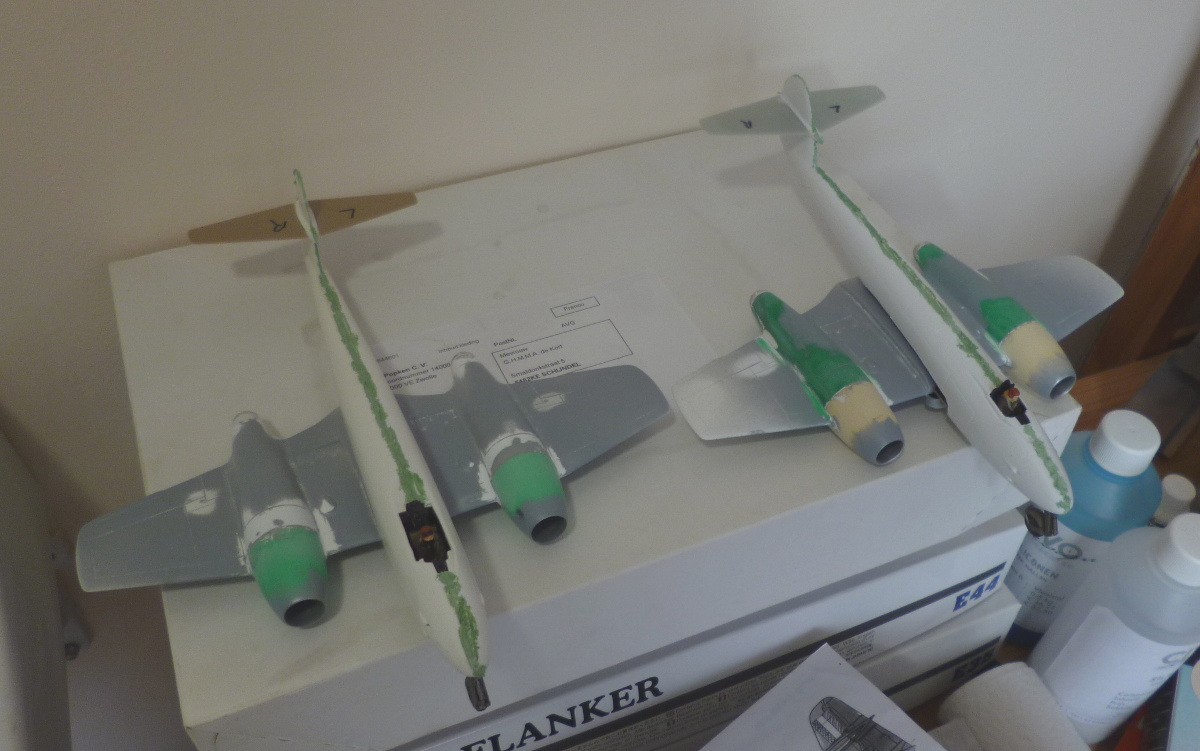

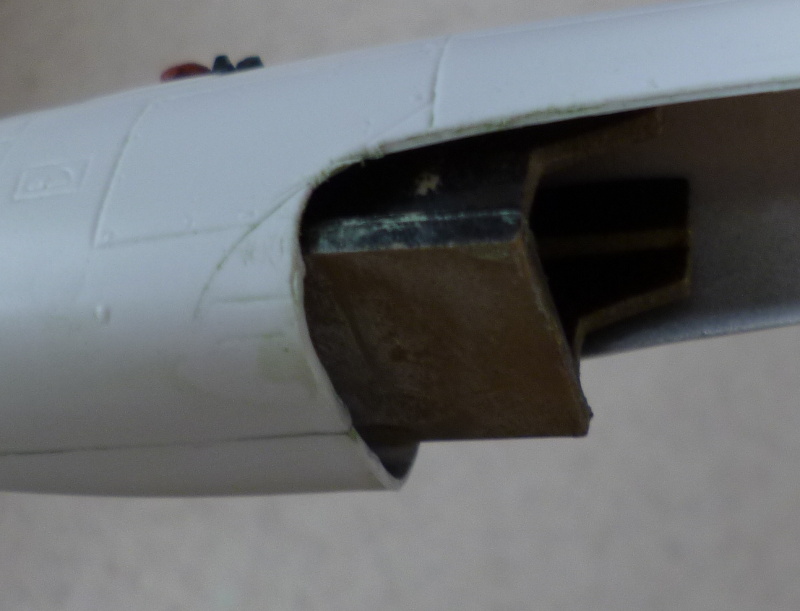
A dremel with a grinding disc supplied the violence predicted. Since powertools are powerful, and plastic wimpy, the amount of (visible) dust was very limited, as opposed to the number of half molten blobs of plastic peeling off the cockpit modulesrob_van_riel wrote:I just took a first peek at fitting the wings to the fuselages, and I'm afraid this is going to involve serious violence... Buckets of dust expected for tomorrow
Always happy to provide some entertainment.MarkyM607 wrote:Watching this with amazement and stunned admiration. Many of us wouldn't have taken this on let alone kept slogging through the forest of problems you seem to be confronting. Respect!!

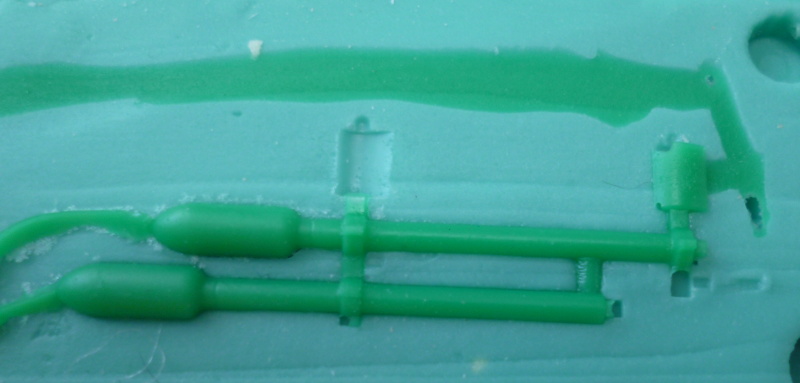
Silicone used was this one: http://www.siliconesandmore.nl/nl/produ ... nt-41.html. In Dutch, I'm afraid, but the table with technical specs should be useable even is the language is gobbledegook to you. I added a random dab of pigment to the transparent component, just to see what I was doing, but this has no influence on characteristics. This is the middle of the road rubber from this supplier, and I'm certain any other default rubber would work just as well. Try to stick to addition silicones (typically 1-1 mix) though, condensation silicones (usually 1:50 catalyst:rubber mixtures) can occasionally interact badly with resin.lancfan wrote:I have a few questions Rob, what grade of silicone did you use for the rocket mould, how did you make the halved mould and what type of resin did you use and what was the drying time?
