Cheers, guys!
Some good progress yesterday and today.

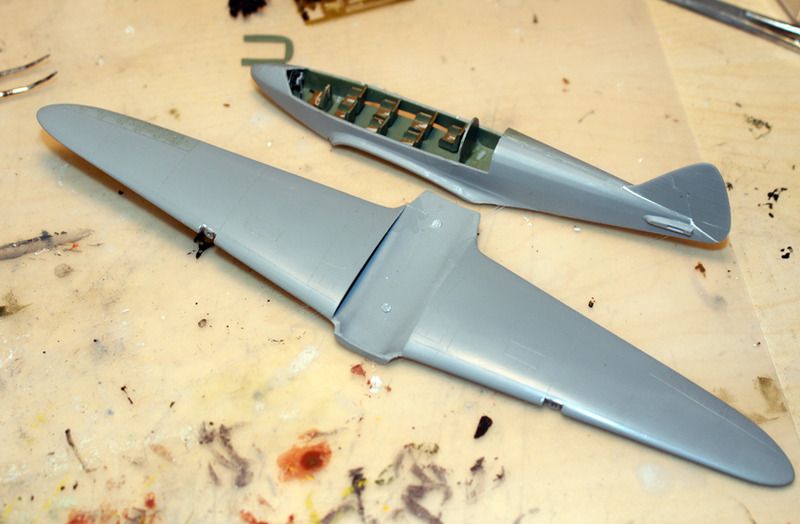
Yesterday, I removed the large parts from the sprues and cleaned them all up - essential on limited run kits, as there's lots of moulding imperfections, ejection pin towers and flash around. Once that was done, some sanding to ensure mating surfaces matched properly, then I glued up the wings. The seams were cleaned up first thing this morning.
This afternoon, I concentrated on getting the fuselage together. The interior includes a full set of seven passenger seats and one pilot's seat, as well as three bulkheads and a variety of small PE parts for the cockpit. There's a nice PE IP with film backing. The floor is slightly too wide front and back and needed careful sanding to get it to fit. Not much will be seen of the cabin once the windows and roof are on, so I didn't spend too much time faffing around in there...

Here are the fuselage and wings completed:
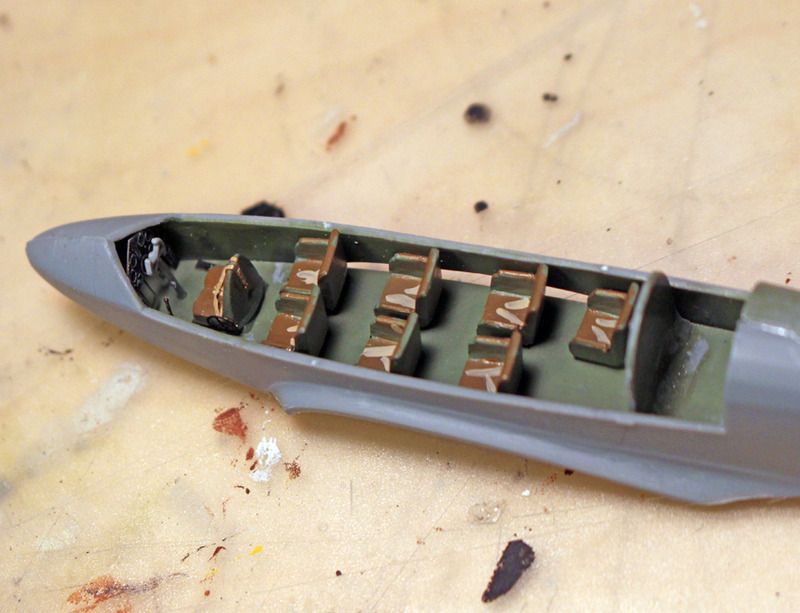
I need to paint the control column....

And goodness knows how those front two passengers got to their seats!


I'll clean up the fuselage seams tonight, and play around with the fit of the wings to the fuselage - I might add glue if all seems fine.
I am aiming to get the airframe complete this weekend. I can prime it as well, but I am out of blue paint of any kind, so I'm ordering a pot of Tamiya X14 Mid Blue, which is (apparently) a good match for the Sky Blue decals.


