
Thank you George, and as I said before, this is a fine little kit.gbrwn56 wrote:That plane is just a work of art, thanks for sharing
Paul's Attempts
Re: Paul's Attempts
Paul
This is it. The moment we should have trained for.
This is it. The moment we should have trained for.
-
ShaunW
- NOT the sheep
- Posts: 26194
- Joined: November 26th, 2011, 6:11 pm
- Location: Pontefract West Yorkshire
Re: Paul's Attempts
The Arado is a stunner Paul, a nice elegant aircraft that I haven't seen very many times in plastic.
Doing - Tamiya 1/35th Universal Carrier.
Work is the curse of the modelling classes!
IPMS#12300
Work is the curse of the modelling classes!
IPMS#12300
Re: Paul's Attempts
Thank you Shaun. It was my second attempt at this aircraft and I was glad it turned out.
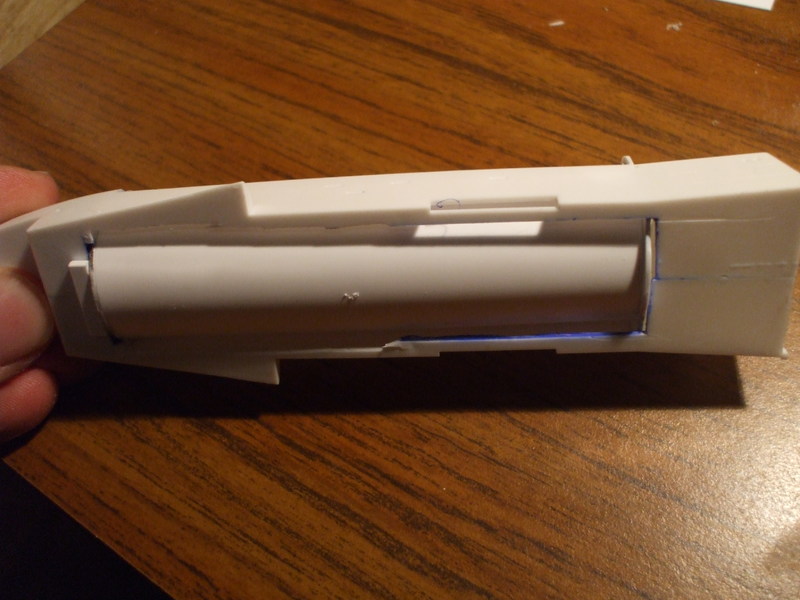
Well, I started the Dragon (formerly Hasegawa) 1/200 shuttle. I want to display the cargo bay open and I did not like the stock interior. It is too shallow so I removed the bottom of the fuselage to make room for a scratch-built cargo bay.
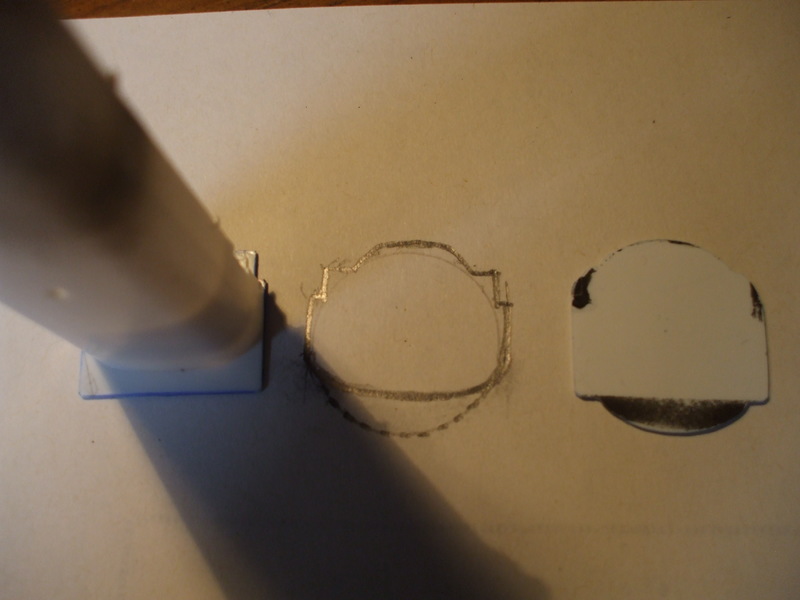
Here you can see the flat bottom of the original part on the left, my plan in the middle and the scratch-built part on the right.
To fit this inside I had to remove the bottom of the main body.
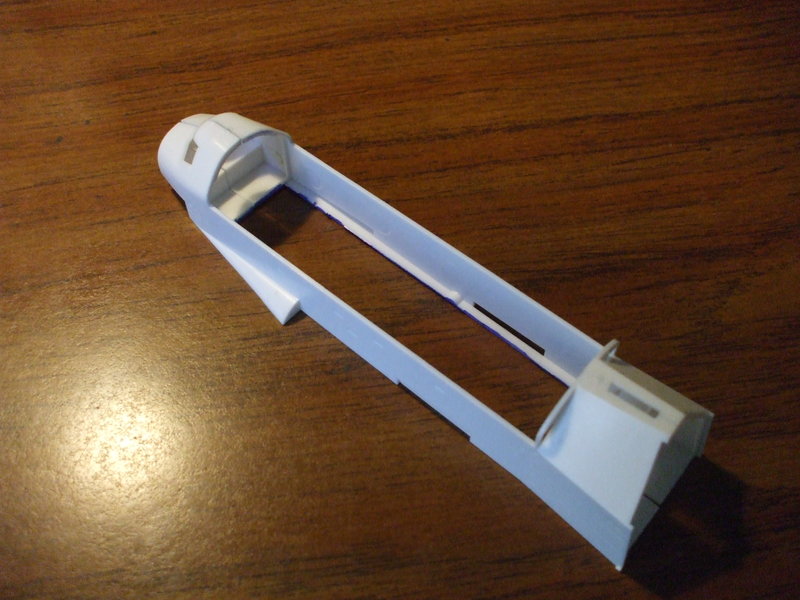
Luckily, there is plenty of room below to accommodate.
A little heated plastic smashed onto a broom handle, and I have my curved bottom.

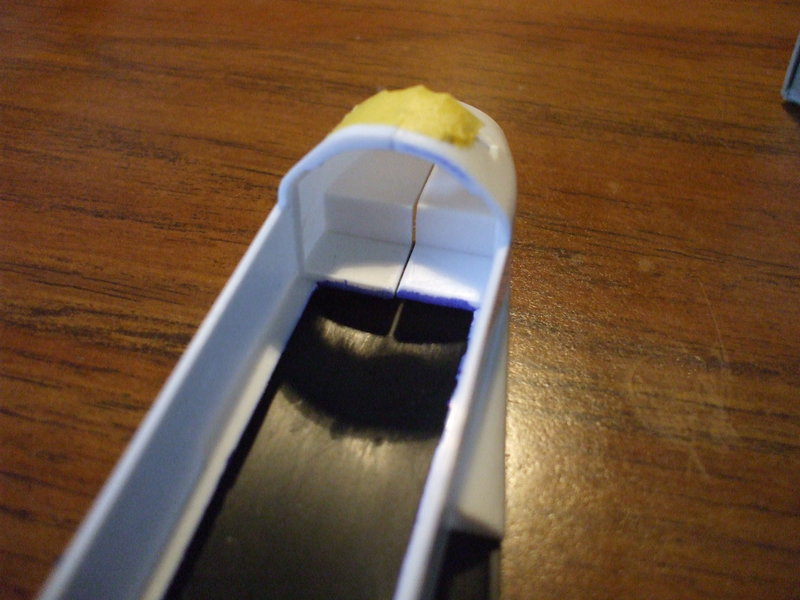
There is probably a 1/4 inch difference in depth now. Quite a bit in 1/200 scale. And it fits snug as a bug!

Here you can see why the bottom was removed.
In the end I think it is a little too deep but I am not going to change it now. Took a bunch of tries to get it to fit like this. Not sure what I want to put in it just yet. If the cargo bay turns out nicely, I might not want to fill it with much. If turns out not so good. I am thinking a big satellite like Hubble!
Well, I started the Dragon (formerly Hasegawa) 1/200 shuttle. I want to display the cargo bay open and I did not like the stock interior. It is too shallow so I removed the bottom of the fuselage to make room for a scratch-built cargo bay.
Here you can see the flat bottom of the original part on the left, my plan in the middle and the scratch-built part on the right.
To fit this inside I had to remove the bottom of the main body.
Luckily, there is plenty of room below to accommodate.
A little heated plastic smashed onto a broom handle, and I have my curved bottom.
There is probably a 1/4 inch difference in depth now. Quite a bit in 1/200 scale. And it fits snug as a bug!
Here you can see why the bottom was removed.
In the end I think it is a little too deep but I am not going to change it now. Took a bunch of tries to get it to fit like this. Not sure what I want to put in it just yet. If the cargo bay turns out nicely, I might not want to fill it with much. If turns out not so good. I am thinking a big satellite like Hubble!
Paul
This is it. The moment we should have trained for.
This is it. The moment we should have trained for.
Re: Paul's Attempts
Very nice scratch building.look forward to your progress.
-
Canuck2016

- Active Participant
- Posts: 535
- Joined: March 6th, 2016, 4:03 pm
Re: Paul's Attempts
Nice work, Paul! Your scratchbuilding will make that cargo bay look great!
(And don't forget the flag on the Canadarm! ;) )
(And don't forget the flag on the Canadarm! ;) )
-
iggie

- Modelling Gent and Scholar
- Posts: 23438
- Joined: July 31st, 2013, 11:04 am
- Location: North Somercotes, Lincolnshire
- Contact:
Re: Paul's Attempts
Great work!
Best wishes
Jim
If you can walk away from a landing, it's a good landing. If you use the airplane the next day, it's an outstanding landing
"Never put off till tomorrow, what you can do the day after tomorrow"
Jim
If you can walk away from a landing, it's a good landing. If you use the airplane the next day, it's an outstanding landing
"Never put off till tomorrow, what you can do the day after tomorrow"
-
Cameronian

- Onto the Clever Stuff, Now.
- Posts: 171
- Joined: March 6th, 2015, 1:48 pm
- Location: Aberdeenshire, Scotland
Re: Paul's Attempts
Thanks everyone for the kind words.
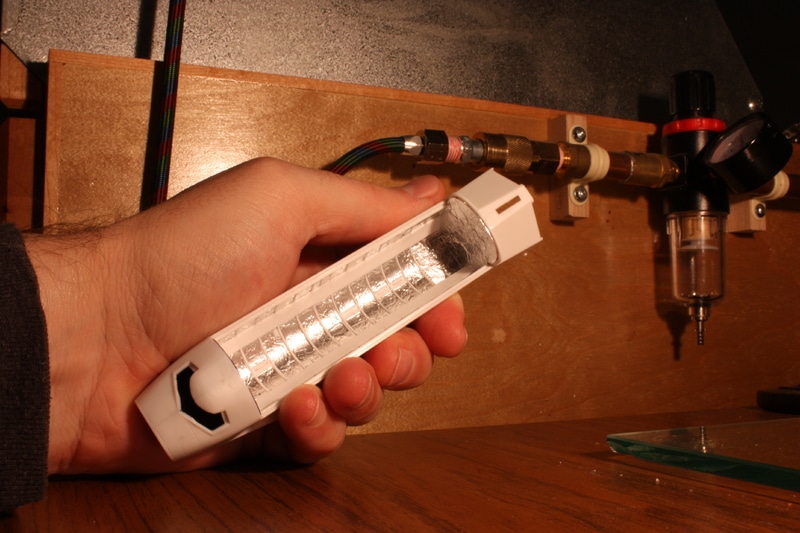
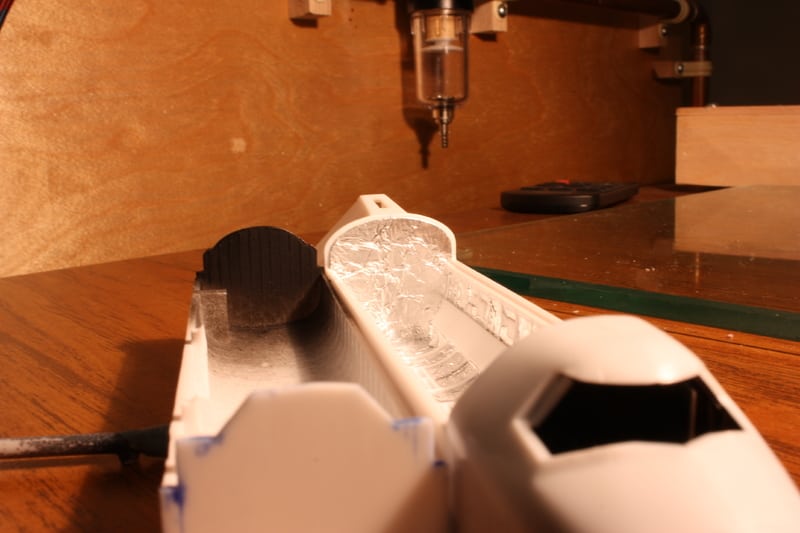
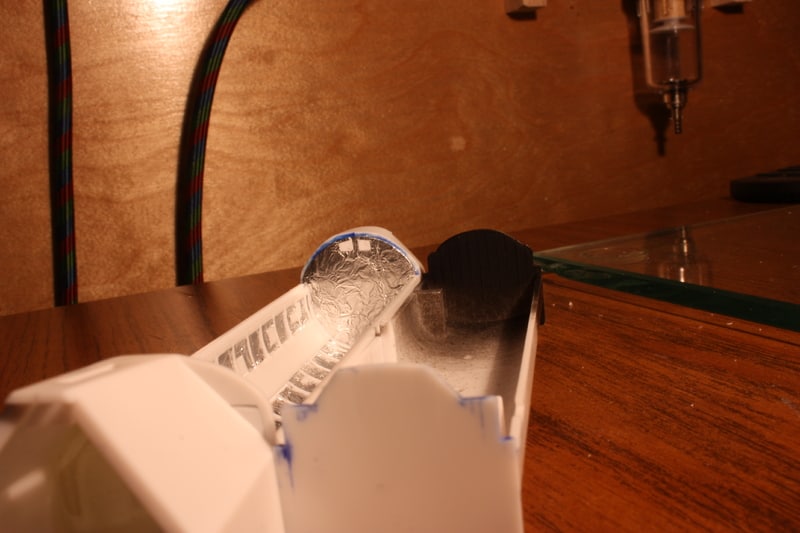
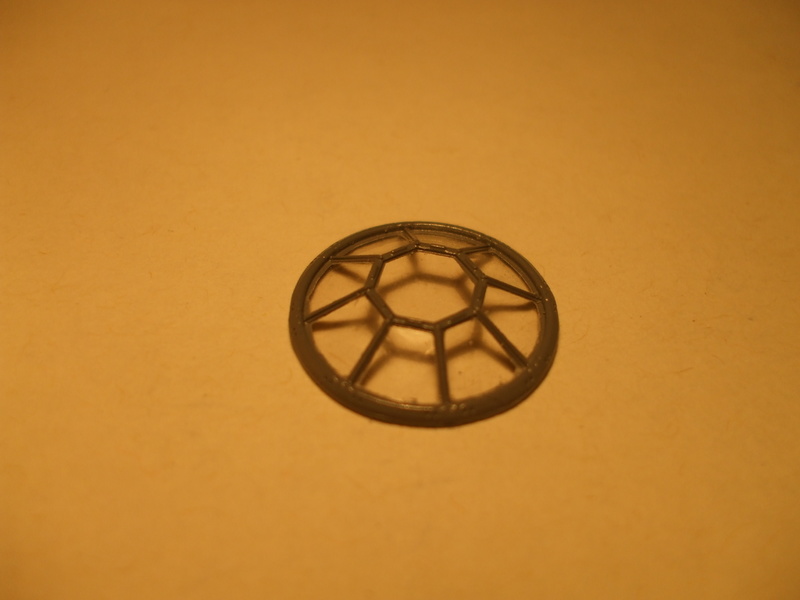
I have done a little more work on the shuttle. The rear two bays have a flat bottom so I had to cut that portion out and frame in the flat area. You can see all the unsuccessful attempts at making the curved bottom lying in the background!
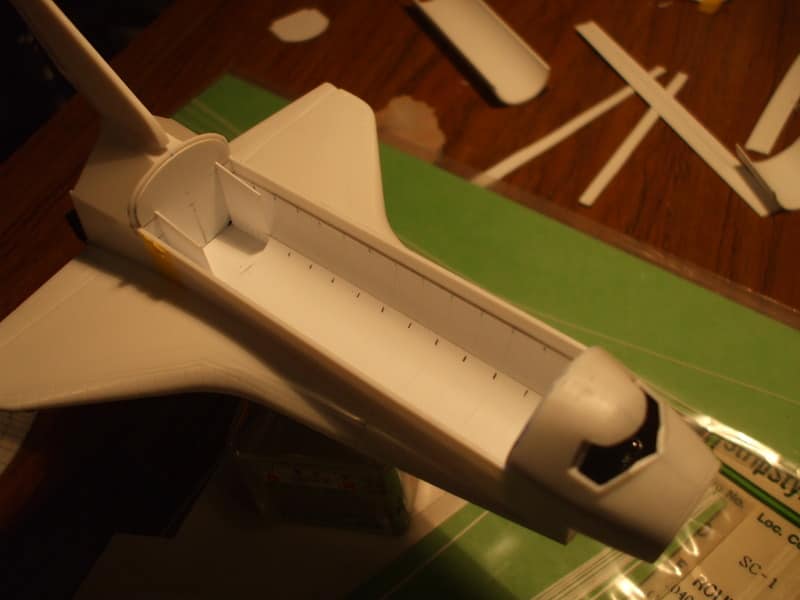
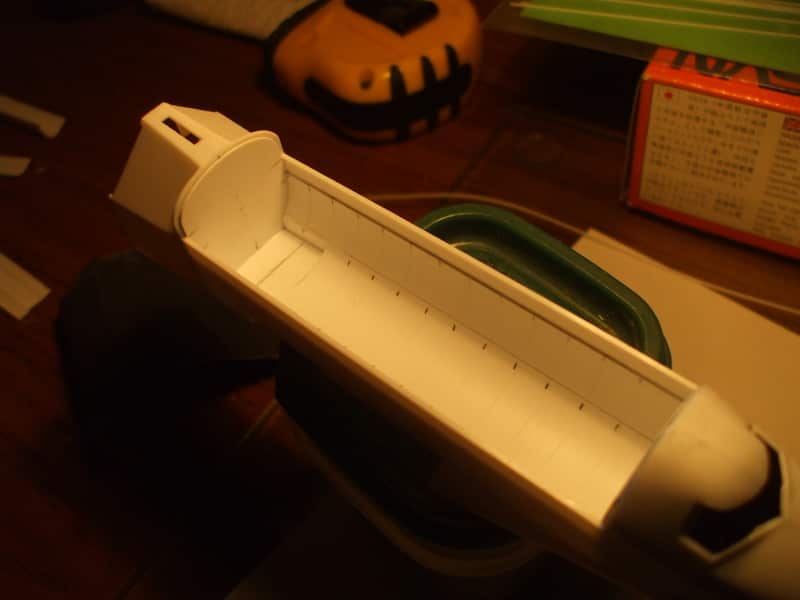
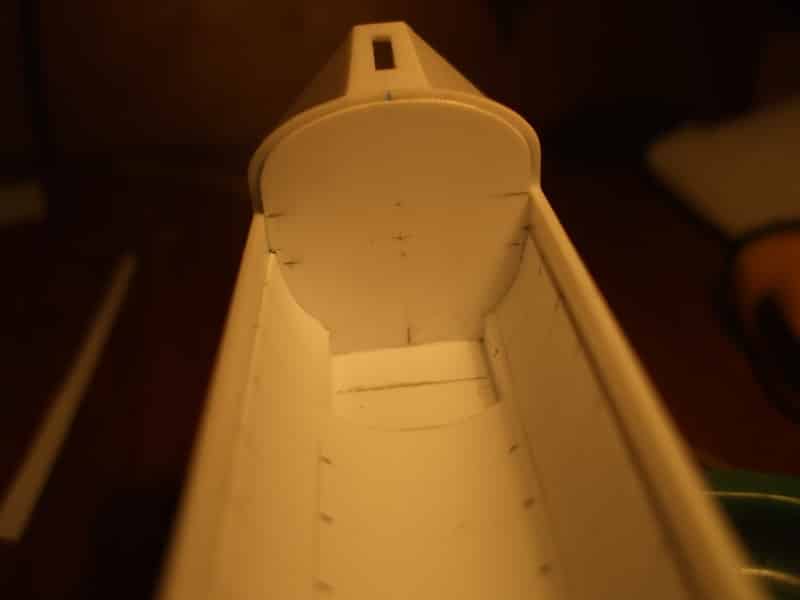
I used some plastic stock to make the different bays. I tried Milliput to simulate the material in between the ribs but I just could not get the hang of it. I also tried tissue paper soaked in glue but this was too rough. In the end I used kitchen foil glued down with Micro Metal Foil Adhesive. I wrinkled the foil before applying the glue and installing it to give it some texture. I will be priming this and painting it white later. The shine from the tin foil makes it hard to photograph.

More coming soon.
I have done a little more work on the shuttle. The rear two bays have a flat bottom so I had to cut that portion out and frame in the flat area. You can see all the unsuccessful attempts at making the curved bottom lying in the background!
I used some plastic stock to make the different bays. I tried Milliput to simulate the material in between the ribs but I just could not get the hang of it. I also tried tissue paper soaked in glue but this was too rough. In the end I used kitchen foil glued down with Micro Metal Foil Adhesive. I wrinkled the foil before applying the glue and installing it to give it some texture. I will be priming this and painting it white later. The shine from the tin foil makes it hard to photograph.
More coming soon.
Paul
This is it. The moment we should have trained for.
This is it. The moment we should have trained for.
-
ShaunW
- NOT the sheep
- Posts: 26194
- Joined: November 26th, 2011, 6:11 pm
- Location: Pontefract West Yorkshire
Re: Paul's Attempts
The Shuttle is an interesting subject Paul and is a type that I have considered building off and on for a few years now, but I am unsure as to which is the best kit. That is a great bit of scratch building to improve the cargo bay and is the sort of thing that I often get involved in, particularly with my builds of classic kits. It takes a little nerve to start chopping a kit up but once underway I find this sort of work a lot of fun. Top stuff 
Doing - Tamiya 1/35th Universal Carrier.
Work is the curse of the modelling classes!
IPMS#12300
Work is the curse of the modelling classes!
IPMS#12300
-
Stuart

- Raider of the Lost Ark Royal
- Posts: 19451
- Joined: February 25th, 2013, 4:55 pm
- Location: North Wales
- Contact:
Re: Paul's Attempts
Great looking bay work on that Shuttle
Stuart Templeton I may not be good but I'm slow...
My Blog: https://stuartsscalemodels.blogspot.com/
My Blog: https://stuartsscalemodels.blogspot.com/
-
Canuck2016
- Active Participant
- Posts: 535
- Joined: March 6th, 2016, 4:03 pm
Re: Paul's Attempts
The interior of the bay and the foil look very authentic, Paul! Nice job!
-
Marek

- Modelling Gent and Scholar
- Posts: 2455
- Joined: May 1st, 2011, 8:03 am
- Location: Madison, WI
- Contact:
Re: Paul's Attempts
Love the work on shuttle, and Arado is quite a beauty.
-
Softscience

- Staring out the window
- Posts: 7492
- Joined: April 5th, 2011, 4:34 pm
- Location: Maryland, near Washington DC
Re: Paul's Attempts
Very nice, Paul
Re: Paul's Attempts
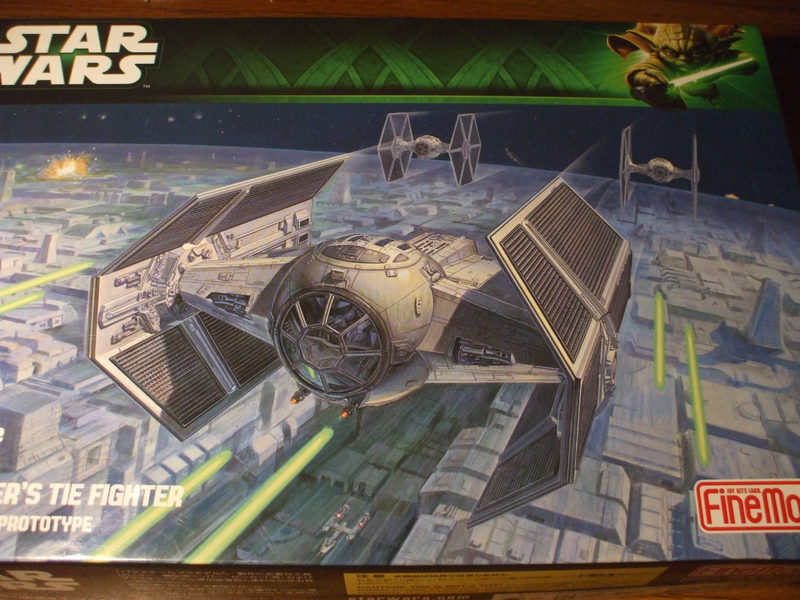
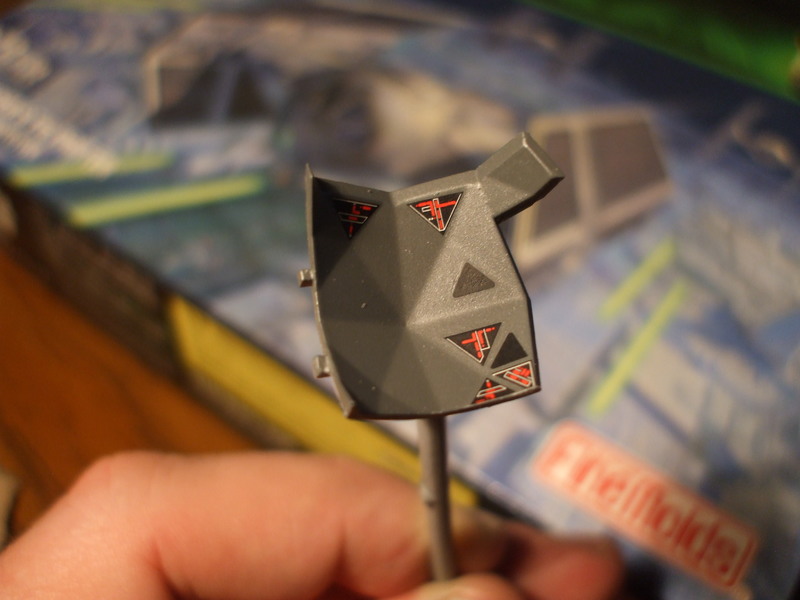
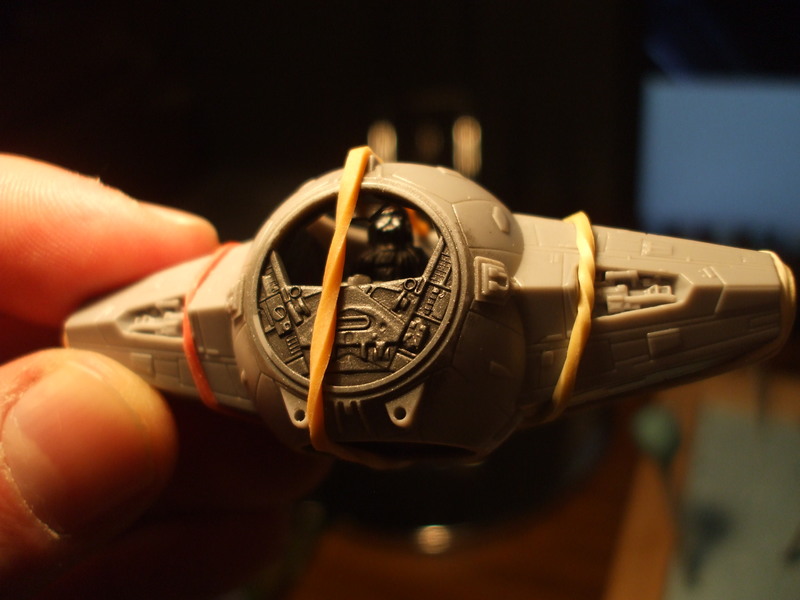
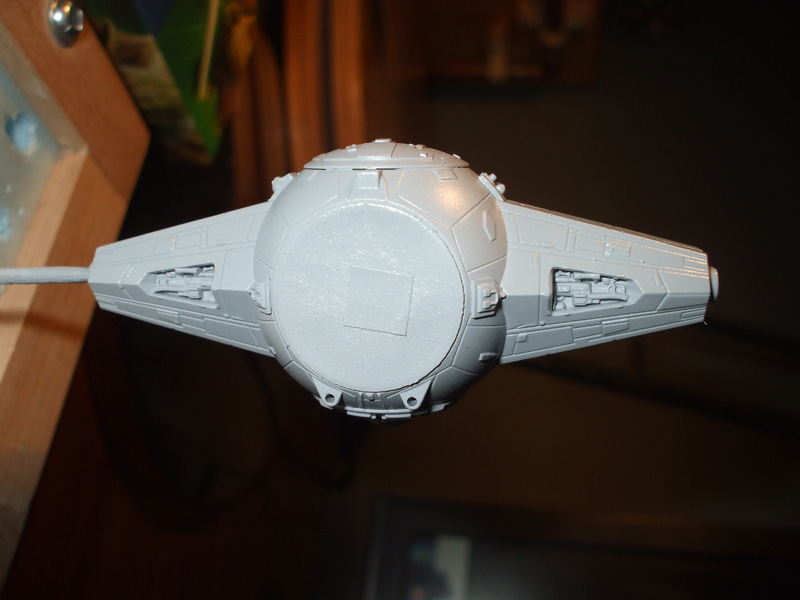
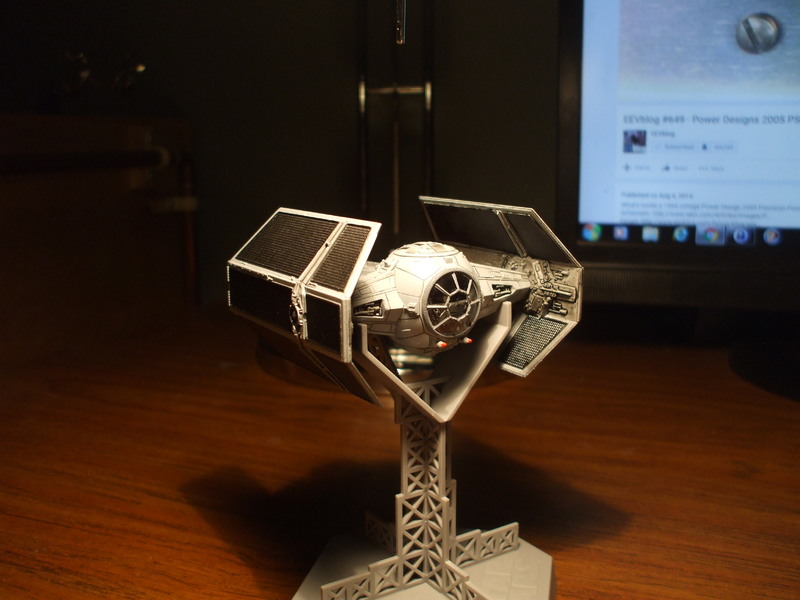
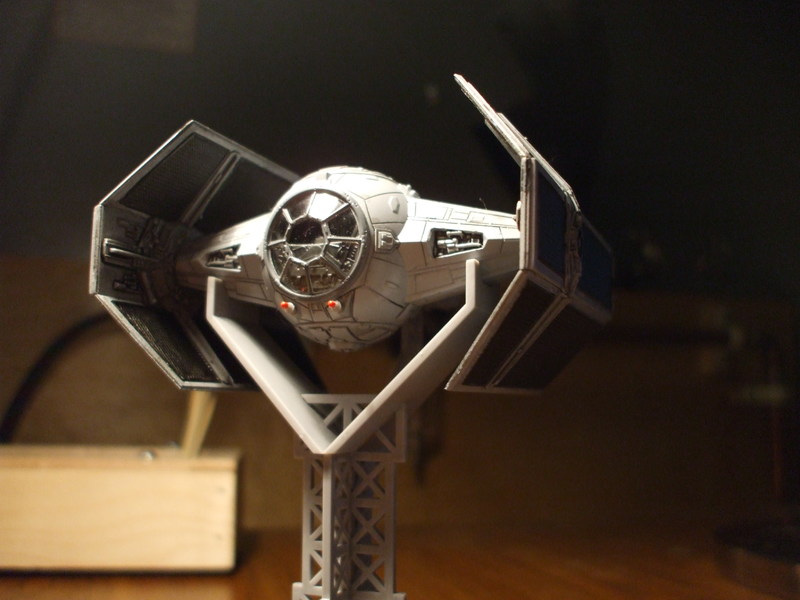
Thank you all for the comments. I took a break from the shuttle and decided to do a very quick build of Darth Vader's Tie Fighter. This is the Fine Molds kit in 1/72 scale. The level of detail and fit of this kit is very good. Not my best work but I just felt like getting something done.
I used Vallejo paints on this model. The interior was a mix of light grey and metal black. I thought it was just black but I noticed a metallic sheen on it afterwards and finally realized it was a metallic paint. It actually worked well for the interior though. A final coat of flat over top sealed the decals.
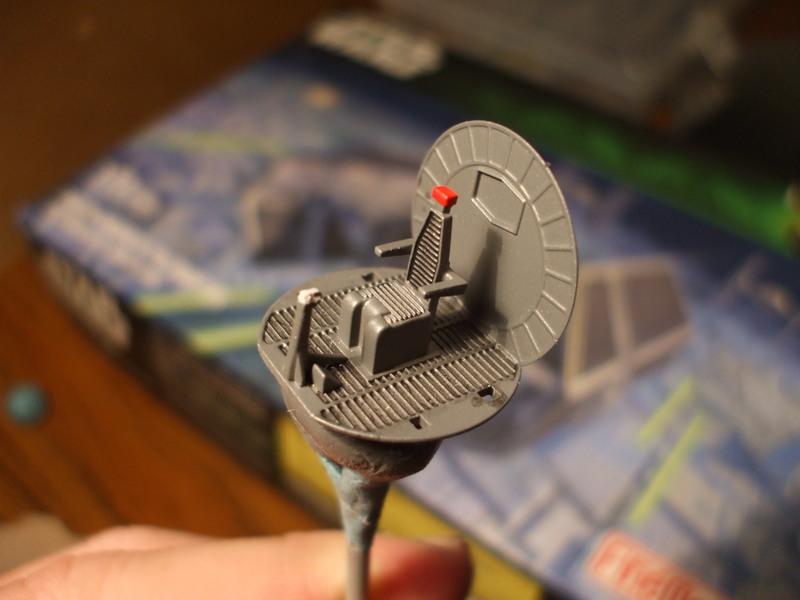
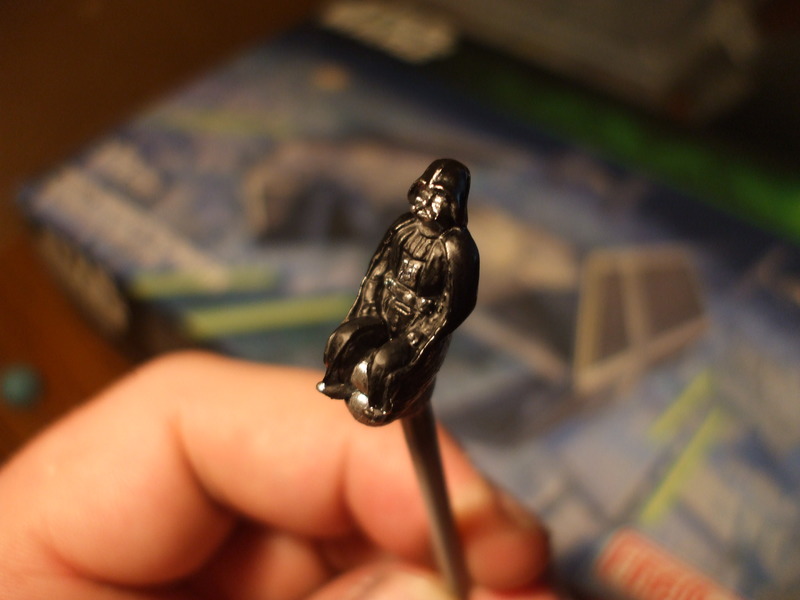
Control yoke is not on yet since I had to glue Darth in first so that it would not interfere.
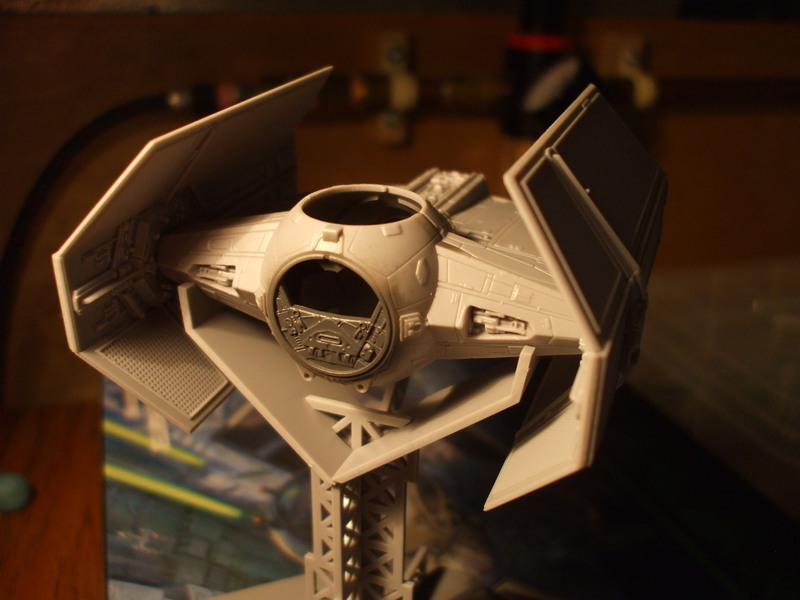
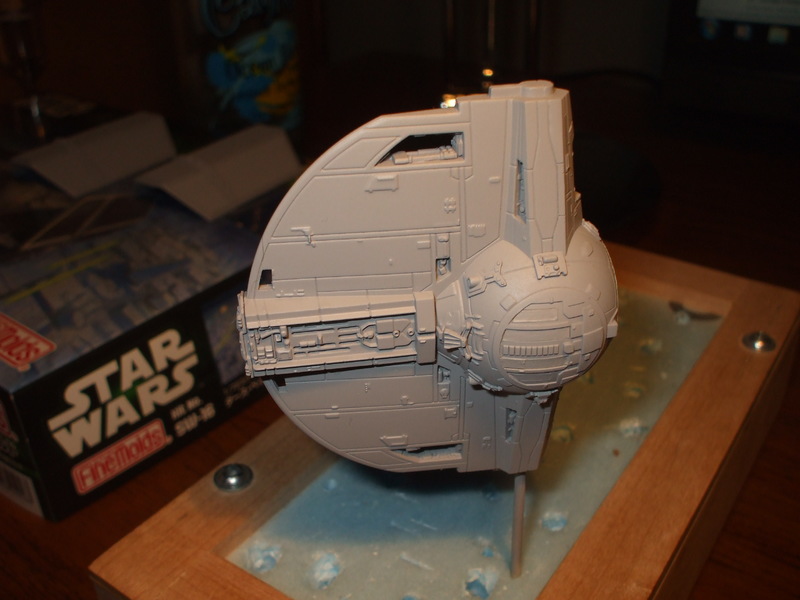
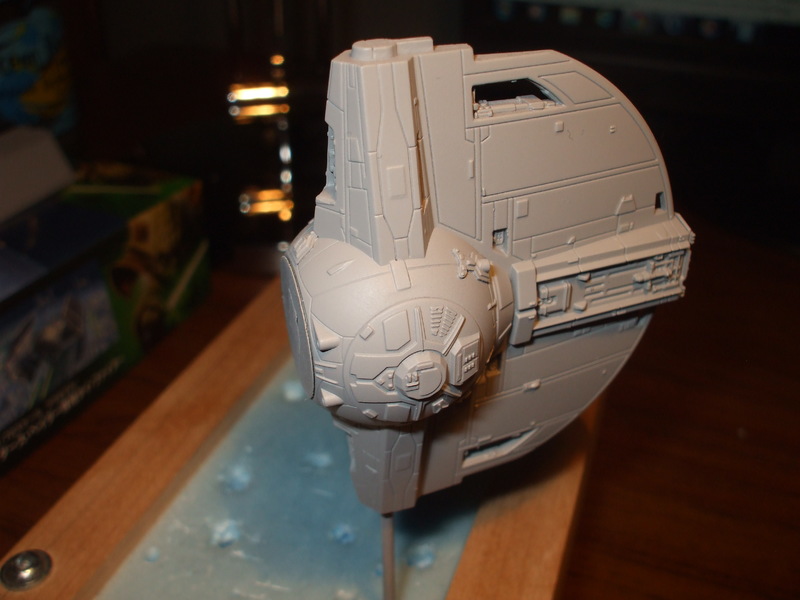
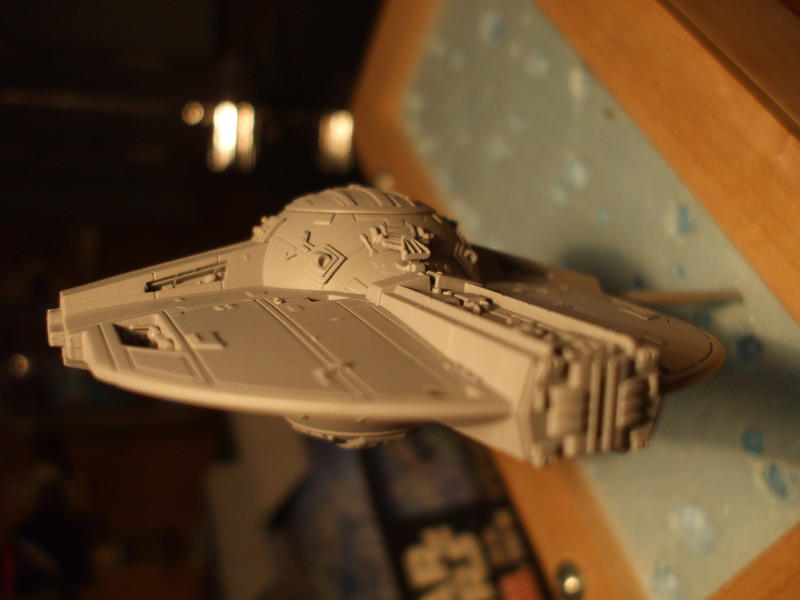


The exterior paint is a mixture of light grey, light blue and US dark grey.
A heavy wash of Tamiya panel line accent color (black) finished it off. Stand still has to be painted but that will come in time.
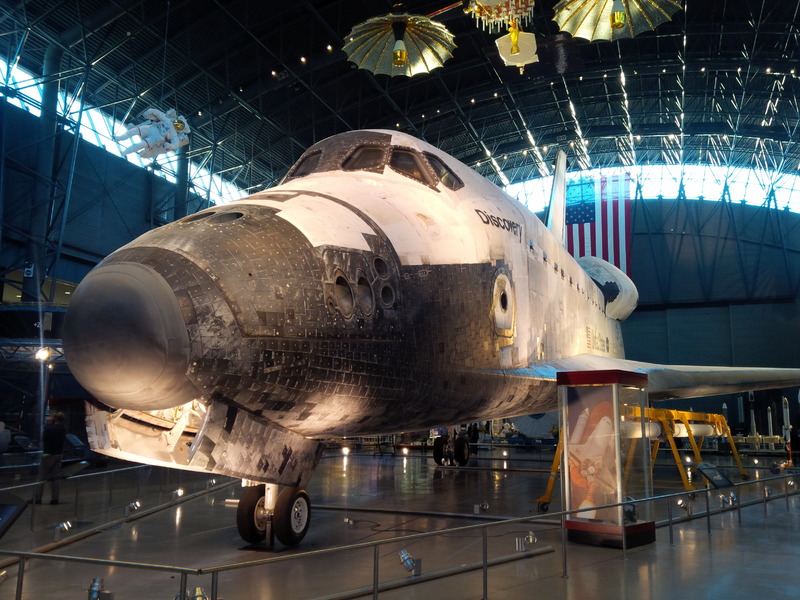
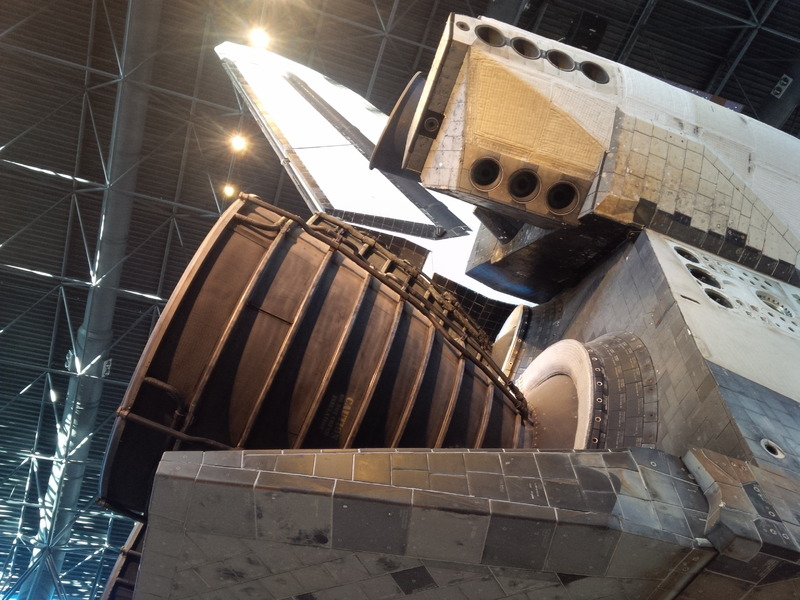
Trying to get my mojo back to continue working on the shuttle but I am still trying to think of a satisfactory way to paint the tile pattern. I was lucky enough to visit the Smithsonian Udvar Hazy and see the real thing last month. This thing is BIG! Fantastic museum. Spent 5 hours there and could have stayed much longer.
Sorry for the long post.
Cheers,
I used Vallejo paints on this model. The interior was a mix of light grey and metal black. I thought it was just black but I noticed a metallic sheen on it afterwards and finally realized it was a metallic paint. It actually worked well for the interior though. A final coat of flat over top sealed the decals.
Control yoke is not on yet since I had to glue Darth in first so that it would not interfere.
The exterior paint is a mixture of light grey, light blue and US dark grey.
A heavy wash of Tamiya panel line accent color (black) finished it off. Stand still has to be painted but that will come in time.
Trying to get my mojo back to continue working on the shuttle but I am still trying to think of a satisfactory way to paint the tile pattern. I was lucky enough to visit the Smithsonian Udvar Hazy and see the real thing last month. This thing is BIG! Fantastic museum. Spent 5 hours there and could have stayed much longer.
Sorry for the long post.
Cheers,
Paul
This is it. The moment we should have trained for.
This is it. The moment we should have trained for.
-
iggie
- Modelling Gent and Scholar
- Posts: 23438
- Joined: July 31st, 2013, 11:04 am
- Location: North Somercotes, Lincolnshire
- Contact:
Re: Paul's Attempts
Love the Tie fighter and will be interesting to see how my Bandai one compares
Have you thought about using decals for the shuttle tiles?
Have you thought about using decals for the shuttle tiles?
Best wishes
Jim
If you can walk away from a landing, it's a good landing. If you use the airplane the next day, it's an outstanding landing
"Never put off till tomorrow, what you can do the day after tomorrow"
Jim
If you can walk away from a landing, it's a good landing. If you use the airplane the next day, it's an outstanding landing
"Never put off till tomorrow, what you can do the day after tomorrow"