Paul's Attempts
-
Stuart

- Raider of the Lost Ark Royal
- Posts: 19451
- Joined: February 25th, 2013, 4:55 pm
- Location: North Wales
- Contact:
Re: Paul's Attempts
That's a great looking Tigermoth!
Stuart Templeton I may not be good but I'm slow...
My Blog: https://stuartsscalemodels.blogspot.com/
My Blog: https://stuartsscalemodels.blogspot.com/
-
Canuck2016

- Active Participant
- Posts: 535
- Joined: March 6th, 2016, 4:03 pm
Re: Paul's Attempts
Paul, the Tigermoth looks terrific! The plastic disc to simulate the spinning prop looks really good, and the way you mounted it with the magnet is genius. Looks as if it's actually in flight in your display case!

Re: Paul's Attempts
Good evening all,
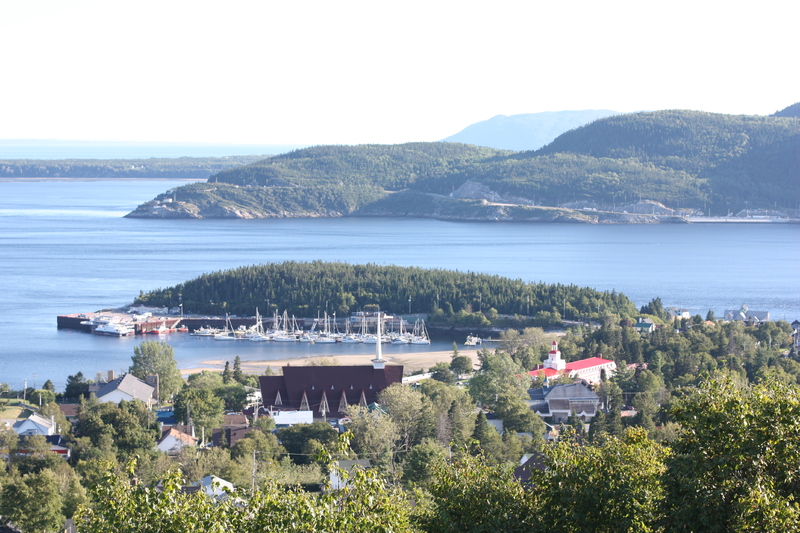
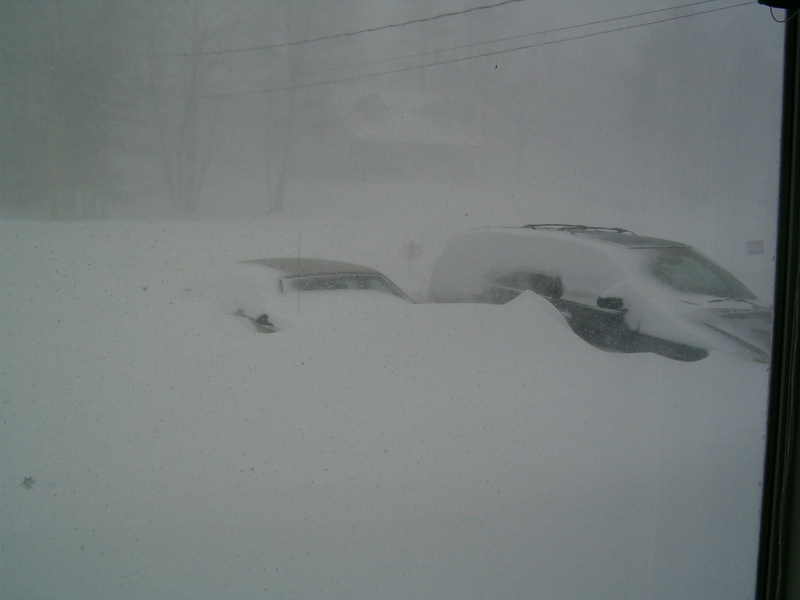
Just a little update on what I have been up to. Not really modelling but my wife and I had a very good time. We went camping in Quebec, in a little town called Tadoussac. It is a beautiful town on the north shore of the St. Lawrence River, where you can watch the whales that travel up the river.
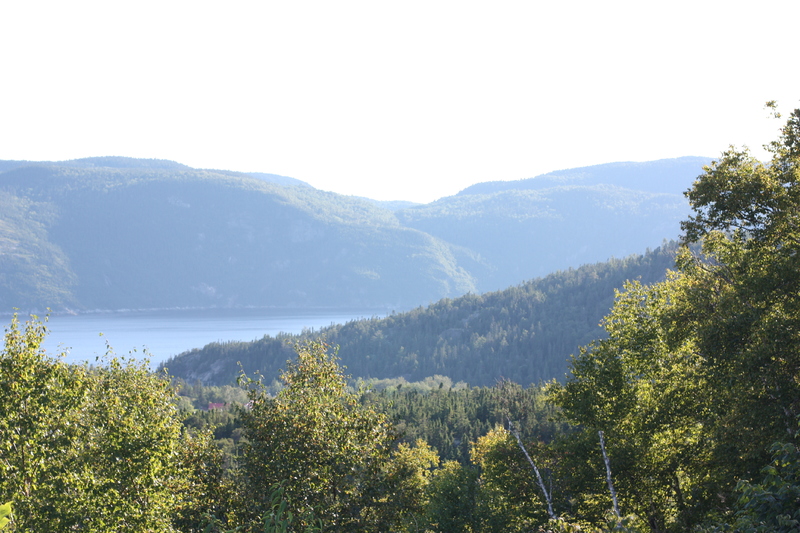
A really nice view from the camp site.
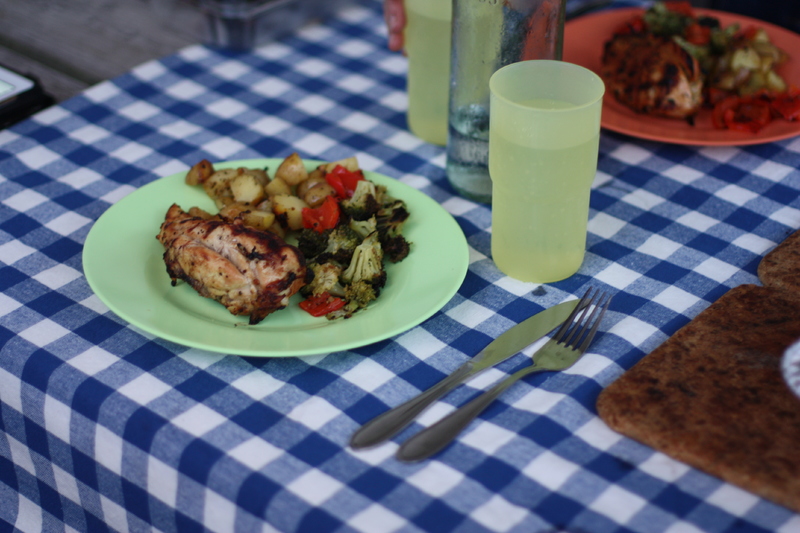
My wife made sure I was well fed! She is very good at this. I am spoiled.
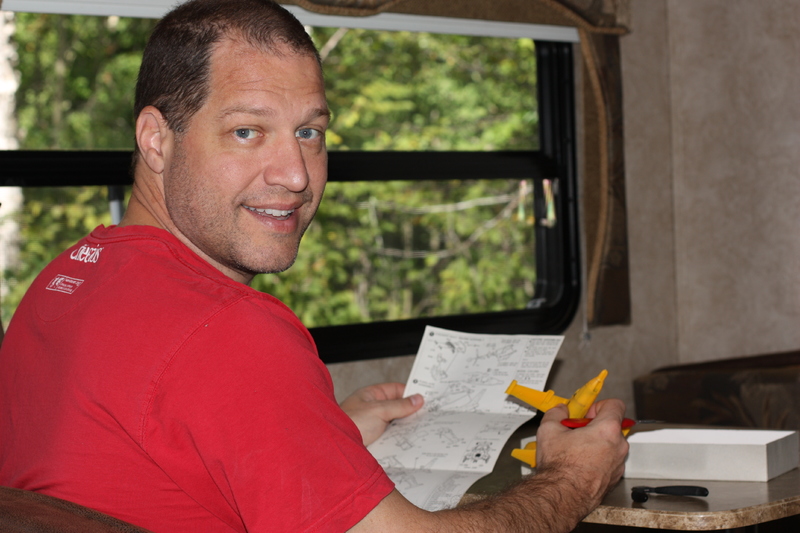
Not camping in a tent but a camper. I know it is not really roughing it but that is the way I like it. Even found a little time to practice some techniques. Here I am practicing scribing on an MU-2.
Gotta love summer!
But it is not going to last much longer here. Oh well, there's always hockey!
Just a little update on what I have been up to. Not really modelling but my wife and I had a very good time. We went camping in Quebec, in a little town called Tadoussac. It is a beautiful town on the north shore of the St. Lawrence River, where you can watch the whales that travel up the river.
A really nice view from the camp site.
My wife made sure I was well fed! She is very good at this. I am spoiled.
Not camping in a tent but a camper. I know it is not really roughing it but that is the way I like it. Even found a little time to practice some techniques. Here I am practicing scribing on an MU-2.
Gotta love summer!
But it is not going to last much longer here. Oh well, there's always hockey!
Paul
This is it. The moment we should have trained for.
This is it. The moment we should have trained for.

-
Marek

- Modelling Gent and Scholar
- Posts: 2455
- Joined: May 1st, 2011, 8:03 am
- Location: Madison, WI
- Contact:
Re: Paul's Attempts
Nice environment for rescribing!  Looks beautiful.
Re: Paul's Attempts
Thank you Johnsan, the Tiger moth was a really good little kit from airfix.
Thanks Marek, it was a great trip. Towing the trailer through Montreal and Quebec City was fun but once we were through it became relaxing again.
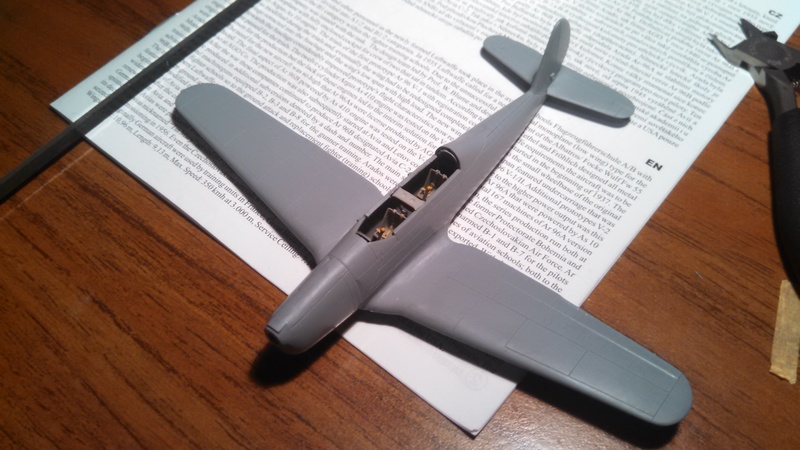
I have started work on Special Hobby’s Arado Ar 96B.
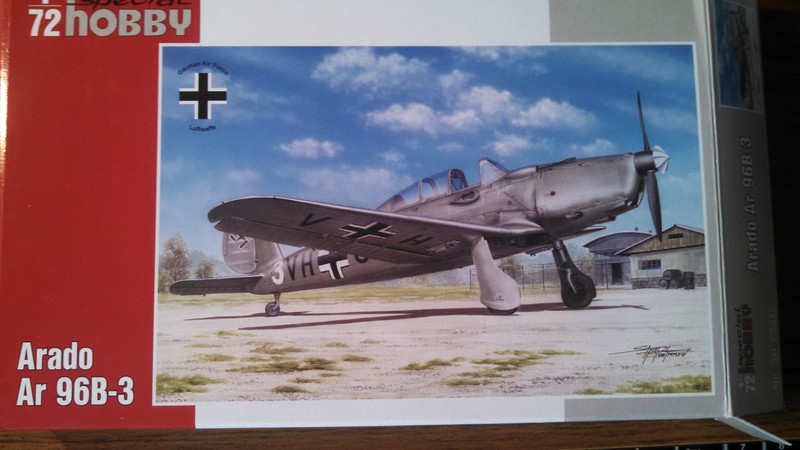
It is quite a nice kit of an interesting aircraft. The kit consists of a couple sprues of plastic parts accompanied by resin and photo etch parts as well. Sorry, I did not get any pictures of the parts before I began work. Panel lines are engraved but are somewhat inconsistent in a couple areas though nice overall. I deepened them with a scribing tool so that the paint would not obliterate them. Still, they were nice and light for the scale.
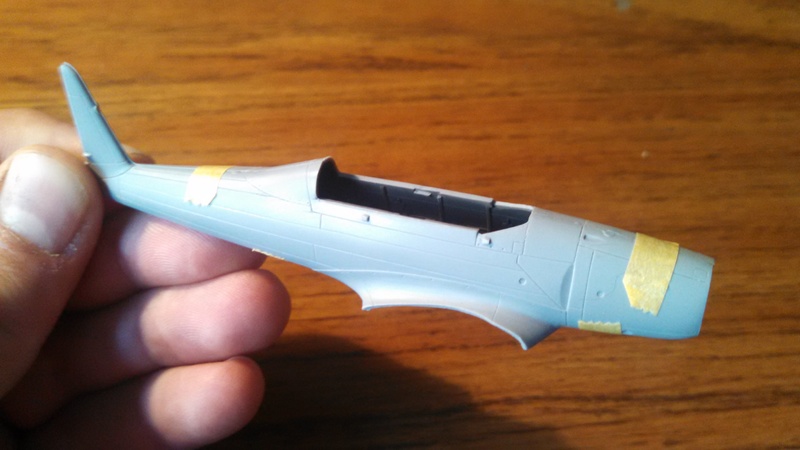
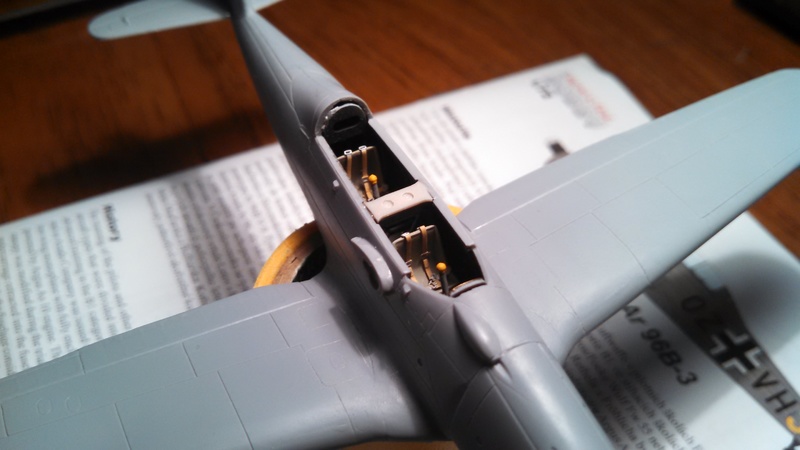
The cockpit floor is divided into two halves. Not sure why they did it this way since it complicates the alignment fit. There are no locating marks or steps to glue the forward cockpit to the rear. It is just butt joined so I re-enforced the joint with plastic card. I have always been nervous about photo etch since I have never been successful in using them. Even this time I had a photo etch seat belt fall onto the carpet while trying to attach it. Luckily this time I found the small part after an intense search with a flashlight at a very oblique angle!
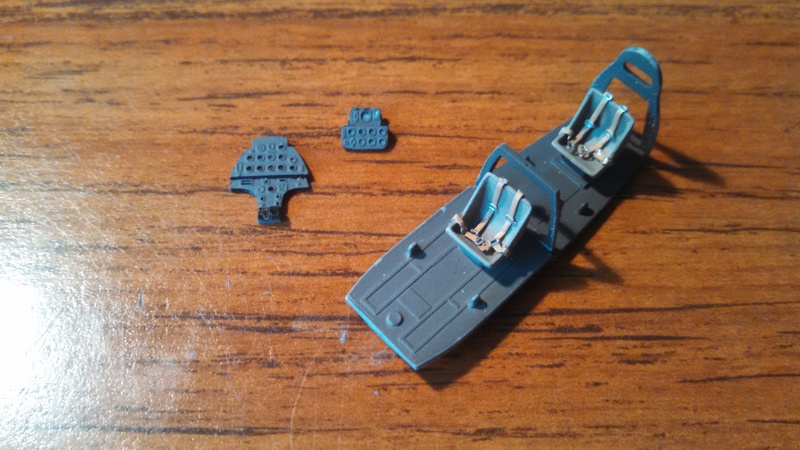
I wanted to try a kit with resin and photo etch parts to expand my skills. The parts are soooo small! I think some parts look too flat and are best scratchbuilt using other methods. I think I will decide on a case by case basis on which ones to use. Or the carpet monster will decide for me!
Regards,
Thanks Marek, it was a great trip. Towing the trailer through Montreal and Quebec City was fun but once we were through it became relaxing again.
I have started work on Special Hobby’s Arado Ar 96B.
It is quite a nice kit of an interesting aircraft. The kit consists of a couple sprues of plastic parts accompanied by resin and photo etch parts as well. Sorry, I did not get any pictures of the parts before I began work. Panel lines are engraved but are somewhat inconsistent in a couple areas though nice overall. I deepened them with a scribing tool so that the paint would not obliterate them. Still, they were nice and light for the scale.
The cockpit floor is divided into two halves. Not sure why they did it this way since it complicates the alignment fit. There are no locating marks or steps to glue the forward cockpit to the rear. It is just butt joined so I re-enforced the joint with plastic card. I have always been nervous about photo etch since I have never been successful in using them. Even this time I had a photo etch seat belt fall onto the carpet while trying to attach it. Luckily this time I found the small part after an intense search with a flashlight at a very oblique angle!
I wanted to try a kit with resin and photo etch parts to expand my skills. The parts are soooo small! I think some parts look too flat and are best scratchbuilt using other methods. I think I will decide on a case by case basis on which ones to use. Or the carpet monster will decide for me!
Regards,
Paul
This is it. The moment we should have trained for.
This is it. The moment we should have trained for.
Re: Paul's Attempts
I like your work,the display ideas are brill.
-
Cameronian

- Onto the Clever Stuff, Now.
- Posts: 171
- Joined: March 6th, 2015, 1:48 pm
- Location: Aberdeenshire, Scotland
Re: Paul's Attempts
Finished the cockpit and used as many of the photo etch parts as my clumsy fingers could glue in there! The first casualty from the photo etch parts was the flap lever. The first attempt was consumed by the carpet monster. After that the second turned into a pretzel before I was able to attach it to the cockpit floor. In the end I just used stretched sprue. I think it looks better than the two dimensional PE part. I did get the levers on the cockpit instrument panel to stick. Not sure if the little things will stay on but they are attached for now.
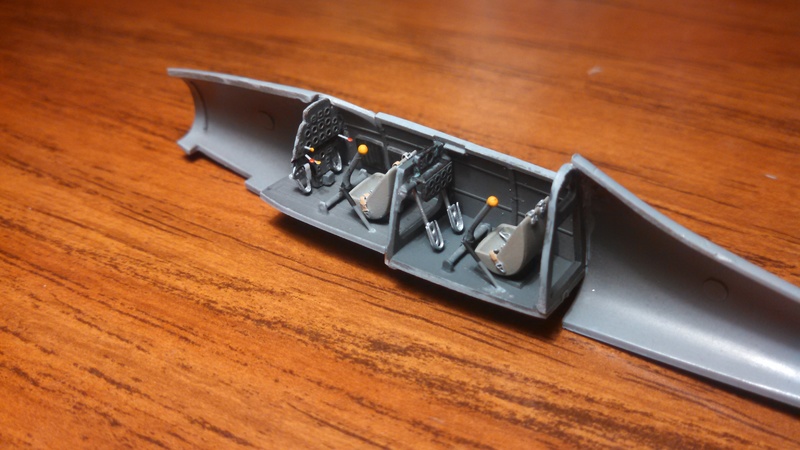
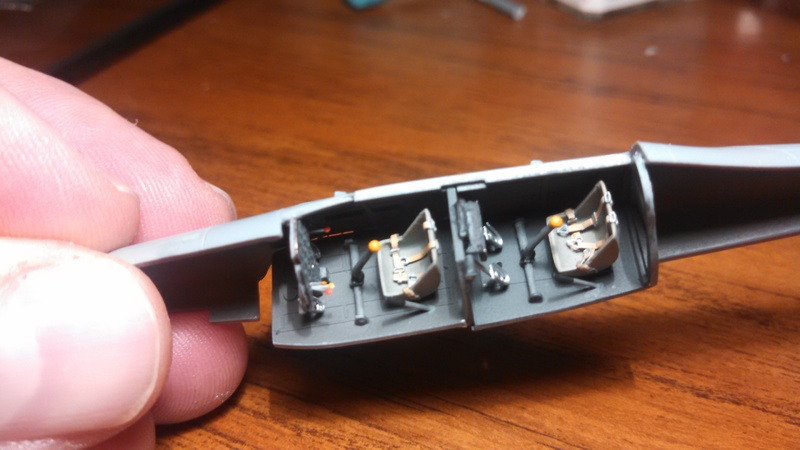
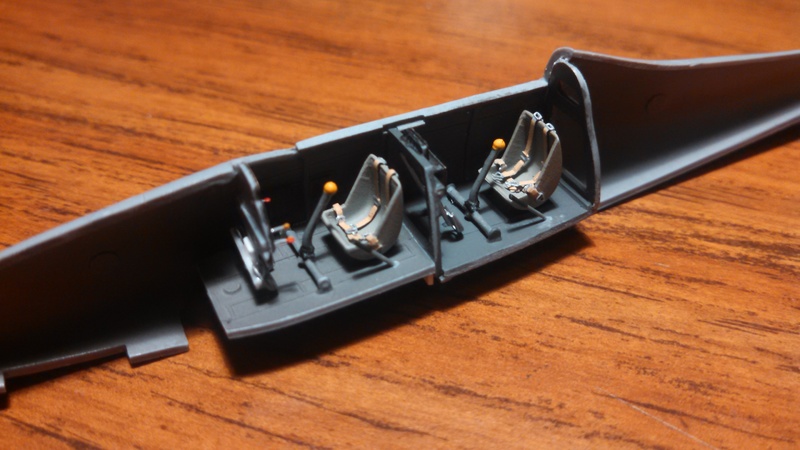
While not successful at using all the photo etch parts, it is still teaching me things. First, I still hate putting them on. Second, it does add interest. Third, I am slowly getting better at gluing them on. Very slowly!
Thanks for looking,
While not successful at using all the photo etch parts, it is still teaching me things. First, I still hate putting them on. Second, it does add interest. Third, I am slowly getting better at gluing them on. Very slowly!
Thanks for looking,
Paul
This is it. The moment we should have trained for.
This is it. The moment we should have trained for.
-
Clashcityrocker

- Modelling Gent and Scholar
- Posts: 10827
- Joined: May 1st, 2011, 12:31 am
- Location: Adelaide. South Australia
Re: Paul's Attempts
Great looking cockpit. Nice neat work.
Nigel
Nigel
-
Marek
- Modelling Gent and Scholar
- Posts: 2455
- Joined: May 1st, 2011, 8:03 am
- Location: Madison, WI
- Contact:
Re: Paul's Attempts
Looking good!
-
ShaunW
- NOT the sheep
- Posts: 26194
- Joined: November 26th, 2011, 6:11 pm
- Location: Pontefract West Yorkshire
Re: Paul's Attempts
That is a very neat and tidy cockpit Paul. Some excellent views from your holiday trip. It's a good few years since my wife and I visited Canada but we had a great time!
Doing - Tamiya 1/35th Universal Carrier.
Work is the curse of the modelling classes!
IPMS#12300
Work is the curse of the modelling classes!
IPMS#12300
-
skypirate

- Modelling Gent and Scholar
- Posts: 7303
- Joined: May 1st, 2011, 6:13 am
- Location: Port Macquarie, Australia
Re: Paul's Attempts
Nice-looking kit, and your construction is coming together very well.
cheers,
David
cheers,
David
Re: Paul's Attempts
Thanks guys,
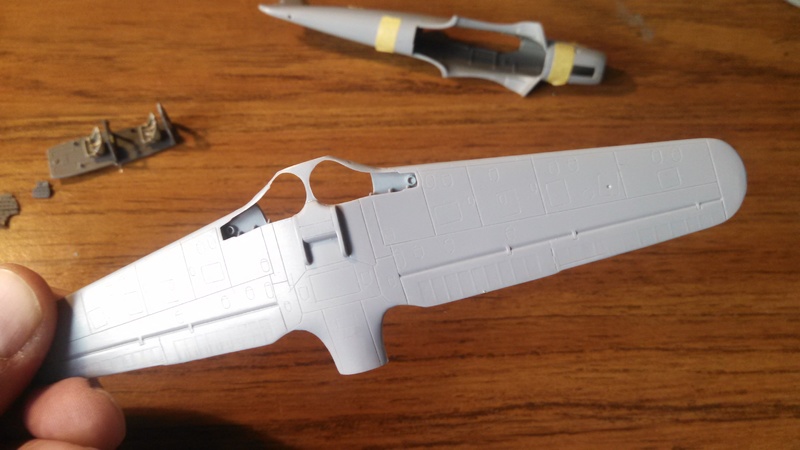
I have done a little bit more work on the Arado. Fuselage halves glued together.
The forward edge of the wheel wells were so thin that on side broke due to the tight fit to the fuselage. So I cut it out to adjust for a better fit and re-glued it together.
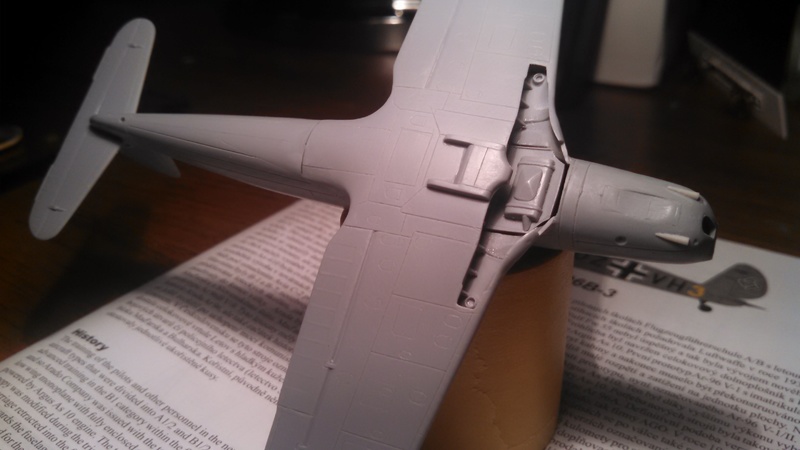
A little plastic strip to fill the gap in the forward part of the wing joint.
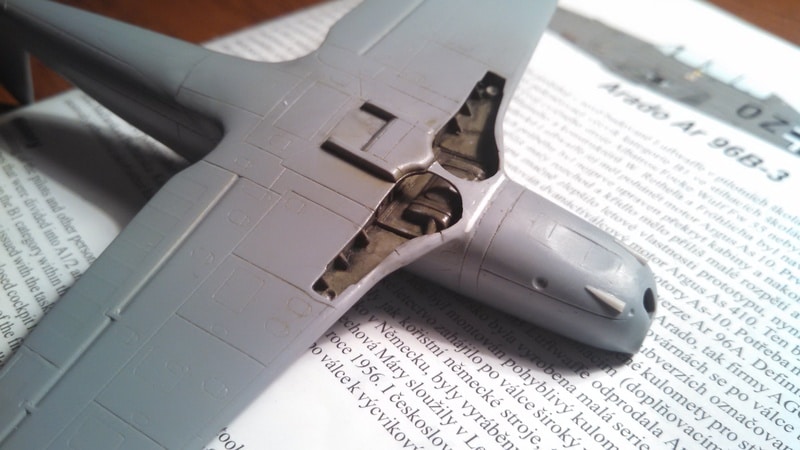
Photo etch roll bar and gun site is glued in place.
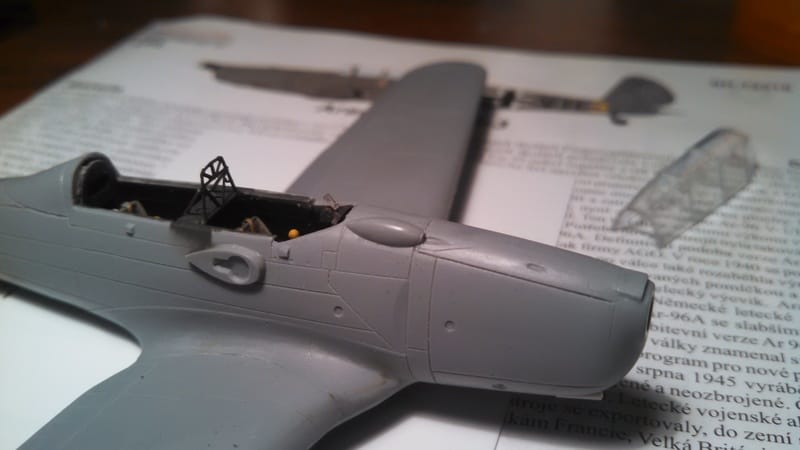
So far everything is progressing well except for the landing gear. The mounting holes in the wing were too shallow and there was no pin on the legs for a positive lock into the mounts. It almost butt joins which is very weak joint. I have to figure out a way to strengthen the joint. I drilled the mounting holes as large as I could to try to get the legs to fit but it is not good. Not sure how just yet how to attack this one, maybe a brass tube through the wing to replace the plastic ones. Maybe use some brass on the oleo. Not sure but I guess this is the fun bit of modelling.
I have done a little bit more work on the Arado. Fuselage halves glued together.
The forward edge of the wheel wells were so thin that on side broke due to the tight fit to the fuselage. So I cut it out to adjust for a better fit and re-glued it together.
A little plastic strip to fill the gap in the forward part of the wing joint.
Photo etch roll bar and gun site is glued in place.
So far everything is progressing well except for the landing gear. The mounting holes in the wing were too shallow and there was no pin on the legs for a positive lock into the mounts. It almost butt joins which is very weak joint. I have to figure out a way to strengthen the joint. I drilled the mounting holes as large as I could to try to get the legs to fit but it is not good. Not sure how just yet how to attack this one, maybe a brass tube through the wing to replace the plastic ones. Maybe use some brass on the oleo. Not sure but I guess this is the fun bit of modelling.
Paul
This is it. The moment we should have trained for.
This is it. The moment we should have trained for.
-
Canuck2016
- Active Participant
- Posts: 535
- Joined: March 6th, 2016, 4:03 pm
Re: Paul's Attempts
Looks great as always, Paul! BTW, I don't think I've ever heard of this plane before. It's quite beautiful, and after you work your magic, I'm sure it will be a fantastic-looking model!