Steadily pecking away at this. The white instrument panel shape is just a base to support the actual I/P.
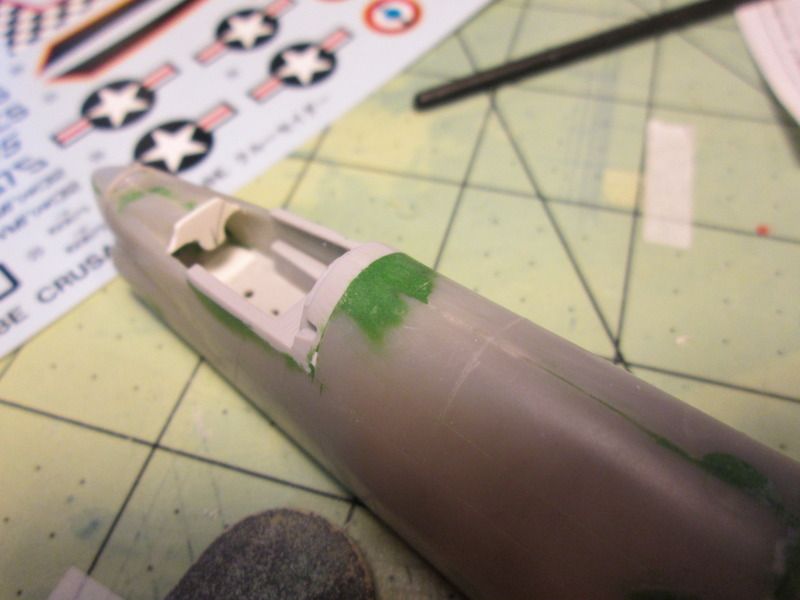
This is the right side of the intake lip with a dark grey piece of paper stuck in it (For contrast) to show the uneven edge to be fixed by-...

Sticking bits of 5 thou card on it and filling the irregularities with superglue.
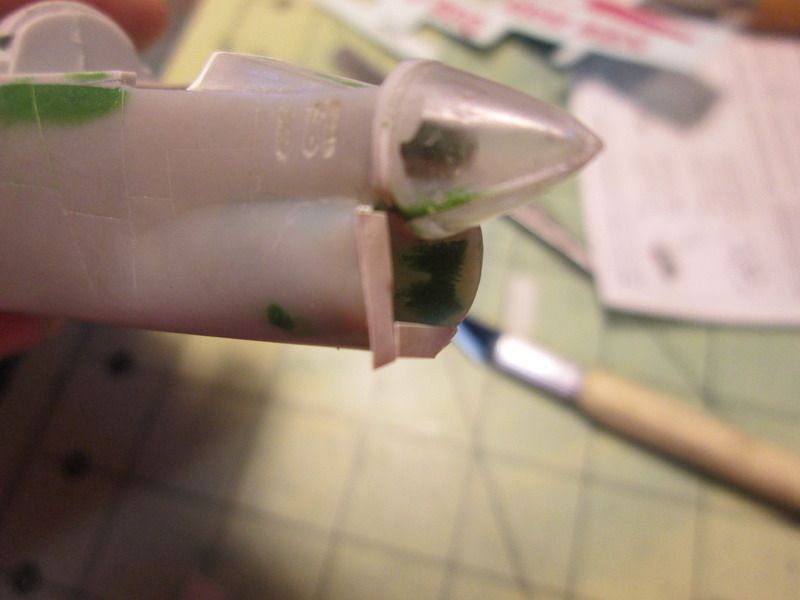
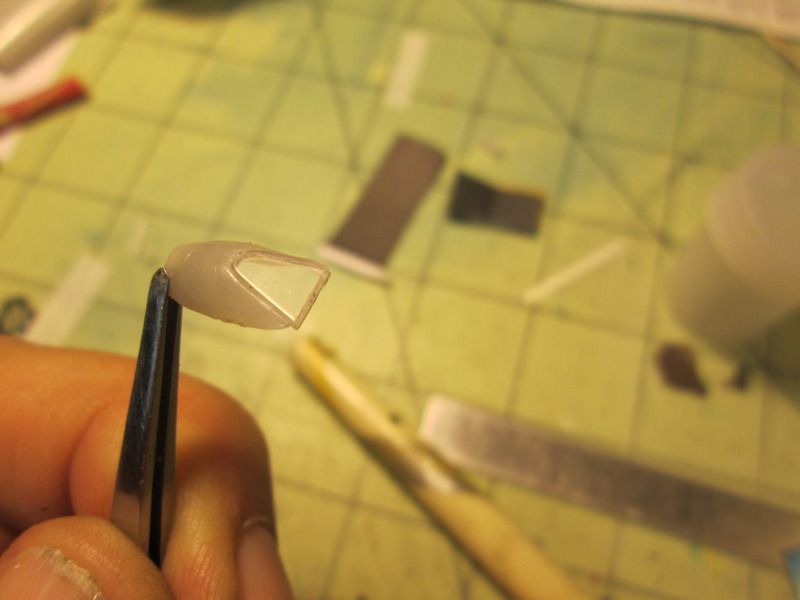
This is a camera housing that mounts just in front of the nose gear bay. The flat part is supposed to be glass.
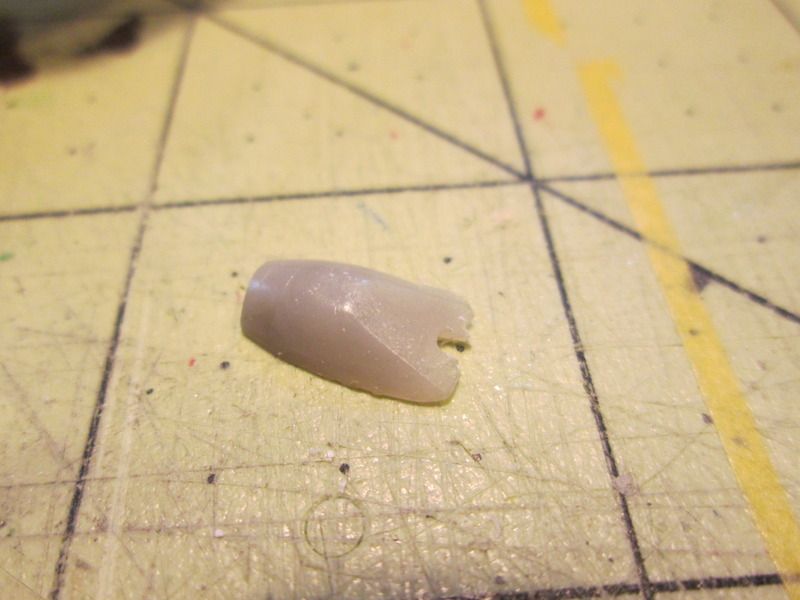
So, I hollowed it out and stuck in a window which will get superglue all around the edges and then be sanded flush.
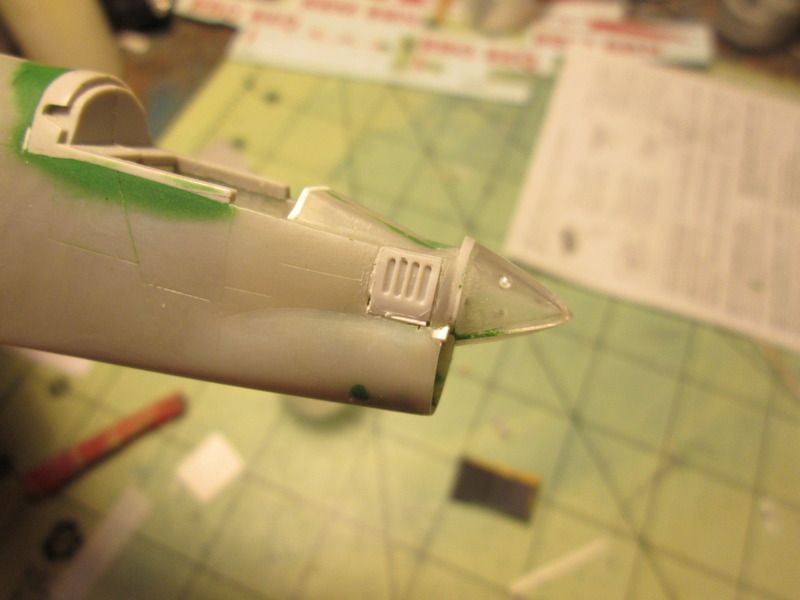
I tried to dress up these vents but it wasn't working so I replaced them
with the vents from the Hasegawa kit (one of which will have to be filled in).