It's not dead, but it has been sleeping for a long time.
I mentioned in the corresponding
Small Talk thread that I was struggling with the quality from the filament printer for some of the smaller components.
I've swapped to a resin printer and that is making a world of difference. I'm still learning what it wants from me but I am getting the bit back between my teeth again.
3D CAD is proceeding slowly but basically well.
I've learned a bunch about my bike, including that no matter how many times and different ways you measure it, the rake is always 29 degrees and not the published 27 degrees. Even the original Honda publicity photographs show it at 29 degrees when you measure the pictures. I can't really work that out, but it is what it is.
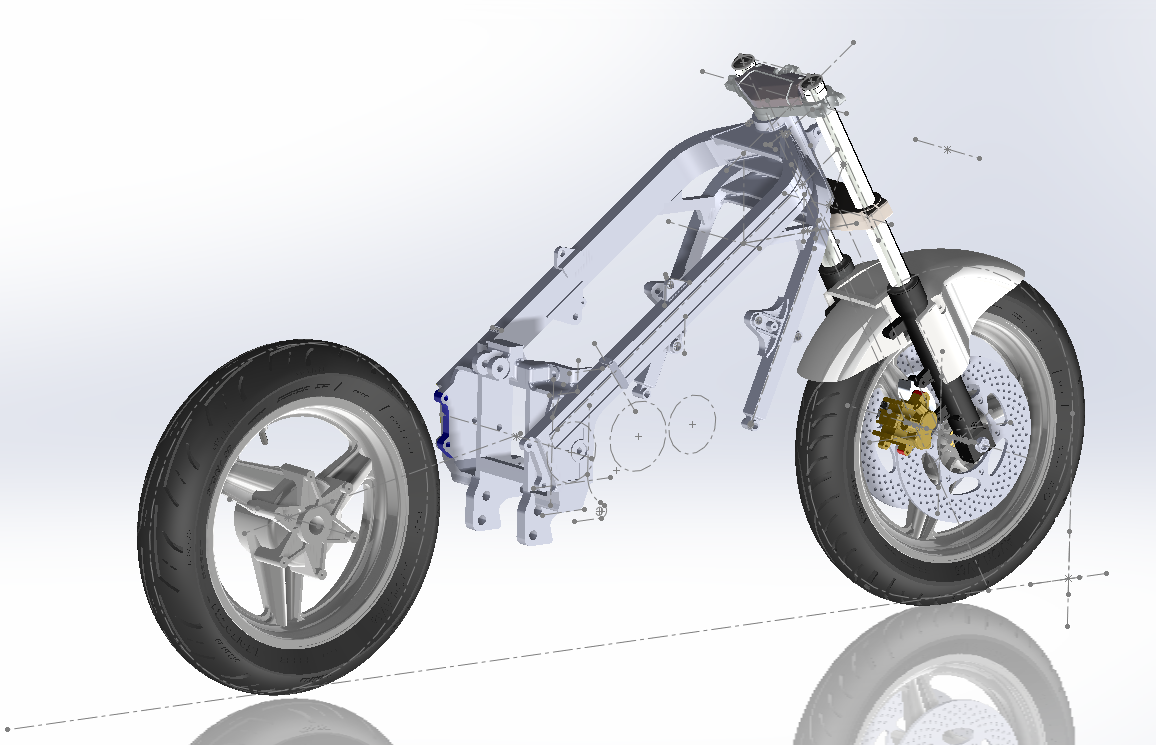
I started again with a "master skeleton" model that has all the fundamental geometry in a sketch and then include that master skeleton model as a live link in the components I draw. This means they get drawn in the right place and it seems to significantly improve my chances of things fitting together.
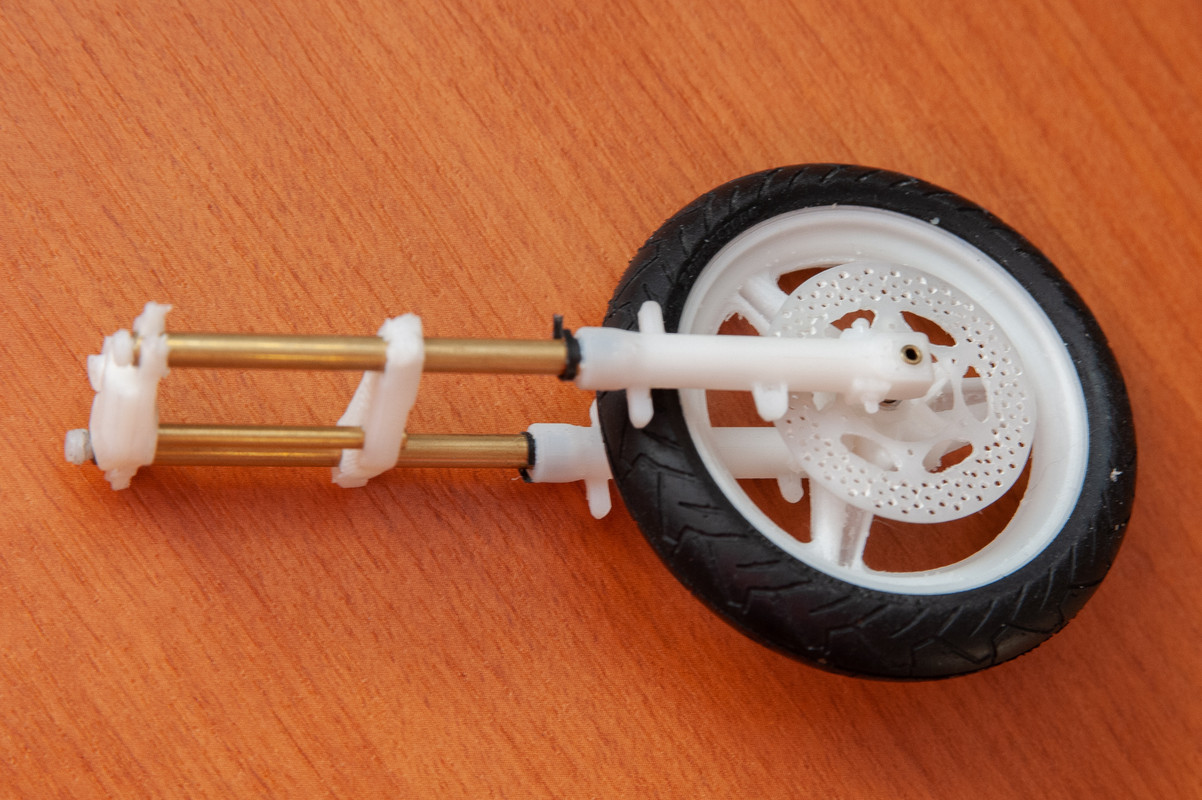
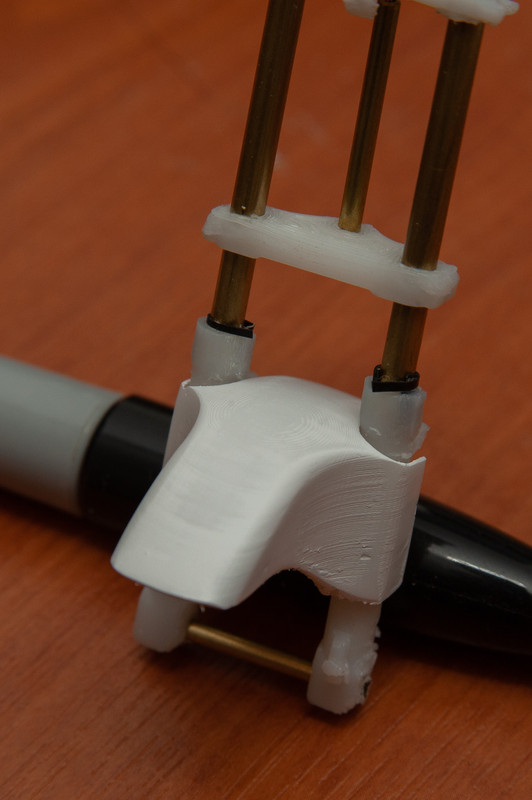
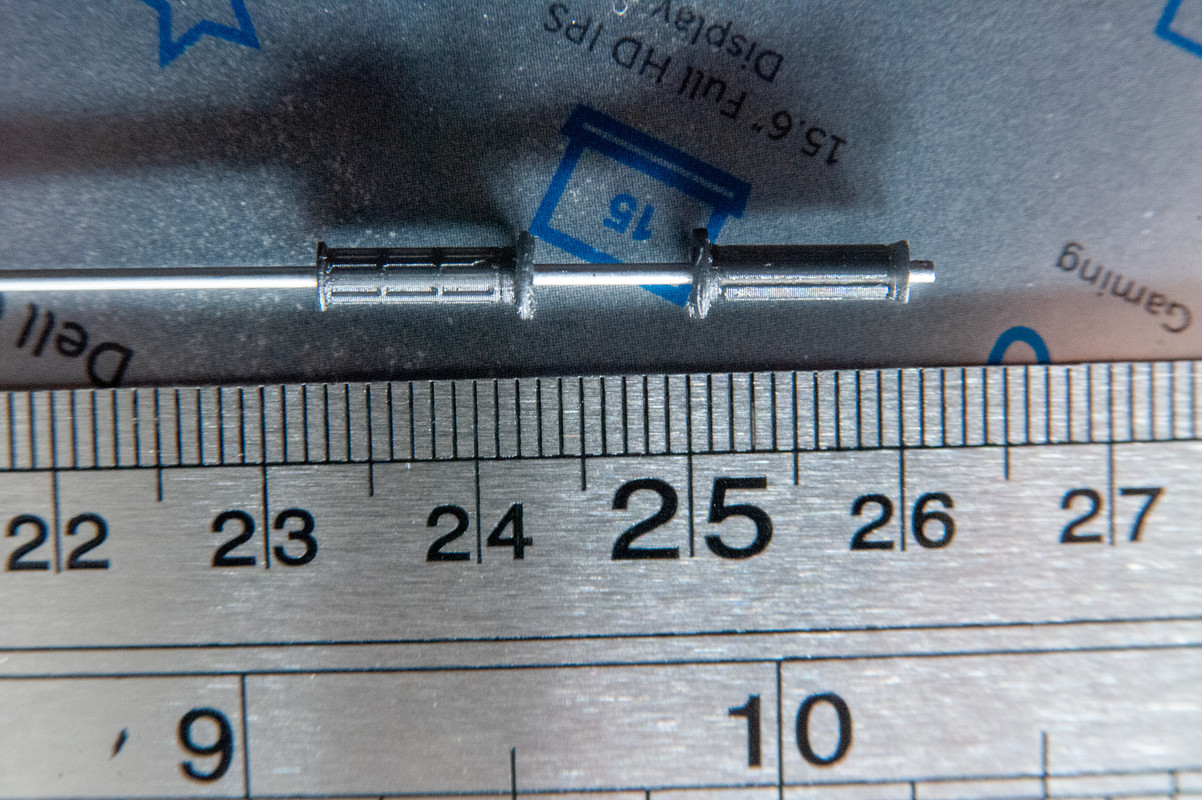
I now have a frame, forks, all the front spindle hardware (including a ridiculously small speedomoeter drive), front brake discs and calipers, one of the caliper hangers (they are asymmetric because of the anti-dive valving in the forks), both yokes (triple clamps in the US), both wheels, both tyres and the handlebar grips.

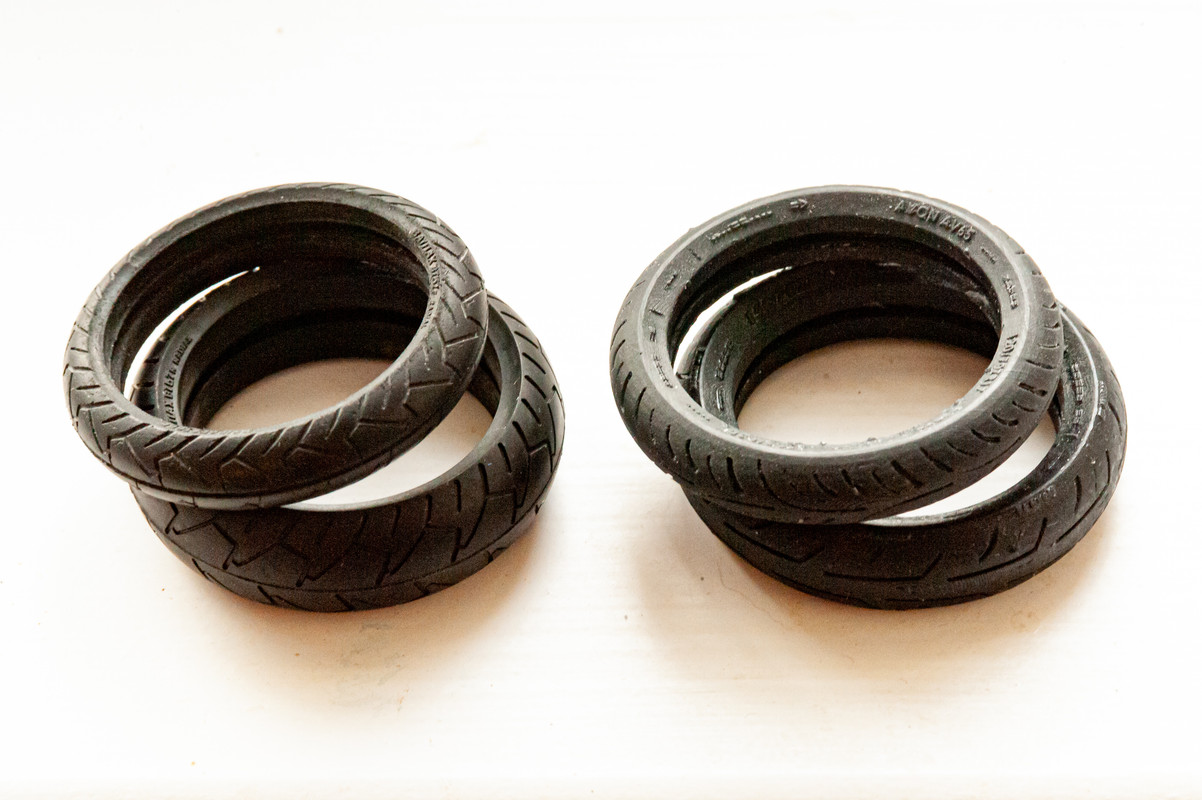
See the Small Talk thread for a conversation around printing the rubber parts.
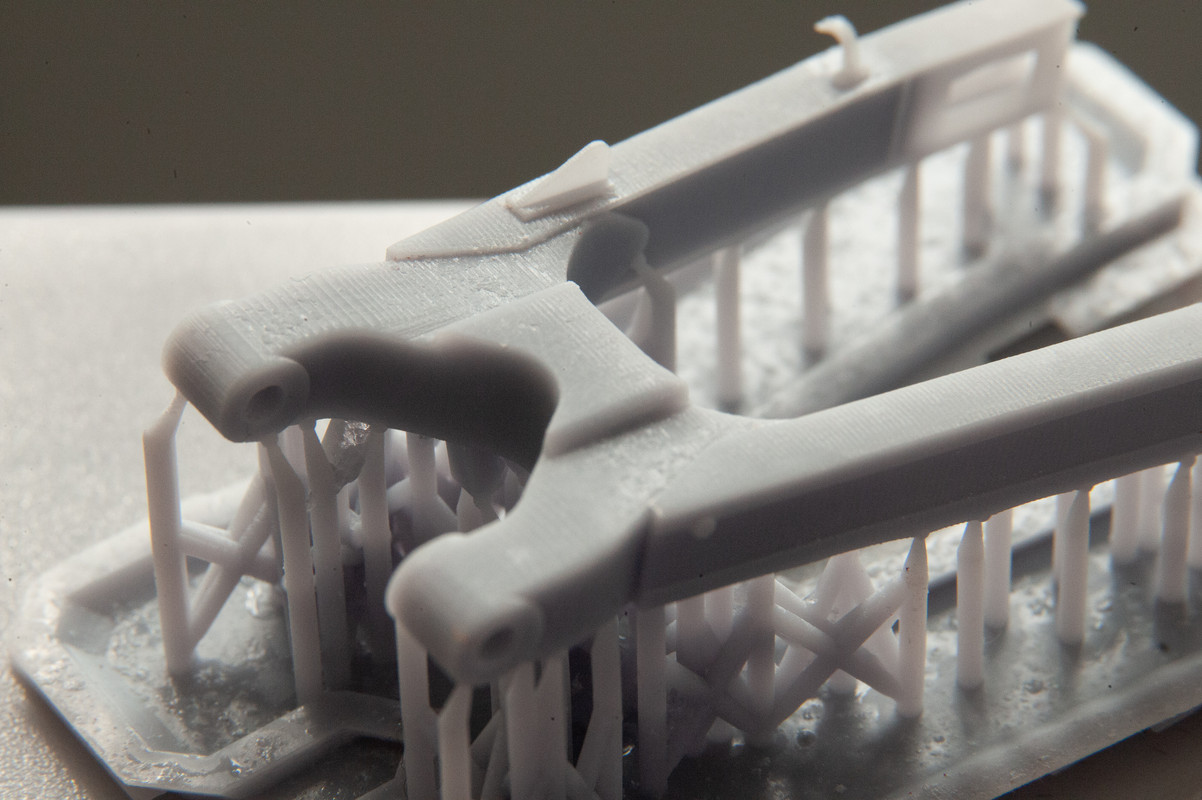
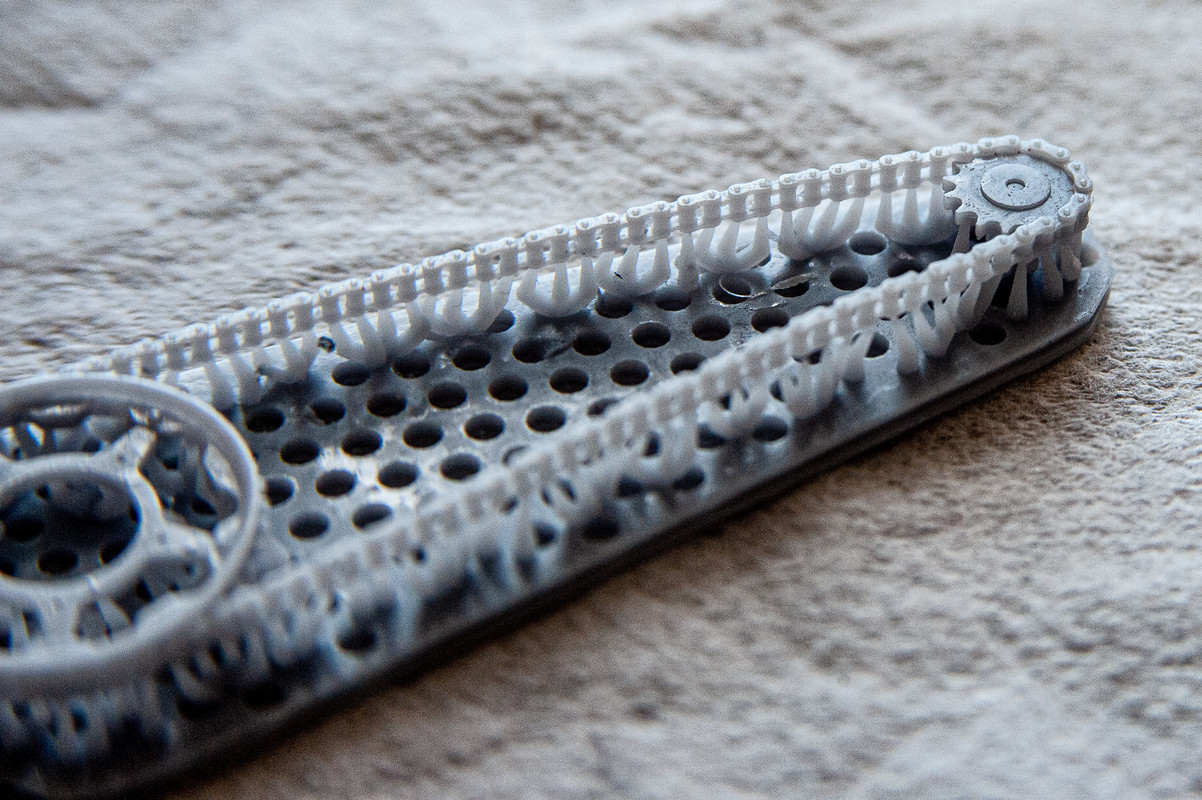
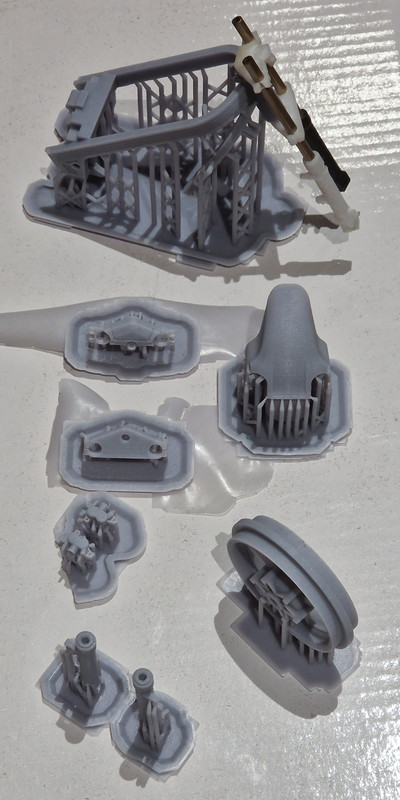
I've done a test print of the frame (dry fitted with the previous forks and yokes in the photo above) to assess how well the detail would print. There is a lot of detail on the frame and I am reproducing most of it, but not all. It will probably get a separate post shortly. The frame has some small slots on it that are modelled as 3mm wide at full scale, so 0.25mm in 1/12th. They come out really crisply in the print, which I find faintly shocking.