WIP - Small A4 1/72nd Diorama

Ideas for displaying your models.
User avatar
G-Man69
Series 3 and Beyond
Posts: 35
Joined: March 11th, 2022, 12:26 pm
Location: UK

Re: WIP - Small A4 1/72nd Diorama

Post by G-Man69 »

Thanks to Jim and Tom for their positive feedback, :).

Jim, I totally agree with you re: smoke & mirrors, I'm more of a comic book modeller, not realistic, representative and vivid, as opposed to those that are factual builders, i.e. like to represent a real life model/scenario. I admire modellers that fall into the latter category as their attention to detail and accuracy are way beyond me, :).

Have you any pictures of your derelict pillbox Tom, it would be good to see some images?

I had toyed with the idea of adding a small, partial pillbox to the end of the quay, a type 26 I think they were designated, as I've seen a number of them situated at the end of quaysides down here in the south-west where I live, but it looked so incongruous when installed:
Image

Image

Image

Image

Again, it was DAS applied over a block of foam, but just didn't work, so it was back to the drawing board, :roll: :frown:.

Cheers, :beer:,

G
User avatar
G-Man69
Series 3 and Beyond
Posts: 35
Joined: March 11th, 2022, 12:26 pm
Location: UK

Re: WIP - Small A4 1/72nd Diorama

Post by G-Man69 »

Hi all,

A few more images which will bring the build, more or less, up to date, with the exception of any vehicles, rolling stock, boats or figures.

I wanted to give the quayside a slightly dilapidated look, so I added weeds to the quayside and the buildings, in the main to give some contrast colour-wise.

Most of the vegetation was model railway flock and static grass, but I also used various natural materials scavenged whilst out and about.

I would start with long tufts:
Image

And then trim them back to look more like straggly weeds:
Image

I also applied 'weeds' to the buildings, roofs, walls and gutters, etc:
Image

Image

Image

The puddles are formed where there were slight dips in the DAS surface, and were made from drops of clear gloss varnish teased out with a cocktail stick:
Image

Image

Cheers, :beer:,

G
User avatar
G-Man69
Series 3 and Beyond
Posts: 35
Joined: March 11th, 2022, 12:26 pm
Location: UK

Re: WIP - Small A4 1/72nd Diorama

Post by G-Man69 »

Tony, please accept my apology for inadvertently referring to you as 'Tom' in my last but one post...sorry, :sad:.

Cheers, :beer:,

G
User avatar
skypirate
Modelling Gent and Scholar
Posts: 7303
Joined: May 1st, 2011, 6:13 am
Location: Port Macquarie, Australia

Re: WIP - Small A4 1/72nd Diorama

Post by skypirate »

Good grief! I'm extremely glad you climbed down off the fence!
This is fabulous work and very inspiring!
Pardon my ignorance; what is DAS?

Cheers,

David
User avatar
Clashcityrocker
Modelling Gent and Scholar
Posts: 10823
Joined: May 1st, 2011, 12:31 am
Location: Adelaide. South Australia

Re: WIP - Small A4 1/72nd Diorama

Post by Clashcityrocker »

Excellent work. The low down pics are very realistic.

Nigel
User avatar
G-Man69
Series 3 and Beyond
Posts: 35
Joined: March 11th, 2022, 12:26 pm
Location: UK

Re: WIP - Small A4 1/72nd Diorama

Post by G-Man69 »

Thank you to David and Nigel for taking the time to comment positively on the diorama.

David, DAS clay is a self-hardening modelling clay, no baking is required – it simply dries when you leave it out to air. Drying time is dependant on the thickness, I usually apply relatively thin skins, 1-3mm, and allow approx. 24 hours. I tend to work it with bare fingers when wet and have no negative reaction to it, but would suggest the use of surgical gloves if you have sensitive skin...just to be on the safe side. When carving/scribing the dry DAS I would definitely recommend the wearing of a mask as the process does create very fine dust.

DAS comes in a number of colours, e.g. white and terracotta, and is easy to shape and smooth, wetted fingers or sculpting tools are all I typically use, and it is easy to scribe once dry, it can be painted with both water and oil based paints, personally I tend to work with thinned washes as the material does soak-up paint applied to it.

DAS packaging:
Image

DAS also has a long shelf life if the packet is kept sealed:
Image

If I'm not going to be using it for some period of time I'll place the packet above in a 'zip-lock' bag that has a small tiny amount of water in the bottom so as to create a humid environment.

Some of the basic tools I use:
Image

I hope that helps, but if you have any other questions please feel free to ask, :).

Cheers, :beer:.

G
User avatar
G-Man69
Series 3 and Beyond
Posts: 35
Joined: March 11th, 2022, 12:26 pm
Location: UK

Re: WIP - Small A4 1/72nd Diorama

Post by G-Man69 »

Hi all,

A few images of the various kit parts that will be added when the diorama is completed.

Rolling stock:
Image

Image

Image

Image

I'm not a railway modeller, but I wanted these to look weathered and worn. I had also built the Dapol Pug locomotive, but ruined it when trying to clean off a paint job I was unhappy with.

Airfix 'Tilly':
Image

Image

Crane:
Image

Boat, this was one of the most kit-bashed elements, having started life as the Zvezda medieval lifeboat:
Image

Image

Image

Image

Figures, these are the area of modelling that I dislike the most, the intended base figures are to be a mix of 1/72nd Zvezda WW2 British/Commonwealth and 00/H0 Dapol Railway and Platform sets. I have really struggled, and I can see this build ending sans figures, :roll: :frown::
Image

Image

Image

Image

None of the kit built elements shown above are yet complete, :cry:.

This brings me pretty much up-to-date, so now will add images as and when.

Feel free to comment and/or ask questions.

Cheers, :beer:,

G
User avatar
Stuart
Raider of the Lost Ark Royal
Posts: 19451
Joined: February 25th, 2013, 4:55 pm
Location: North Wales
Contact:

Re: WIP - Small A4 1/72nd Diorama

Post by Stuart »

Wow! Interesting conversion of those three troops, I'm looking forward to seeing how they come out.
Stuart Templeton I may not be good but I'm slow...

My Blog: https://stuartsscalemodels.blogspot.com/
User avatar
Clashcityrocker
Modelling Gent and Scholar
Posts: 10823
Joined: May 1st, 2011, 12:31 am
Location: Adelaide. South Australia

Re: WIP - Small A4 1/72nd Diorama

Post by Clashcityrocker »

At first look I thought the crane was a pic of the real item :shock: and nice work converting the figures.

Nigel
User avatar
G-Man69
Series 3 and Beyond
Posts: 35
Joined: March 11th, 2022, 12:26 pm
Location: UK

Re: WIP - Small A4 1/72nd Diorama

Post by G-Man69 »

Thanks to Stuart and Nigel for their continued support and kind words, it's much appreciated, :), though I think I may have bitten off more than I can chew with trying to convert figures this small Stuart, :roll:...time will tell, ;-).

Cheers, :beer:,

G
User avatar
G-Man69
Series 3 and Beyond
Posts: 35
Joined: March 11th, 2022, 12:26 pm
Location: UK

Re: WIP - Small A4 1/72nd Diorama

Post by G-Man69 »

Hi all,

I've spent the last few days finishing off the water, I wanted it to look slightly choppy and churned, I’ve also added some debris to give it a ‘dirty’ feel, :roll::
Image

Image

Image

Image

Image

Image

Image

Image

Thanks for looking.

Cheers, :beer:,

G
User avatar
general rocket
Modelling Gent and Scholar
Posts: 2791
Joined: May 1st, 2011, 4:42 pm
Location: Telford

Re: WIP - Small A4 1/72nd Diorama

Post by general rocket »

Great work going on
I wish, that I knew what was doing!
User avatar
Impisi
Modelling Gent and Scholar
Posts: 2024
Joined: November 6th, 2020, 10:28 pm
Location: Germany

Re: WIP - Small A4 1/72nd Diorama

Post by Impisi »

yep, that's some good stuff here
Cheers
Martin

my recent builds
User avatar
skypirate
Modelling Gent and Scholar
Posts: 7303
Joined: May 1st, 2011, 6:13 am
Location: Port Macquarie, Australia

Re: WIP - Small A4 1/72nd Diorama

Post by skypirate »

Excellent progress!
Thanks for the DAS tips. I have got hold of some. Now I have to work up the courage to try it :shock:

David
User avatar
G-Man69
Series 3 and Beyond
Posts: 35
Joined: March 11th, 2022, 12:26 pm
Location: UK

Re: WIP - Small A4 1/72nd Diorama

Post by G-Man69 »

Thanks to general rocket, Martin and David for their positive feedback,

David, good to hear you've got some DAS, hopefully you'll find it useful. Not sure what scale you work in but on one of my earlier posts I give a brief description on how I apply the DAS if that helps, :).

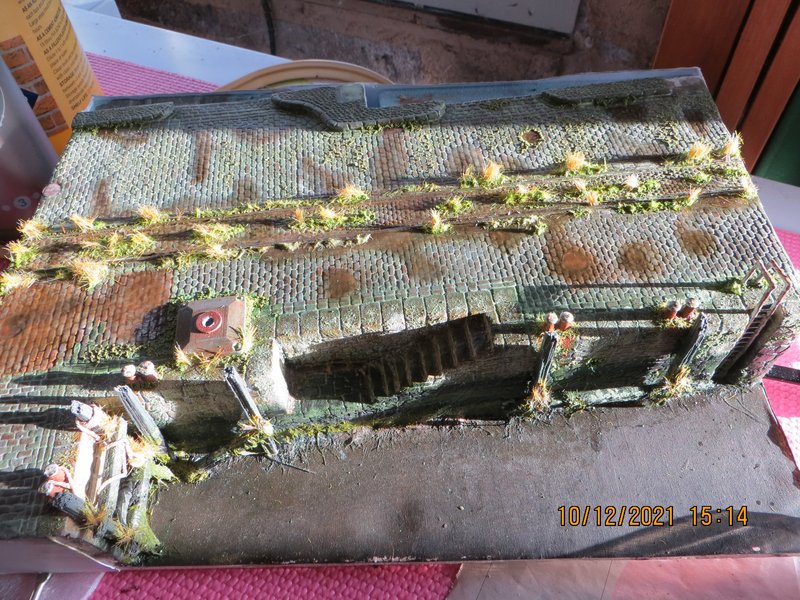
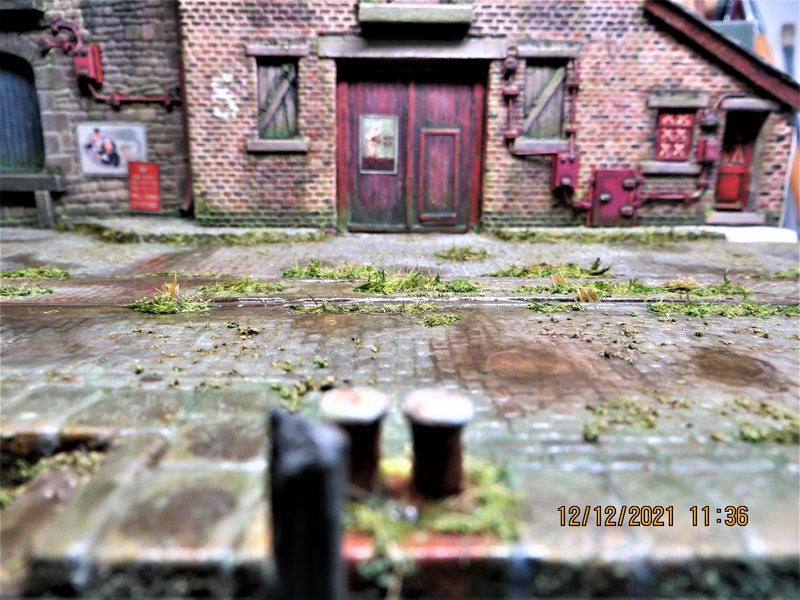
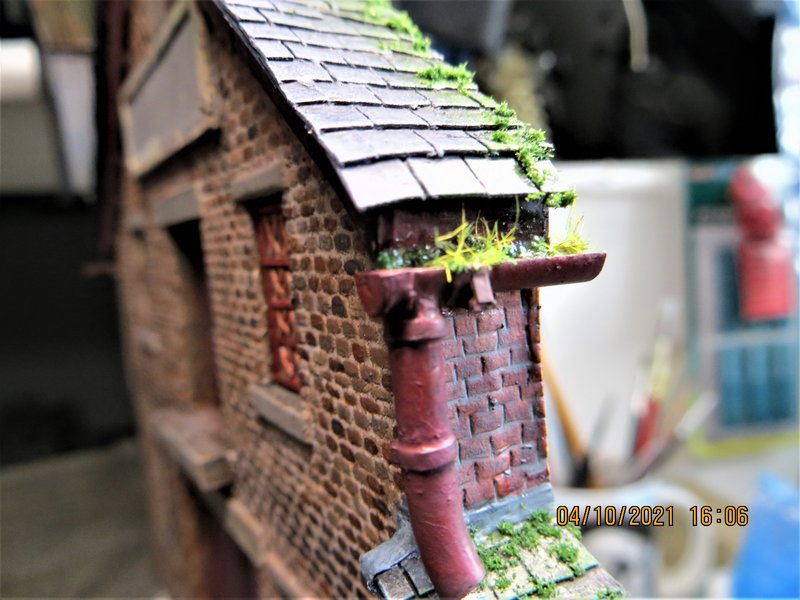
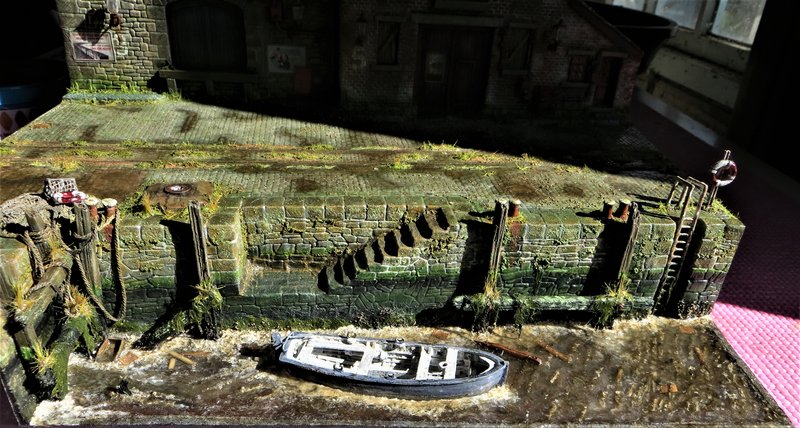
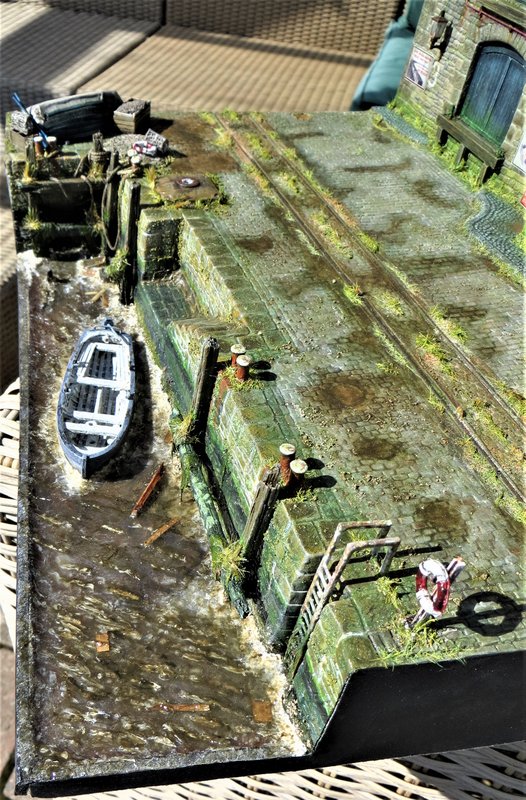
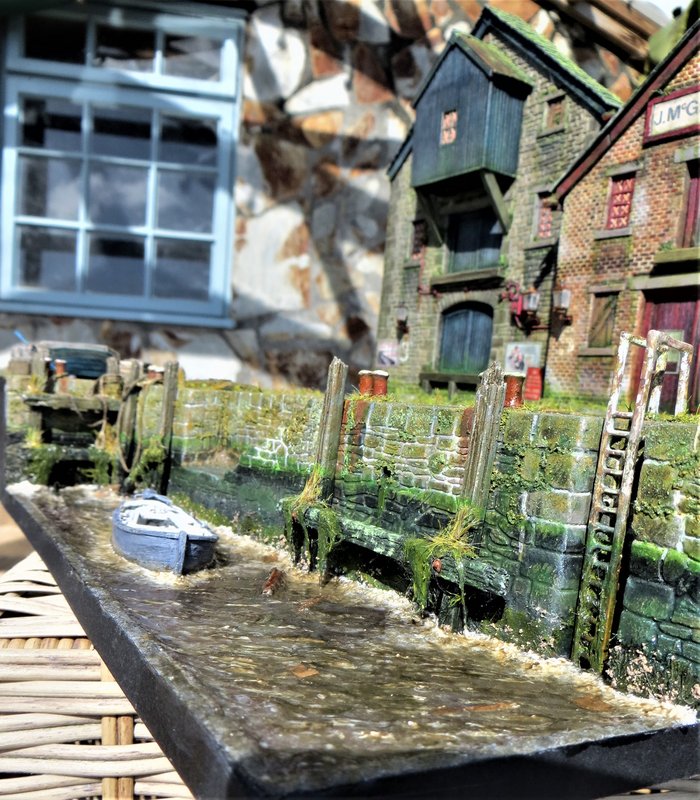
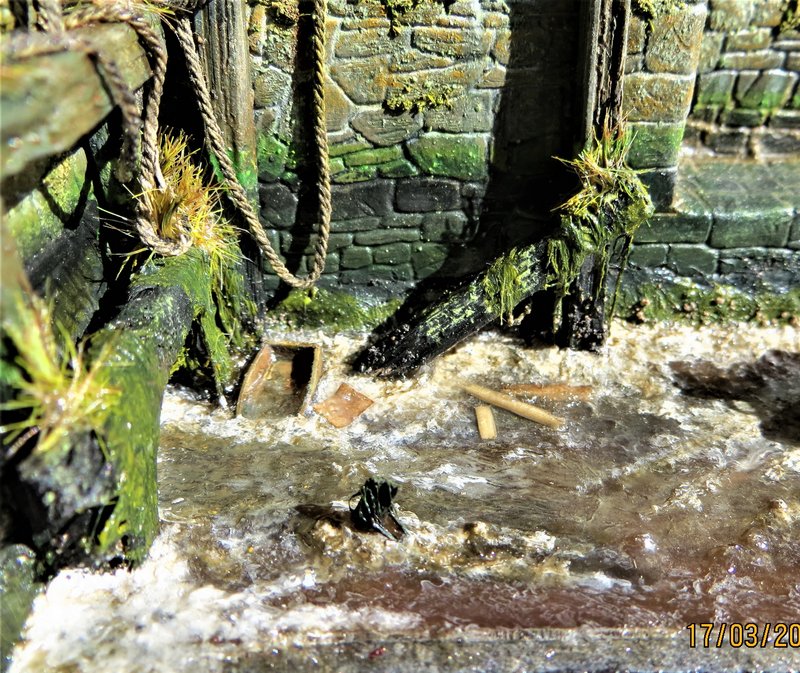
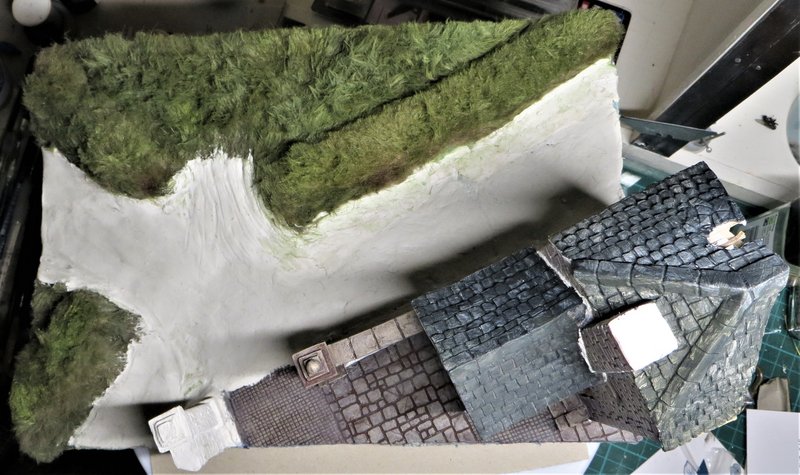
I use it in many ways, not just for 'structural' elements. for example I tend to use it where many people might prefer to use 'plaster' for groundwork etc. Below are some early images from my bocage farmhouse build where I've used it to create the basic hedgerow, field and roadway shape:
Image

Image

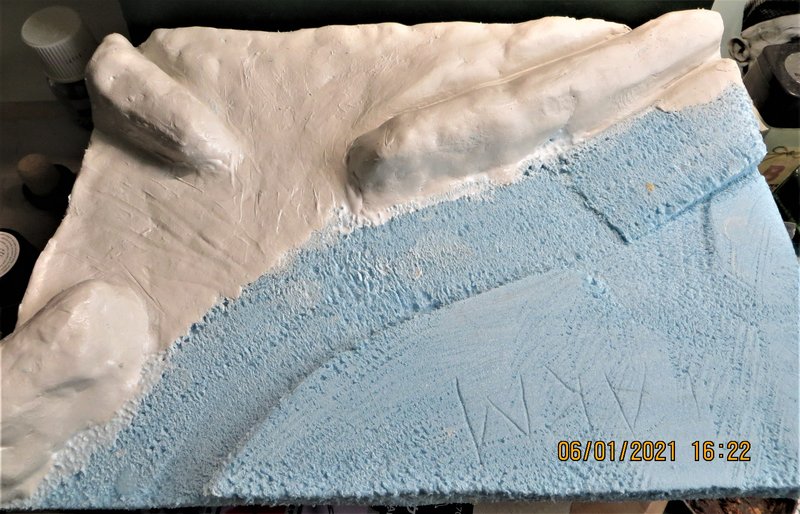
I know it's a personal opinion, but I find it cleaner and easier to work with than plaster, especially the self-mix type, which I find messy to apply, and find it dries too quickly. Whereas DAS can be applied in a more controlled way, and can be shaped and contoured for quite some time before it starts to skim over. Another advantage is the weight, my quayside diorama is very light considering the volume of the scene. Obviously, the use of DAS as basework on a very large diorama might be restricted by cost, though it's not extortionate, but as I limit all my builds to A4 it's not a consideration for me.

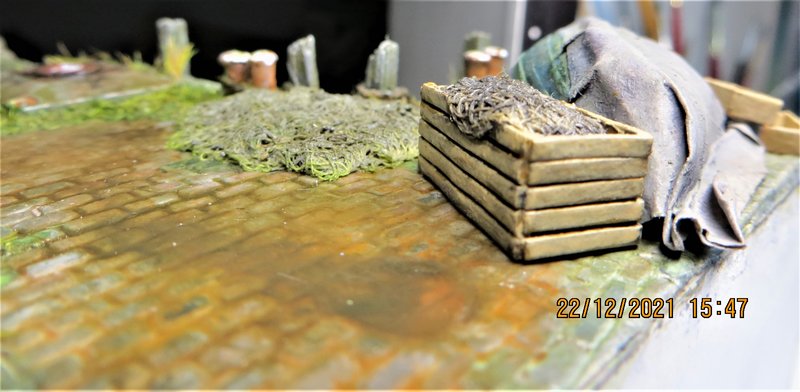
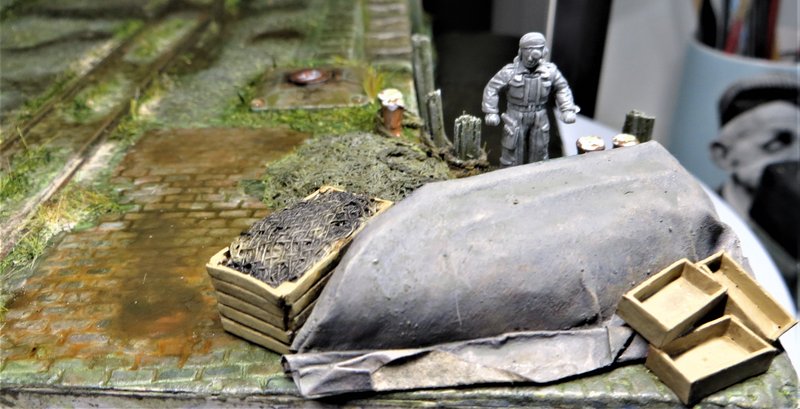
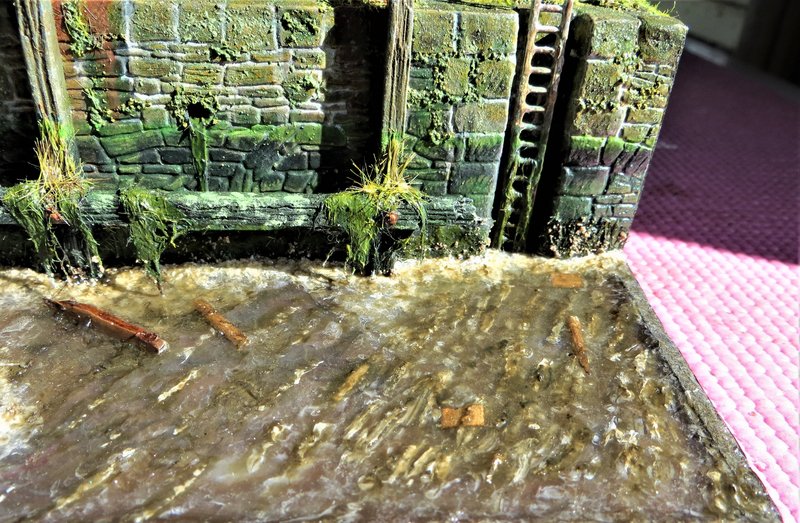
The 'grass' in the picture above is 'teddy bear' fur (no teddies were harmed in the making of the build, ;-) :lol:), glued over the DAS, dyed green, and then trimmed as necessary. It's the first, and only, time I've used it, but it's great for creating different lengths etc., and the trimmings can be used in a similar way to normal static grass.

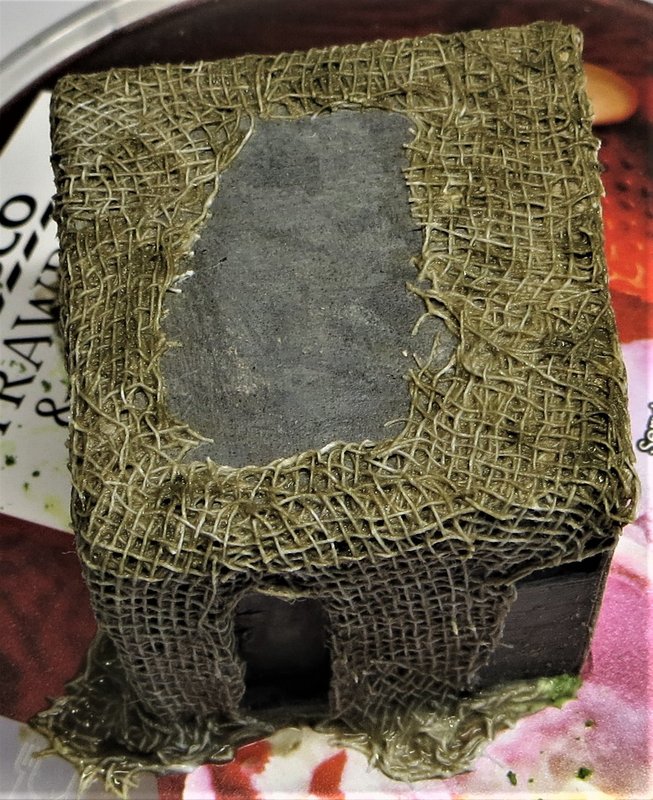
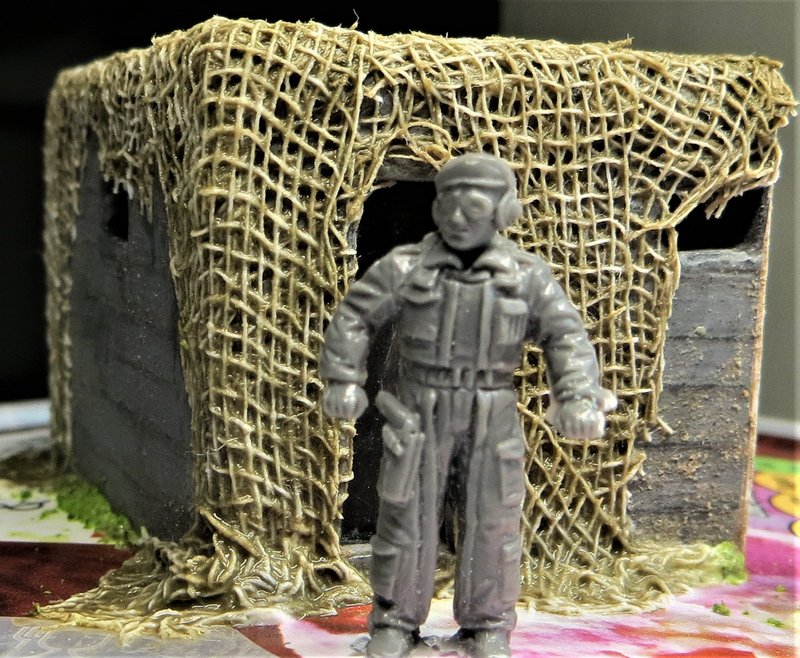
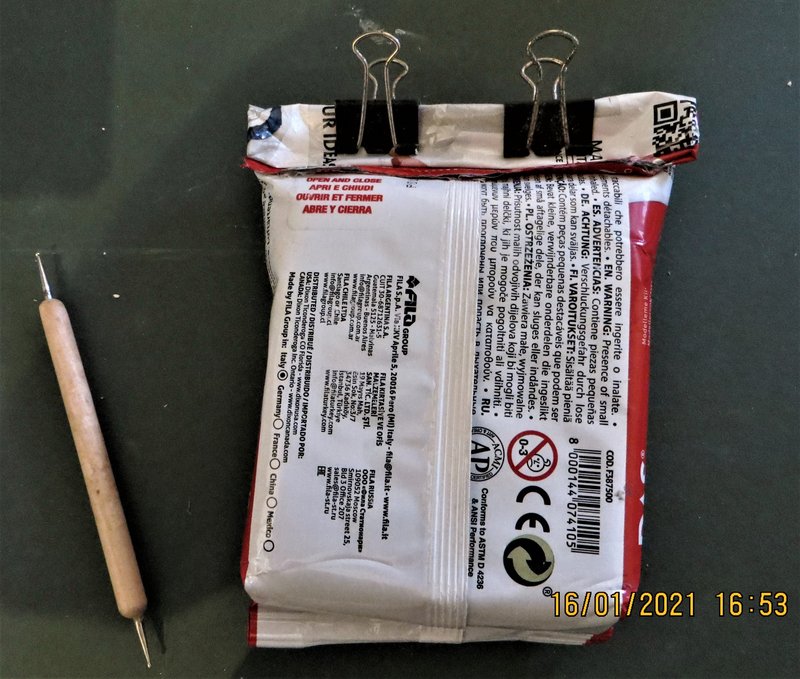
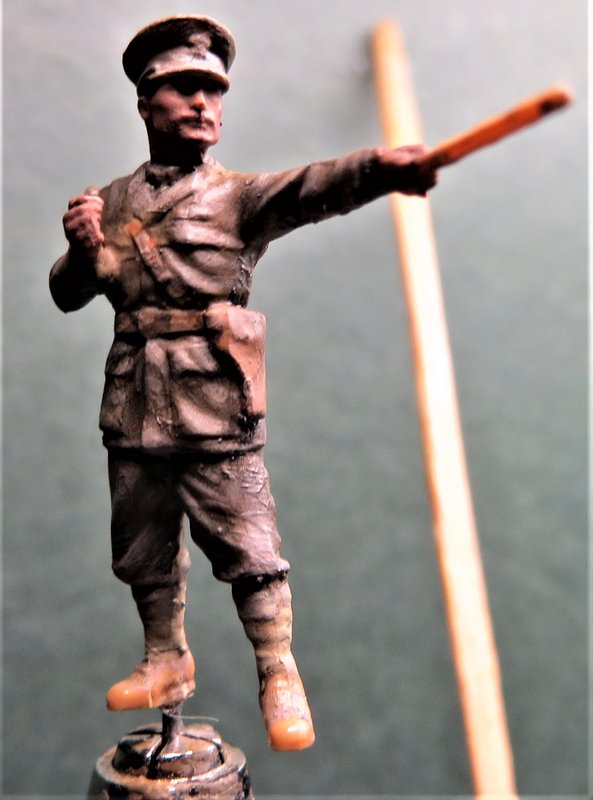
The versatility of DAS, one of my build ideas was part of sandbagged emplacement on a Mediterranean wall, e.g. a setting in Malta, so I had a go at trying to carve a 1/72nd sandbagged wall:
Image

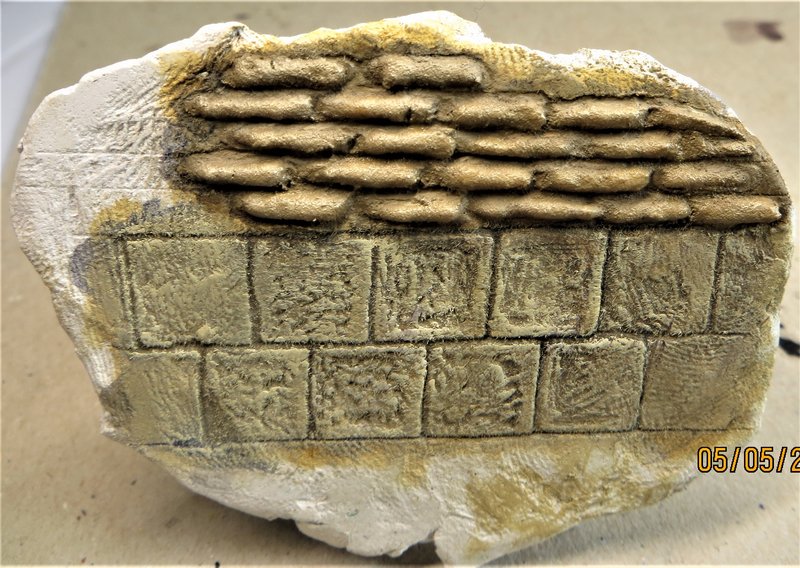
Never got round to doing the diorama, but I think it could be done, :roll:.

If you have any questions using DAS please feel free to either ask in here or 'pm' me.

Cheers, :beer:,

G
Post Reply

Return to “Display and Diorama”