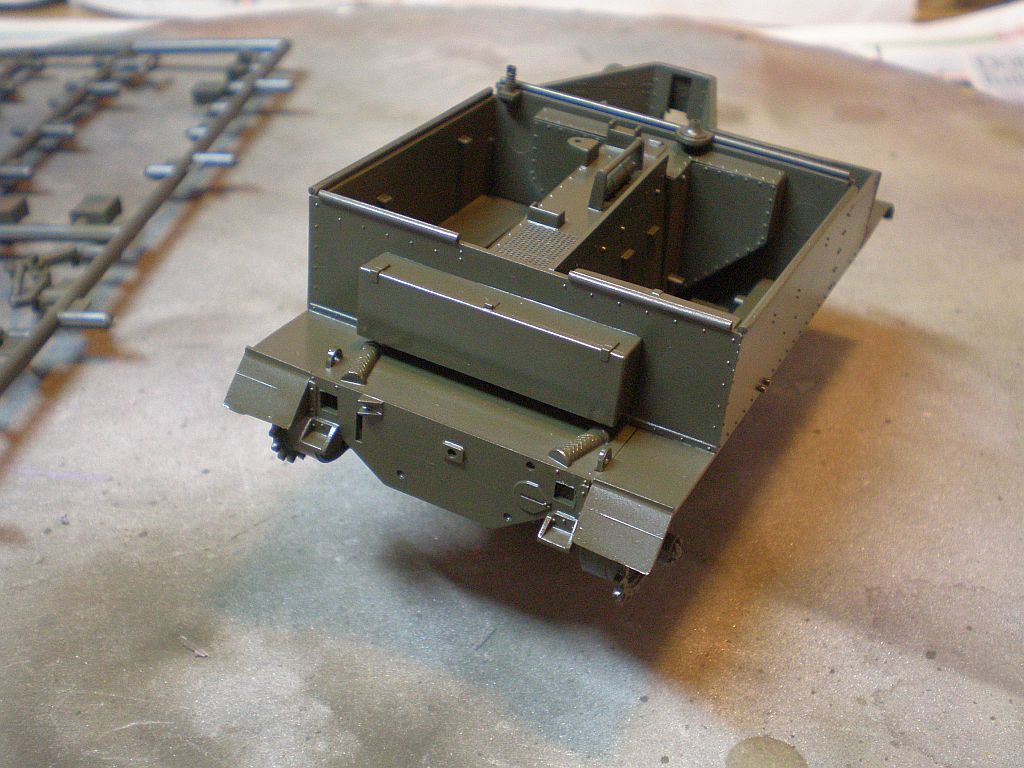
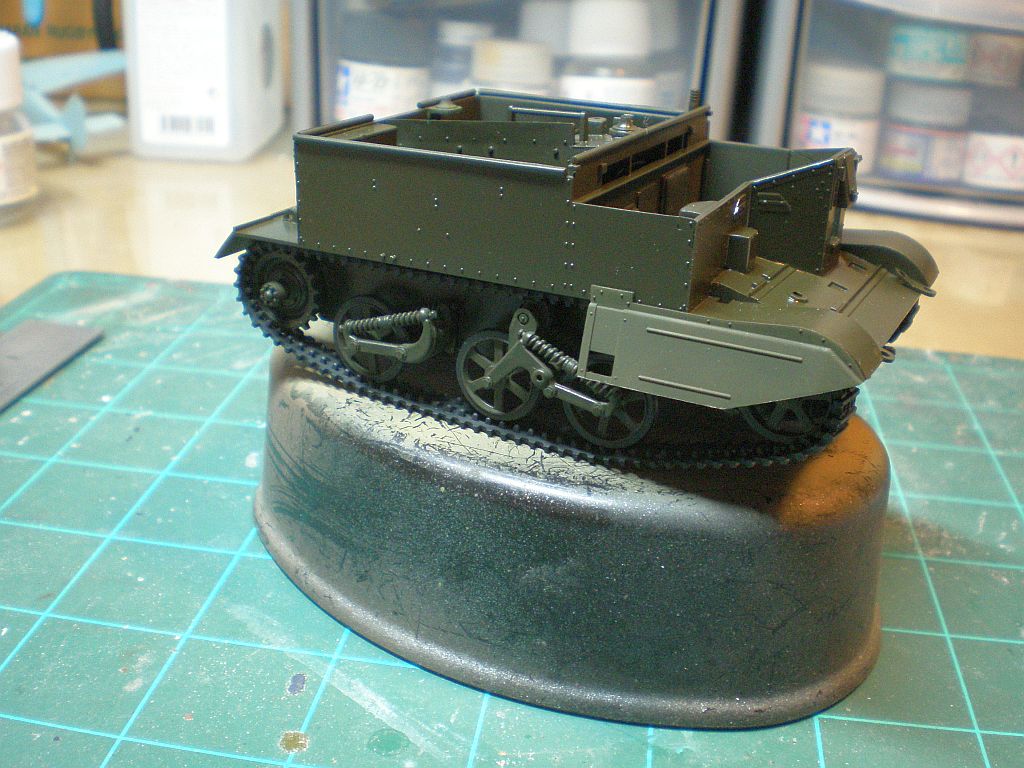
The front plate is now on and was a reasonable fit. At first I thought there was an issue as the top of the plate is not parallel to the top of the body but, after consulting photos, it would appear that's how it was. I also assembled the torso and legs of the driver figure to check the fit (right hand seat here as this is a British designed vehicle) and he goes in there OK but the steering wheel will have to be fitted afterwards, which will be a bit fiddly but that is often the way it is when fitting driver figures to vehicles.
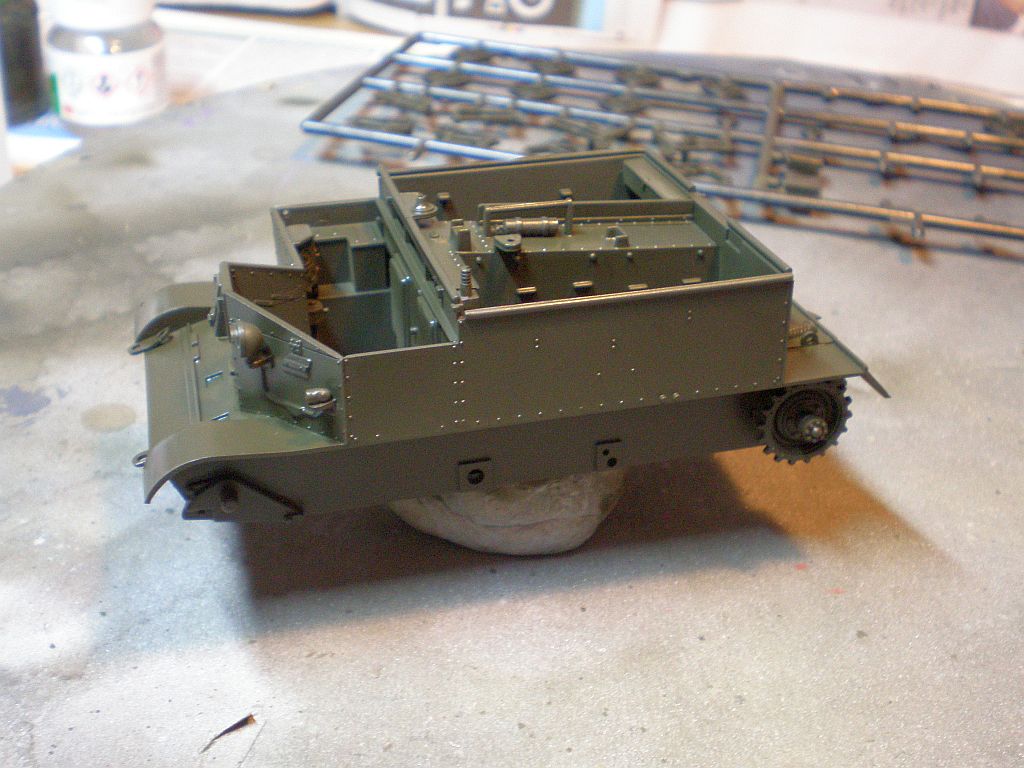
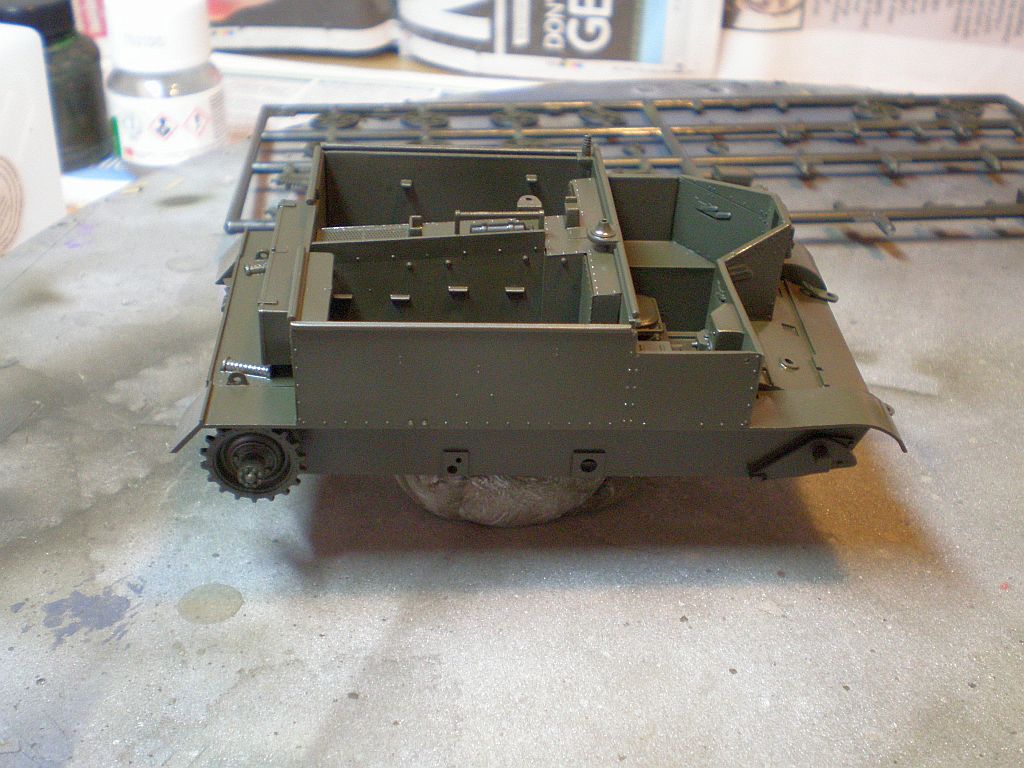
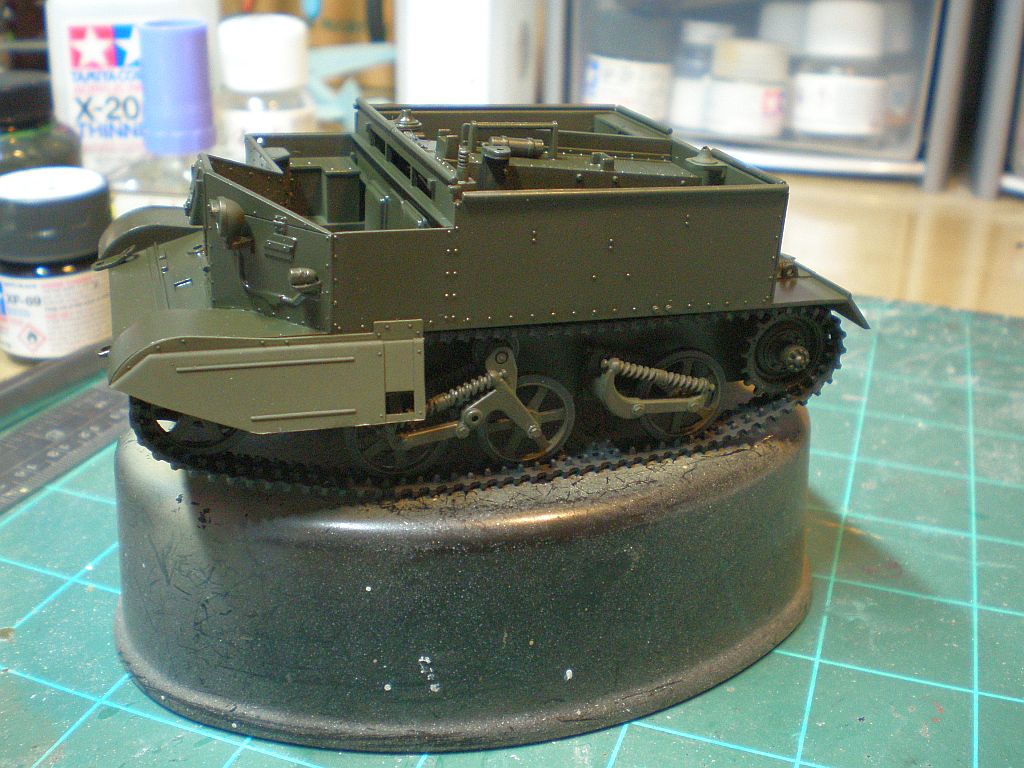
At the rear I have fitted the exhausts, final drive differential and drive sprockets together with the hull end plate. I've test fitted the tracks and they are a little fiddly to get behind the drive sprockets but it can be done. The holes in the end plate are for the tow hook assembly, which I will fit after paint together with the pioneer tools that are carried there, as there is the rear vehicle serial decal to go on which will be difficult to apply if all the other stuff is on there plus it will be easier to paint the tools off the model. The ends of the exhausts have been drilled out and the exhausts were quite tricky to fit as they are in three parts and fit around the drive shafts.

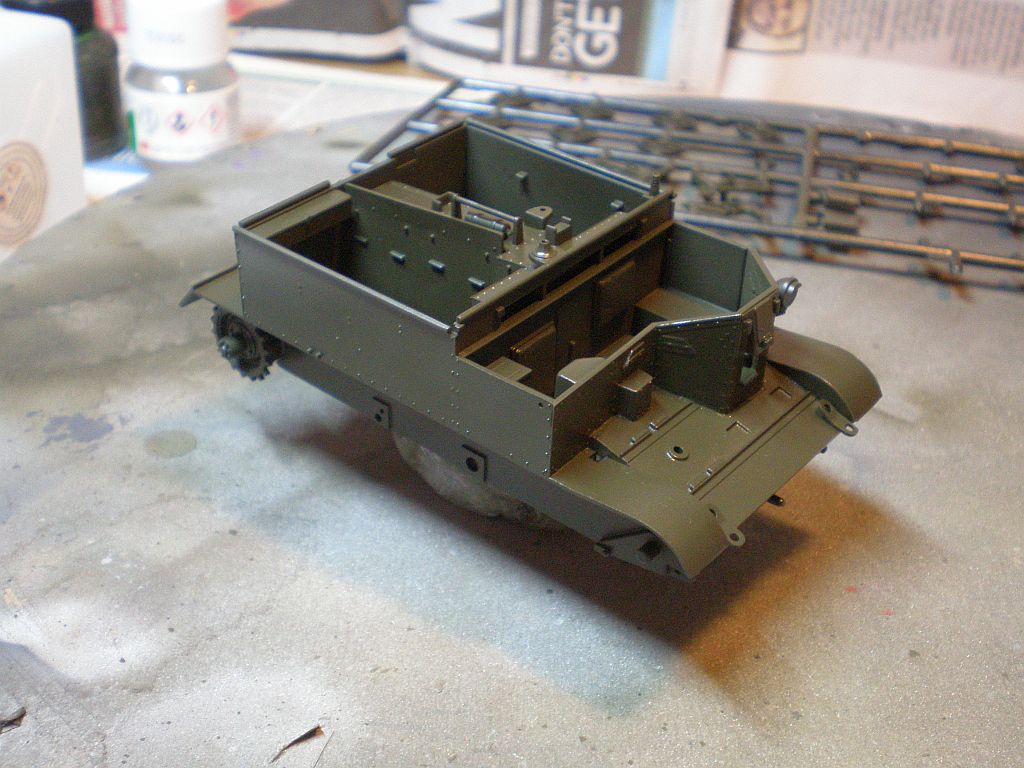
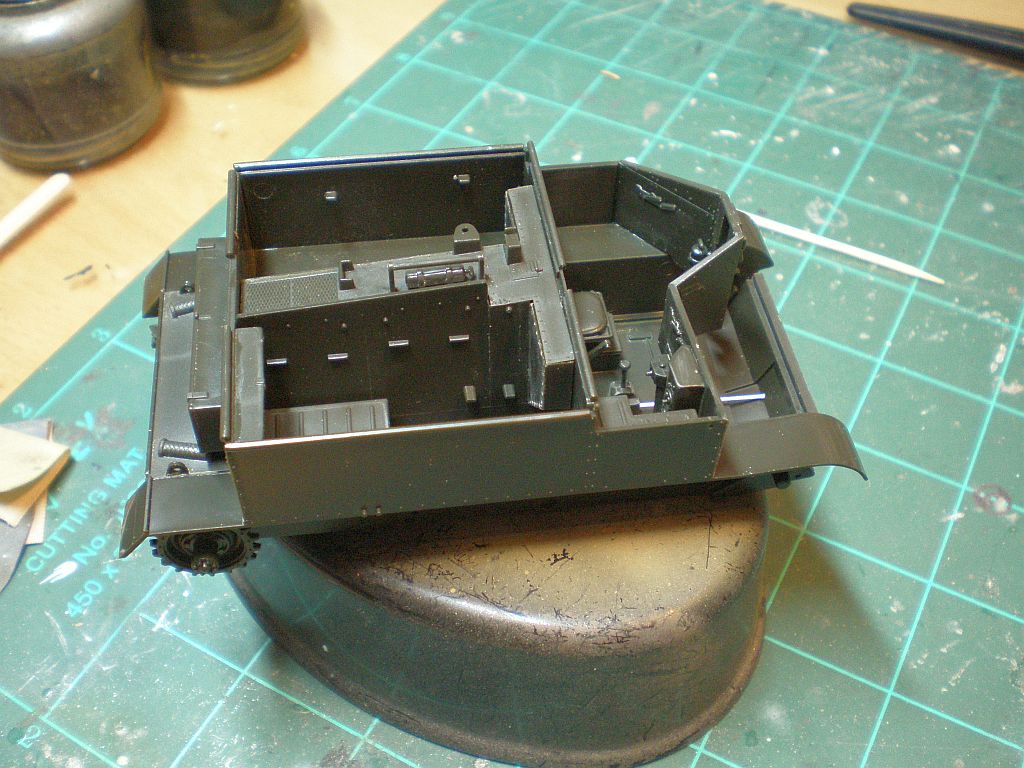
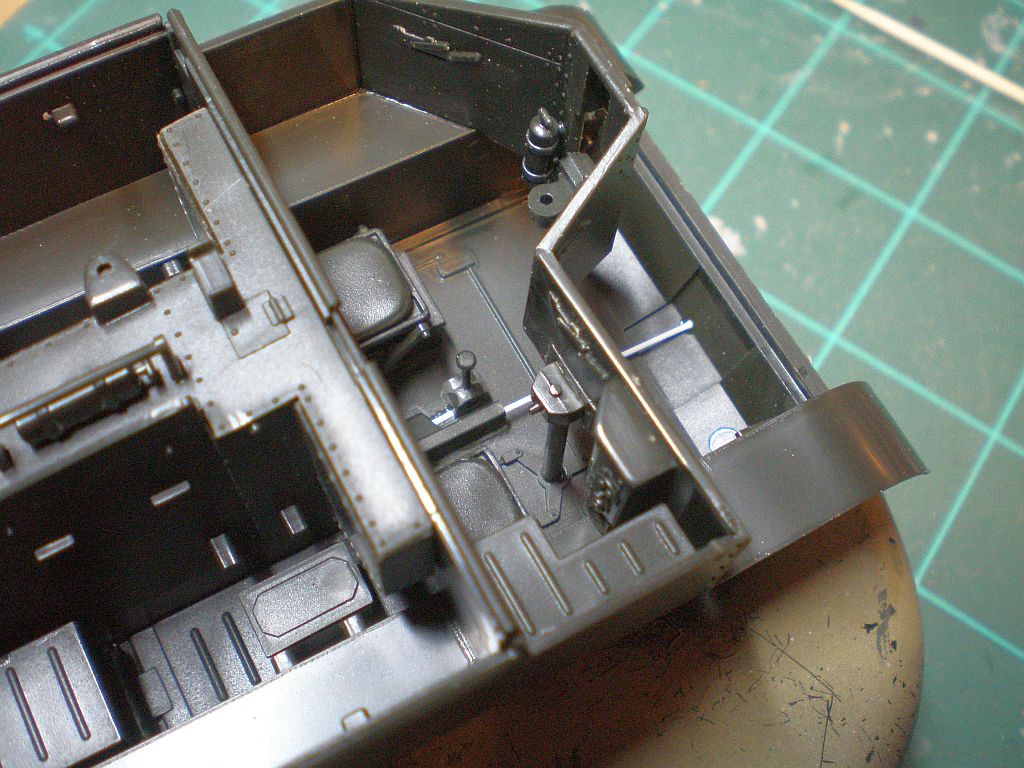
I have only added a minimum of additional detail to the cabin in the form of plastic rod to simulate the connection to the clutch pedal and the connector for the gear shift. I haven't bothered to scratch up any foot control pedals are they will not be readily visible.
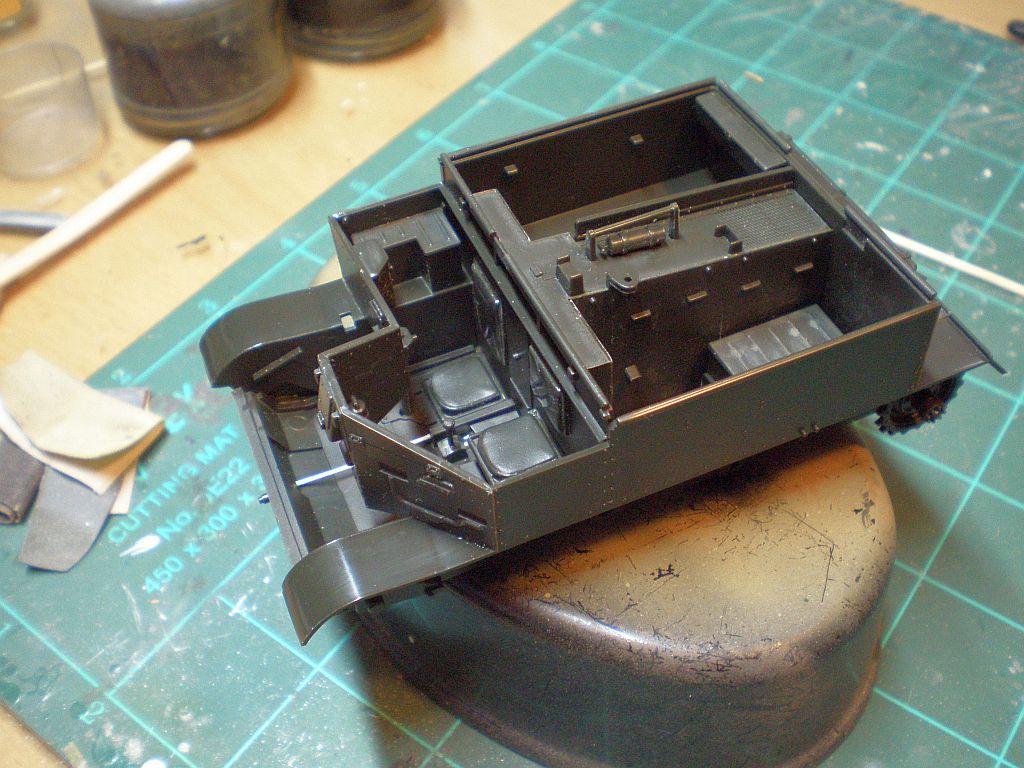
Next up will be fitting the front hull deck and a dry run has revealed that it will require a fair bit of fettling to achieve a decent fit, which has not been the case for the rest of the major sub-assemblies in the kit. I will be leaving the wheels and suspension units off until after paint largely in order to facilitate painting of the wheel tyres.
Thanks for looking.