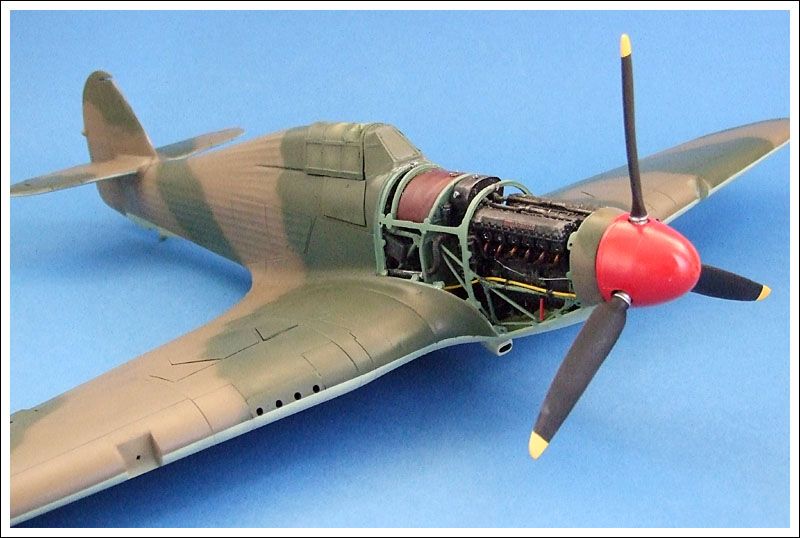
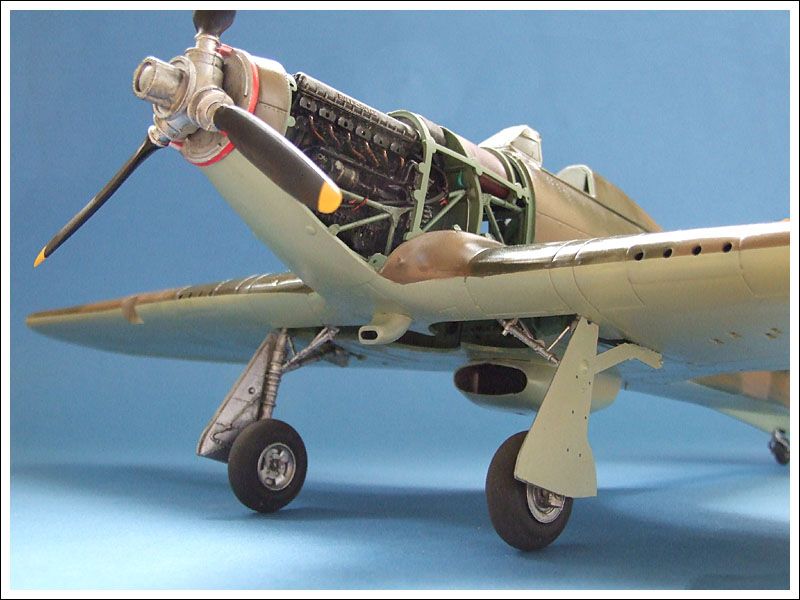
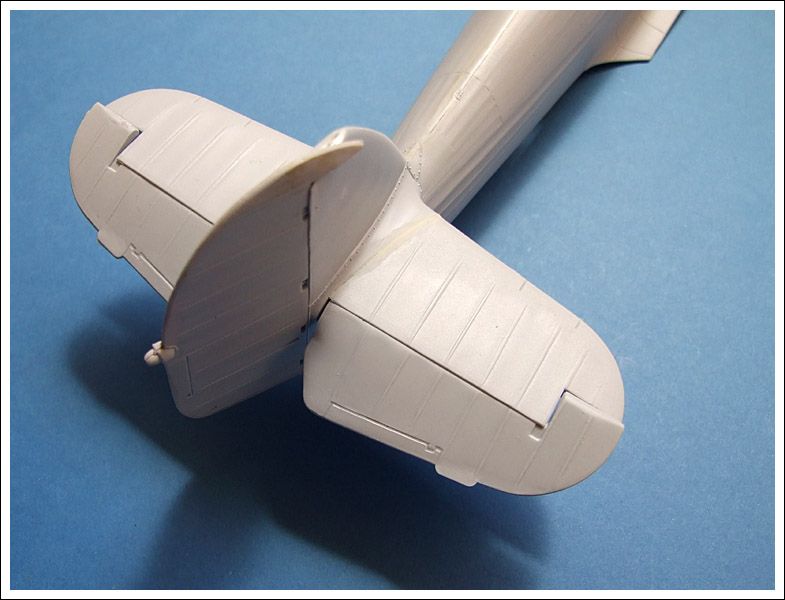
The radiator cooler is on and the flap is fully working....
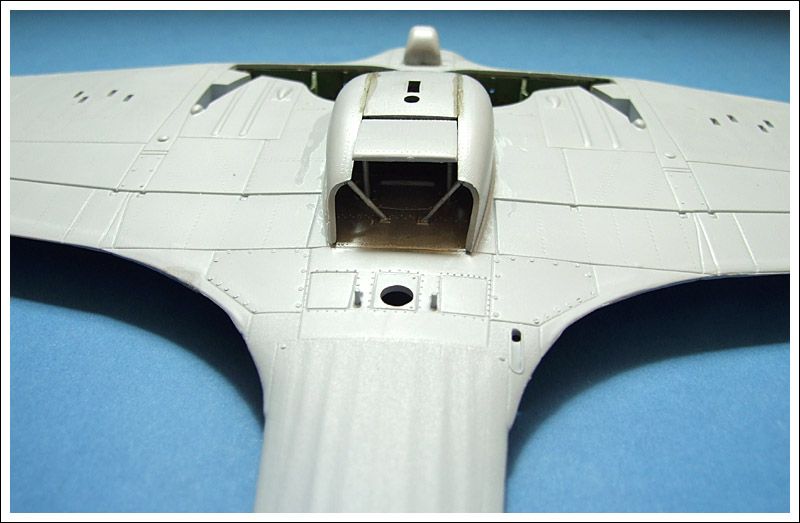
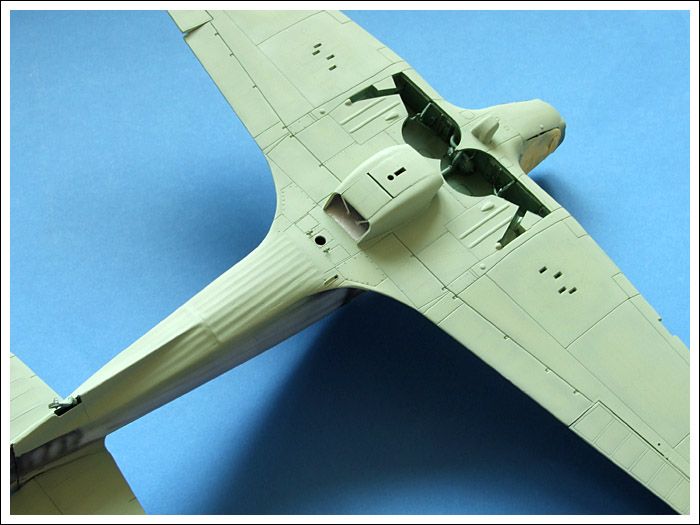
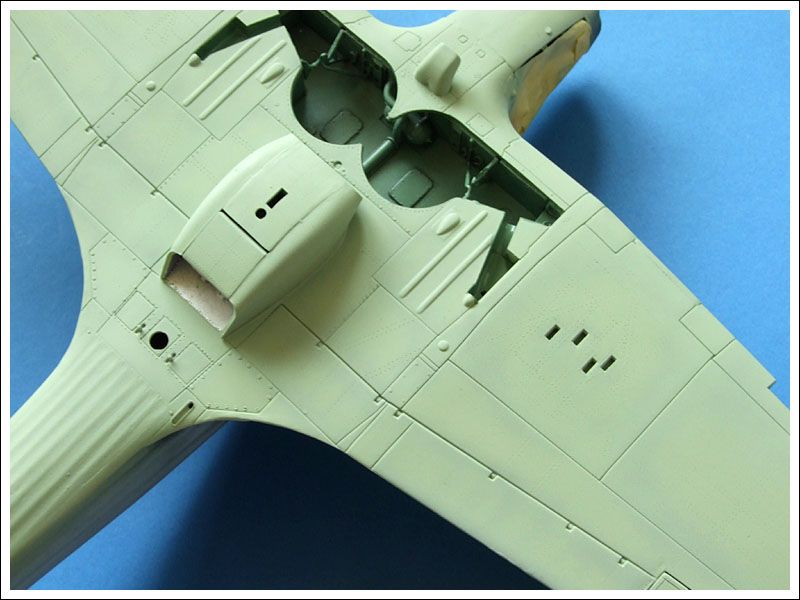
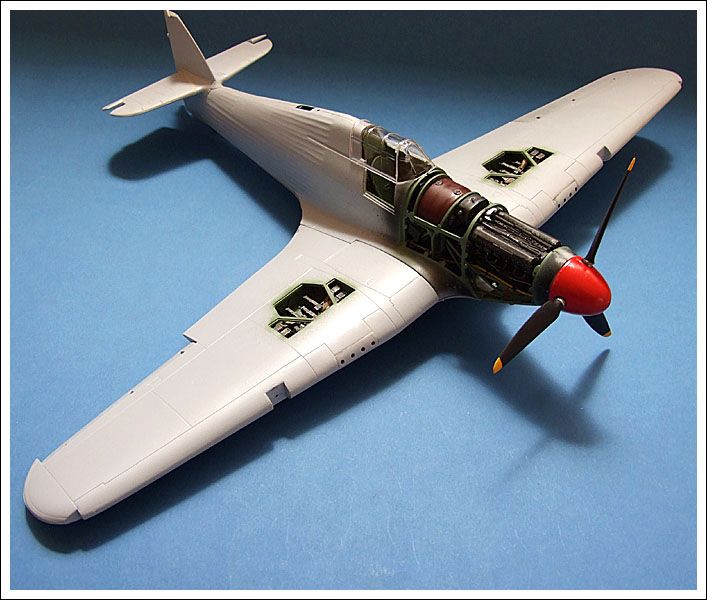
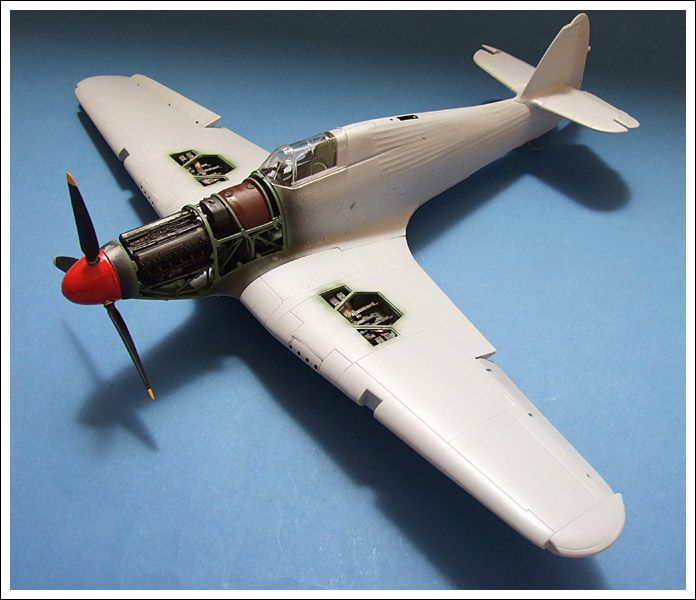
The wing halves are now glued together and when fully cured I will go around the join lines with some Mr Surfacer 500 to blend the lines in better before sanding and this will also eradicate the dinks where they were attached to the sprue gates.
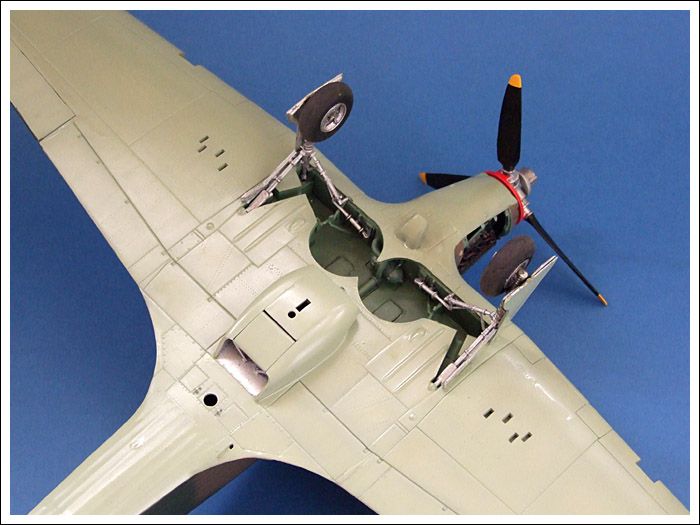
The light covers will go on after the wing has been painted, also the top of the wheel bay will be painted interior green as this can be seen when the covers are not on the sides of the fuselage.
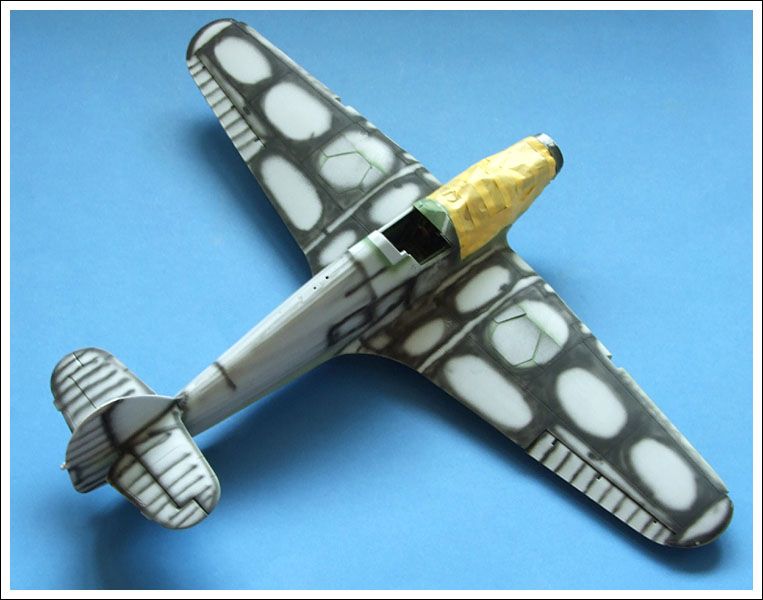
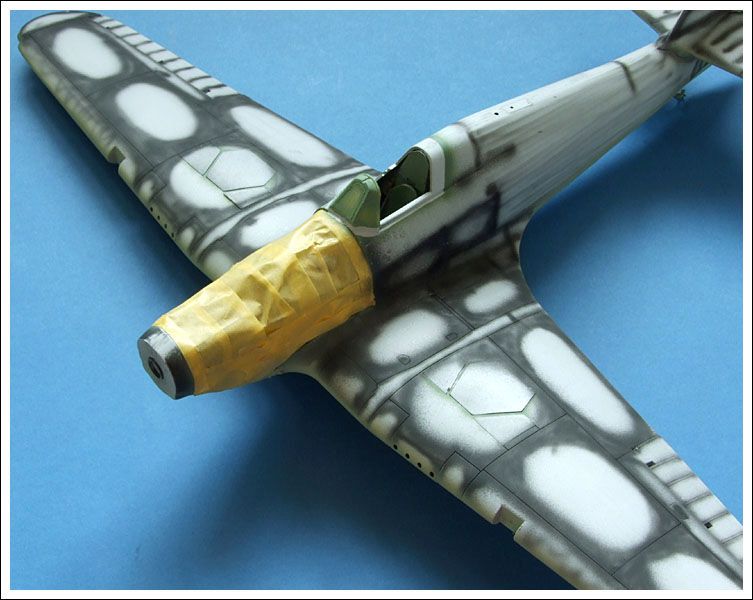
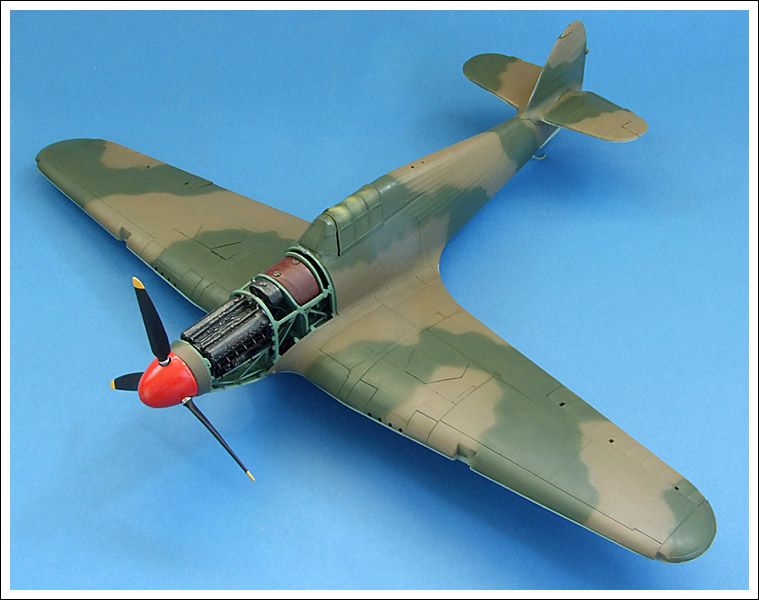
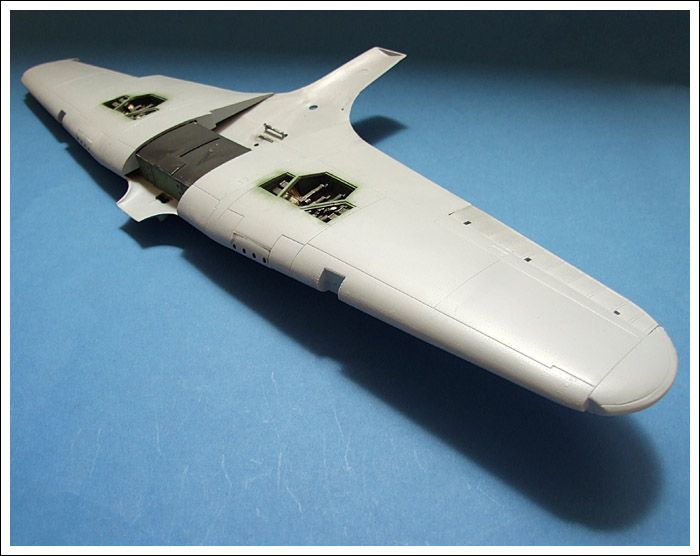
I have also attached the horizontal stabs and all that should move erm ....move..
I did have to trim the locating lugs though just to facilitate a problem free fit.
The rudder is also free moving..
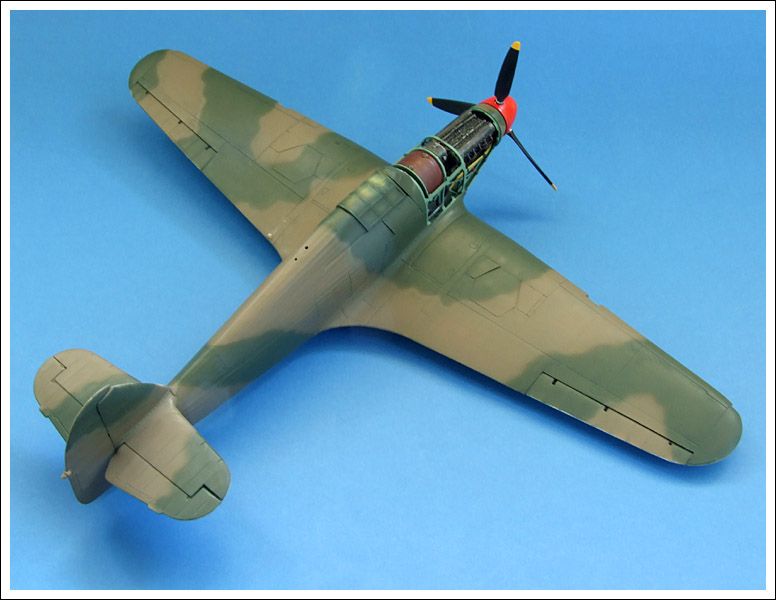
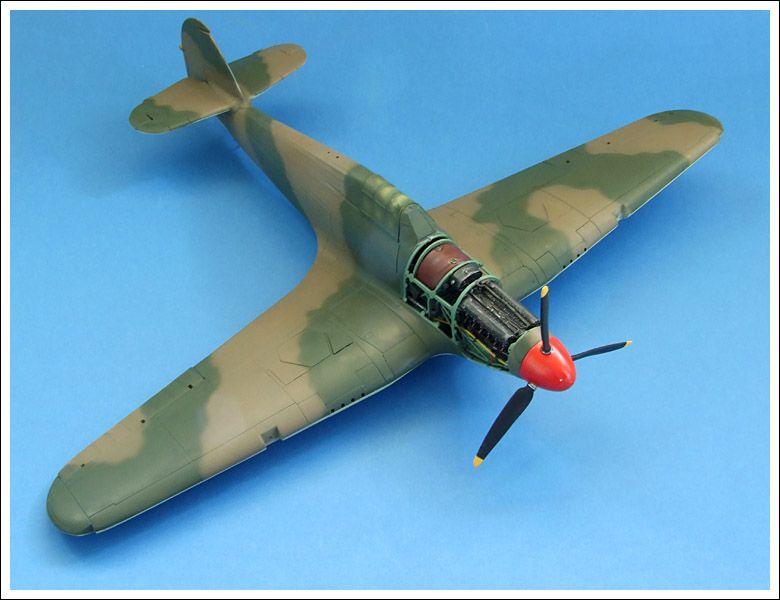
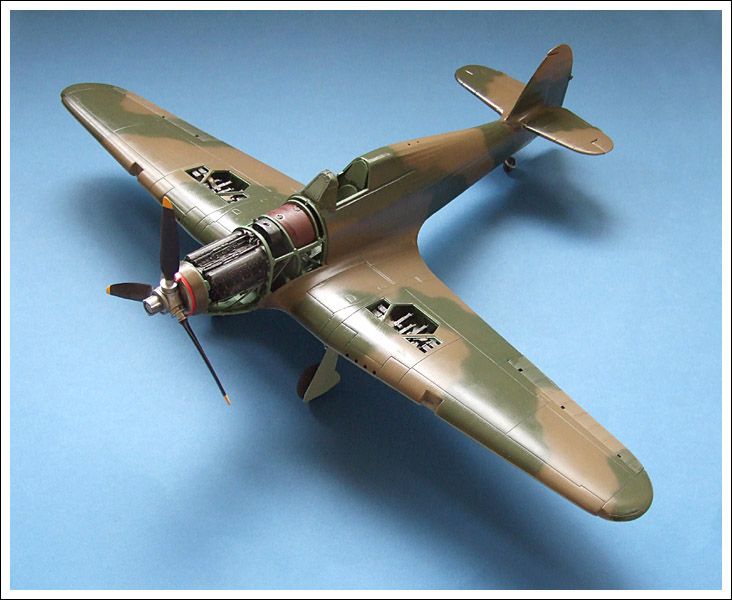
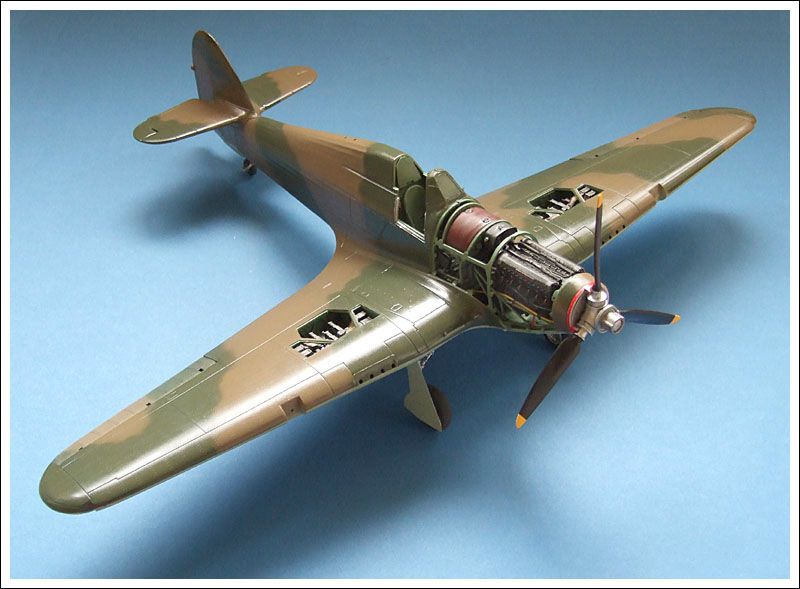
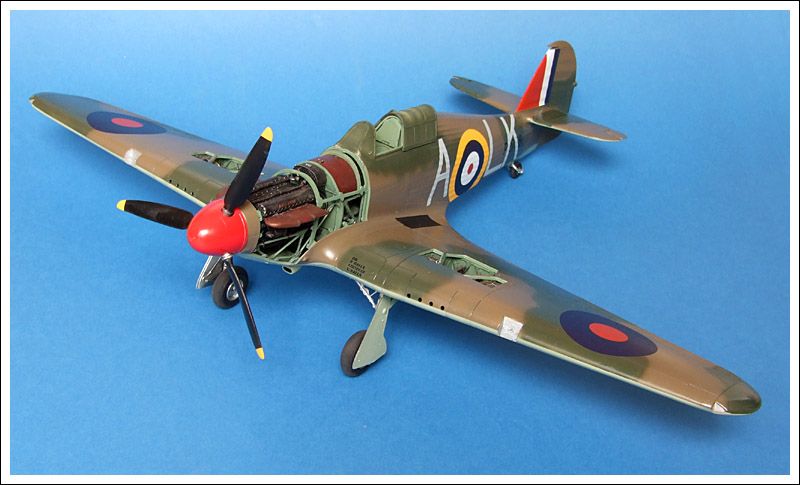
Finally just to see how it all goes together minus the undercarriage( and because I was feeling a bit impetuous this morning, I had a dry fit of the parts that I have glued together and I have to say blooming marvelous, it may be old but it is so well engineered only a small bit of filler is going to be needed around the wing roots from what I can tell.
Regards
Mark