I like where you're headed with the tsetse. I use a similar approach when wing fit is problematic. If you end up with a wide gap at the roots when the bottom halves come in, you can always insert plastic sheet shims and cut/profile them to the wings' shape once the joints are dry.
Sorry to hear RL is being a drag.
Feanors Mighty Works...
-
Softscience

- Staring out the window
- Posts: 7491
- Joined: April 5th, 2011, 4:34 pm
- Location: Maryland, near Washington DC
Re: Feanors Mighty Works...
Auup SS…Softscience wrote: ↑March 17th, 2024, 2:36 pm I like where you're headed with the tsetse. I use a similar approach when wing fit is problematic. If you end up with a wide gap at the roots when the bottom halves come in, you can always insert plastic sheet shims and cut/profile them to the wings' shape once the joints are dry.
Sorry to hear RL is being a drag.
Thanks for liking my progress, the tips and the sympathy.
I don’t usually get much of the rub of the Green and Sympathy generally, so I appreciate it very much.
Ironically, as soon as I touched it this morning. The port wing, the one with the dodgy dihedral and small gap at the wing/fuselage joint at the oil coolers on the leading edge, popped out ! So I’ve refitted it as best I can, unfortunately with the same visual result, as even when I cleaned everything up with no visible impediment to a snug fit, it just wouldn’t have it.
So, I ended up smoothing everything as flush as I could along the top and underside of the wing surface, and slotted it in using Polystyrene cement as a lubricant. And when dry after dinner, I ran a line of thin Superglue along the wing- fuselage joints again, immediately using Zip Kicker to harden it, and have overpainted with some thin mr.Surfacer 1000. So, here we are again. It’ll maybe need some minor rescribing, but after everything so far, again, it’s no biggy. The only thing I don’t like about mr.surfacer is the shine of it once dry. But a light sand and the final paint will obviously change that.
Thanks again mate.


The best thing, is to keep on building. Clap your hands, stamp your feet, wiggle your fingers…
-
Clashcityrocker

- Modelling Gent and Scholar
- Posts: 10823
- Joined: May 1st, 2011, 12:31 am
- Location: Adelaide. South Australia
Re: Feanors Mighty Works...
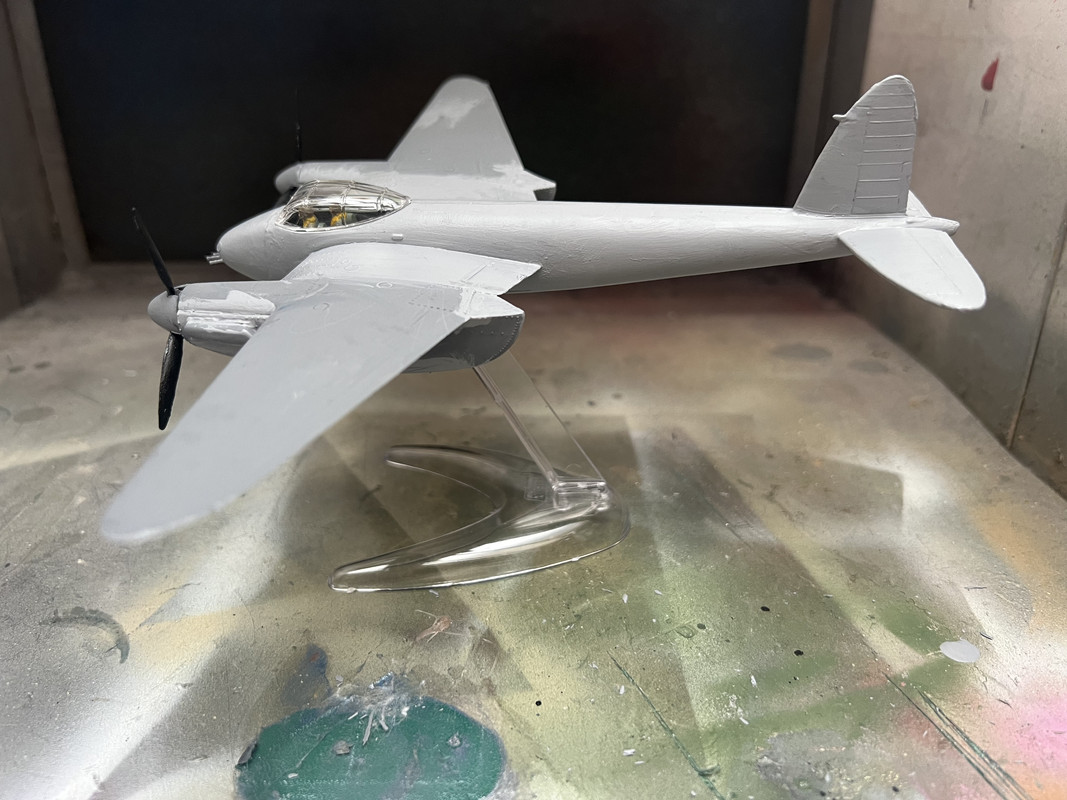
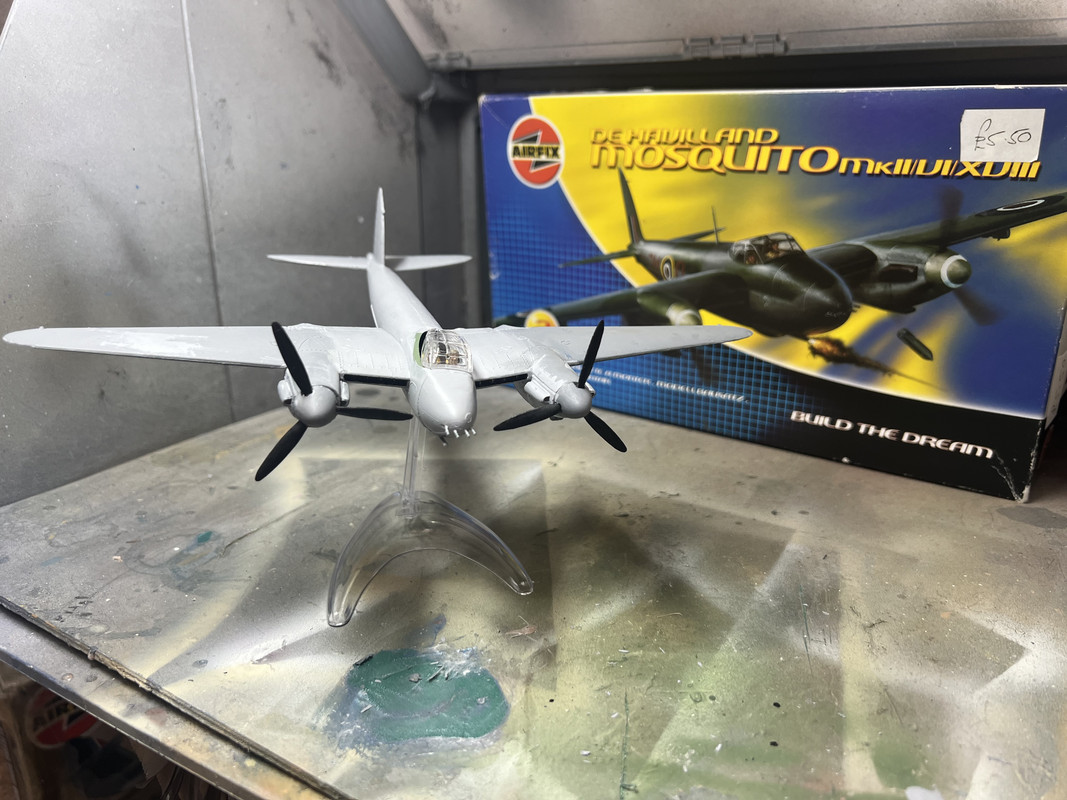
Nice Mosquito. It looks nice on a stand in flight.
Nigel
Nigel
Re: Feanors Mighty Works...
Ayup Nigel,
It does, doesn’t it ?
The wings seem to be closer in dihedral now, so I can progress. Thanks again.
It does, doesn’t it ?
The wings seem to be closer in dihedral now, so I can progress. Thanks again.
The best thing, is to keep on building. Clap your hands, stamp your feet, wiggle your fingers…
-
Impisi

- Modelling Gent and Scholar
- Posts: 2024
- Joined: November 6th, 2020, 10:28 pm
- Location: Germany
Re: Feanors Mighty Works...
that Mosi has come a long way, looking good
Re: Feanors Mighty Works...
Thanks.
In may be able to get some more done today if I’m lucky.
The best thing, is to keep on building. Clap your hands, stamp your feet, wiggle your fingers…
Re: Feanors Mighty Works...
Ayup All…
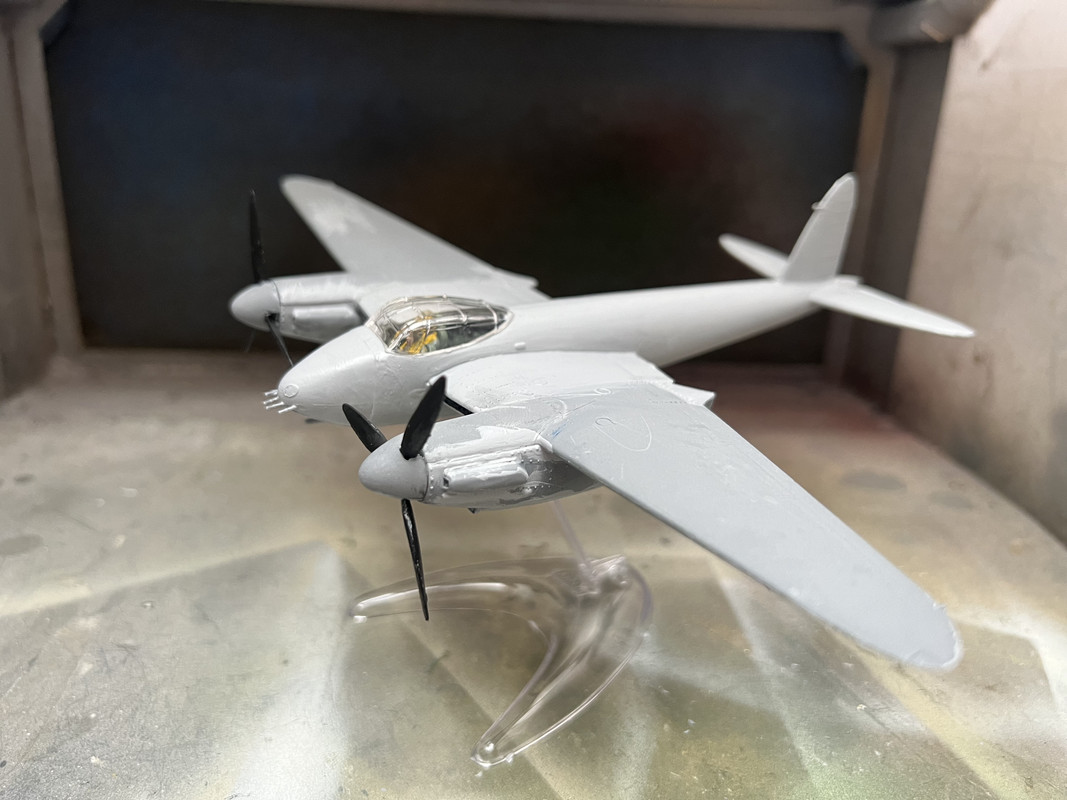
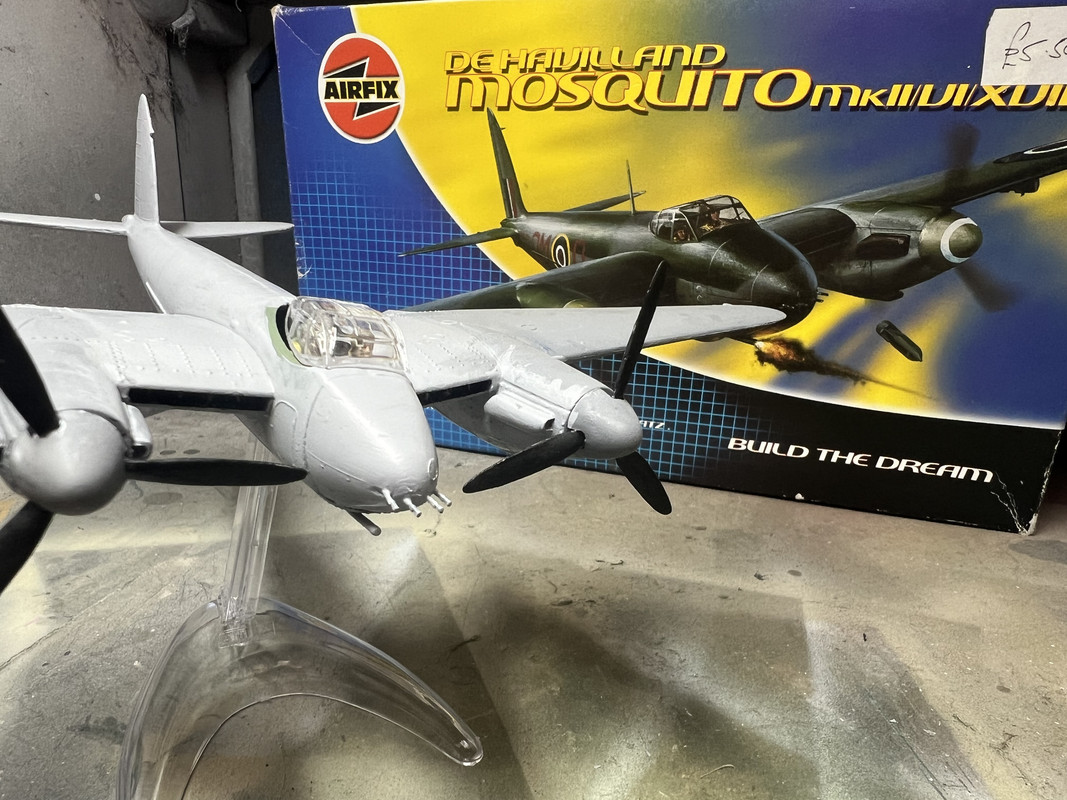
We have engines !
The stand slot will have to have another small insert to help her ‘fly straight and Level’ we’re getting there though.


We have engines !
The stand slot will have to have another small insert to help her ‘fly straight and Level’ we’re getting there though.
The best thing, is to keep on building. Clap your hands, stamp your feet, wiggle your fingers…
-
Lone Modeller
- Modelling Gent and Scholar
- Posts: 5345
- Joined: April 1st, 2013, 6:45 pm
Re: Feanors Mighty Works...
The difference in dihedral between the wings was awful.... I cannot believe that in a newish moulding it could be so bad. You have rectified it well though.
-
iggie

- Modelling Gent and Scholar
- Posts: 23438
- Joined: July 31st, 2013, 11:04 am
- Location: North Somercotes, Lincolnshire
- Contact:
Re: Feanors Mighty Works...
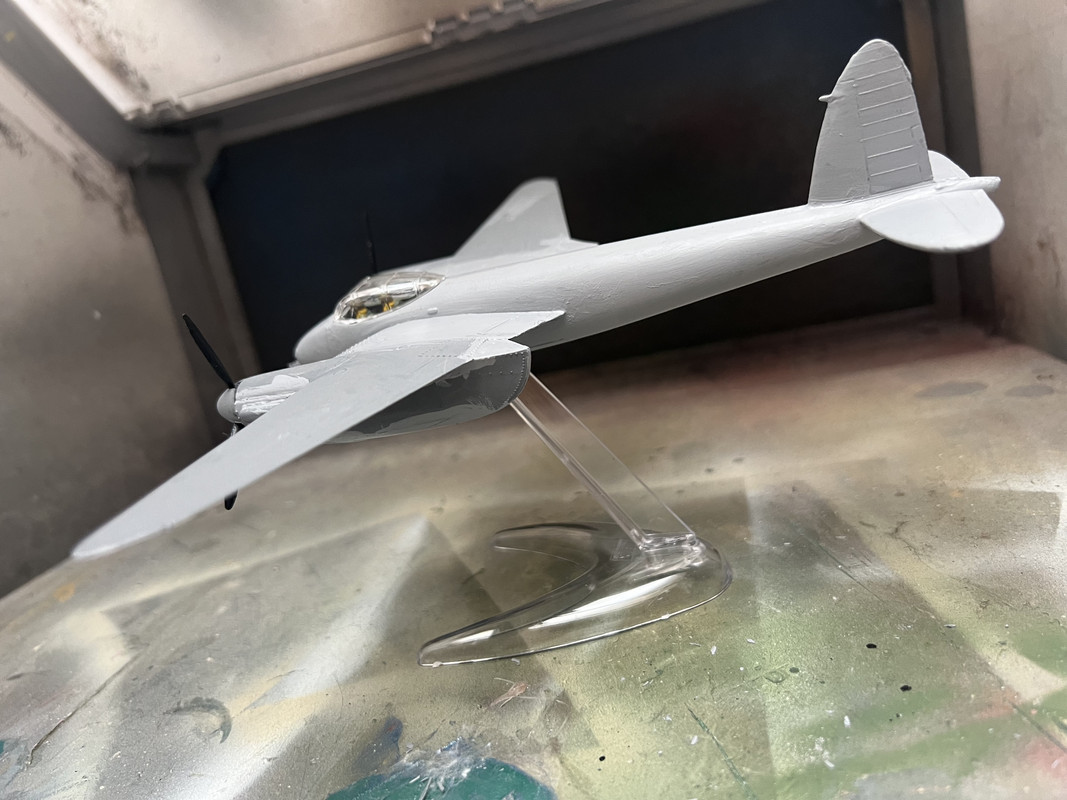
That's certainly looking like a Mosquito now! Always good to see one being built...
Best wishes
Jim
If you can walk away from a landing, it's a good landing. If you use the airplane the next day, it's an outstanding landing
"Never put off till tomorrow, what you can do the day after tomorrow"
Jim
If you can walk away from a landing, it's a good landing. If you use the airplane the next day, it's an outstanding landing
"Never put off till tomorrow, what you can do the day after tomorrow"
Re: Feanors Mighty Works...
Hi Lone modeller,
Thanks.
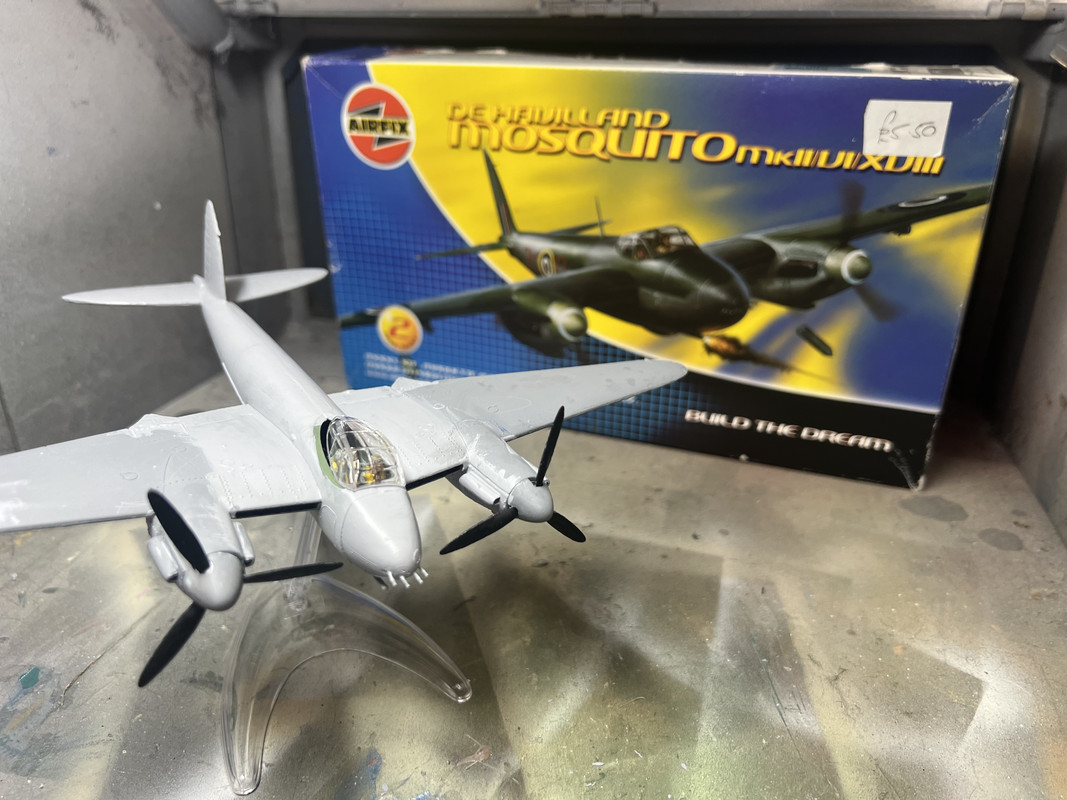
Actually it’s this ‘Oldie but goody’ boxing I’ve built. The new one is a PR Mossie. Shame about that. I really wanted it to be one of these XVIIIs or a FBVI. But it isn’t unfortunately. Still, the dihedral is better than it was. (I think !)
A few more pictures.

Thanks.
Actually it’s this ‘Oldie but goody’ boxing I’ve built. The new one is a PR Mossie. Shame about that. I really wanted it to be one of these XVIIIs or a FBVI. But it isn’t unfortunately. Still, the dihedral is better than it was. (I think !)
A few more pictures.
The best thing, is to keep on building. Clap your hands, stamp your feet, wiggle your fingers…
Re: Feanors Mighty Works...
Ayup Iggie…
Thanks, and I completely agree. Aren’t they beautiful. I had goosebumps when we displayed at the de havilland museum.
I already have a 1/48th Tamiya Mosquito, EG-T of course already built. I have this recent 1/48 Tamiya ME 262-2A ( and Kettenkrad) to make ‘White 11’ with once I can get the decals and serial of course.

The best thing, is to keep on building. Clap your hands, stamp your feet, wiggle your fingers…
-
Softscience
- Staring out the window
- Posts: 7491
- Joined: April 5th, 2011, 4:34 pm
- Location: Maryland, near Washington DC
Re: Feanors Mighty Works...
I knew you'd get it figured out! Mossie looks really great with its wheels up.
That Tamiya 262 is going to feel like child's play after tackling the mossie. Though, hopefully not like the lame 80s movie of the same name!
That Tamiya 262 is going to feel like child's play after tackling the mossie. Though, hopefully not like the lame 80s movie of the same name!
Re: Feanors Mighty Works...
Ayup SS,Softscience wrote: ↑March 18th, 2024, 6:15 pm I knew you'd get it figured out! Mossie looks really great with its wheels up.
That Tamiya 262 is going to feel like child's play after tackling the mossie. Though, hopefully not like the lame 80s movie of the same name!
Thanks again. I’m glad you like it. Next up are its bombs to fit, mask a fit the Canopy, and get some paint on it. I do hope the Sturmvögel is as easy as you say, LOL. Thanks again.
The best thing, is to keep on building. Clap your hands, stamp your feet, wiggle your fingers…
-
Andy Dighton

- Modelling Gent and Scholar
- Posts: 2572
- Joined: November 25th, 2019, 7:21 pm
- Location: Kent.
Re: Feanors Mighty Works...
The Mossie is certainly starting look the part.
Best wishes
Andy
My post war RAF display team page. https://uamf.org.uk/viewtopic.php?f=201&t=19491"
XX172 Life of a BAe Hawk 1977-2006. https://uamf.org.uk/viewtopic.php?f=201&t=23975
Andy
My post war RAF display team page. https://uamf.org.uk/viewtopic.php?f=201&t=19491"
XX172 Life of a BAe Hawk 1977-2006. https://uamf.org.uk/viewtopic.php?f=201&t=23975
-
H-bomb
- Is His Name Really Howard?
- Posts: 2217
- Joined: September 22nd, 2011, 4:40 pm
- Location: Wolverhampton
Re: Feanors Mighty Works...
That old tool scrubs up well with some effort, looking good
Cheers Howard

Cheers Howard
acquired 1
Built 2
Disposed none
On the bench. Airfix Handley Page 0/400 , Escadron Hunting Percival Pembroke
Built 2
Disposed none
On the bench. Airfix Handley Page 0/400 , Escadron Hunting Percival Pembroke